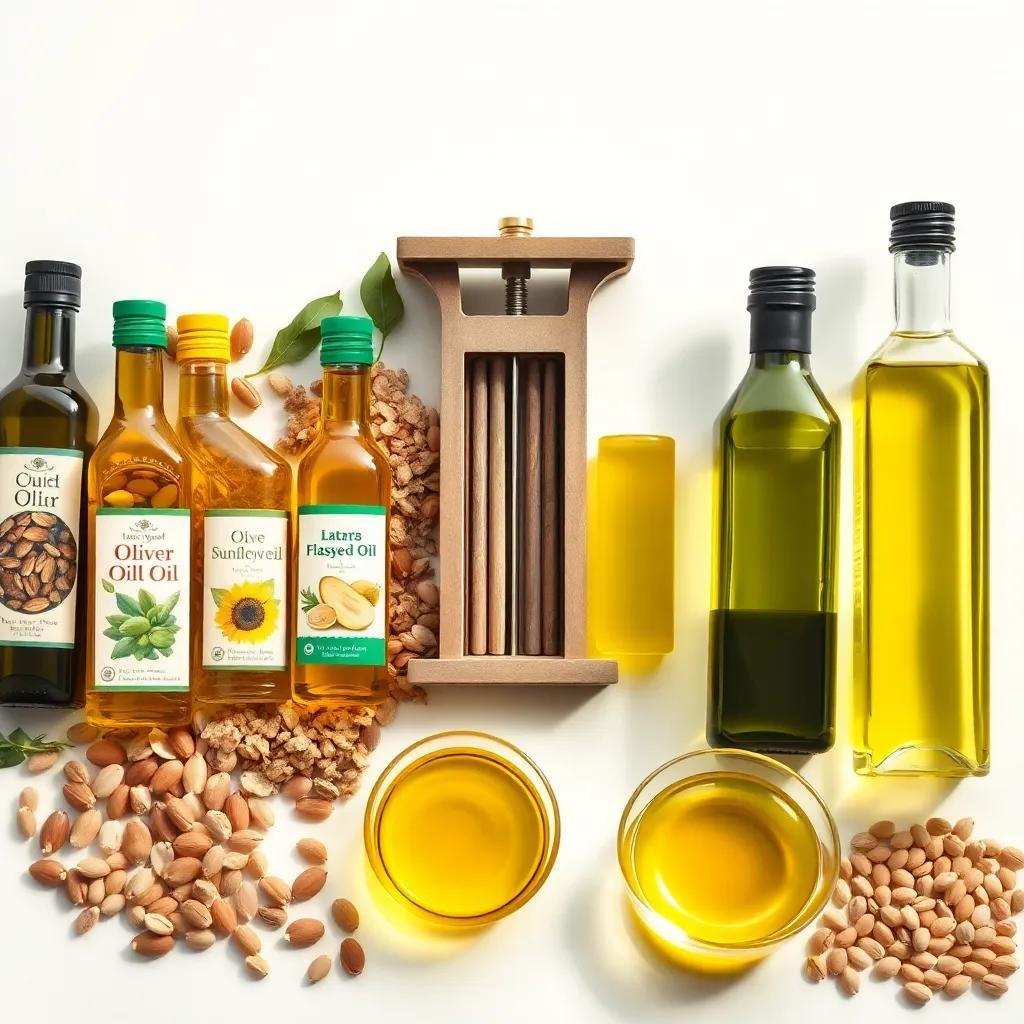
Have you ever wondered how those flavorful seed oils transform from tiny seeds into the delicious ingredients we love? Join me on this tasty journey as we explore the fascinating world of seed oil extraction, from the methods that keep the nutrients intact to the best ways to store them! Get ready to discover not just how they’re made, but also why they’re a must-have in every kitchen!
Types of Seed Oil Extraction Methods
When it comes to extracting seed oils, there are two common methods: mechanical pressing and solvent extraction. Let’s break these down into bite-sized pieces!
- Mechanical Pressing:
This method is often seen as the most natural way to extract oil. It involves crushing and squeezing the seeds using machines called oil presses. There are two main types of mechanical pressing:
– Cold Pressing: This method uses no heat, which helps retain more nutrients and flavor! The seeds are pressed at lower temperatures, preserving their natural goodness. Think of it like squeezing fresh orange juice—just pure and fresh!
– Expeller Pressing: Here, seeds are still crushed, but a bit of heat is generated during the process. It’s faster than cold pressing, and while it may result in a slight loss of nutrients, the oil is still considered healthy and versatile!
- Solvent Extraction:
Now, this method is a little different. It uses a solvent, often hexane, to extract oil from seeds that might be super tricky to press. Here’s how it works:
– The seeds are first cleaned and crushed into a fine powder called meal. This helps the solvent mix with the seeds more effectively.
– Then, the meal is soaked in the solvent. The solvent pulls out the oil from the seeds and separates it from the other components!
– After this, the mixture is heated to evaporate the solvent, leaving behind the oil. Voila!
While solvent extraction is great for getting every last drop of oil, some people prefer mechanical methods because they keep the oils more natural. So, whether you love that fresh cold-pressed flavor or need a reliable high-yield option, there’s an oil extraction method just for you! Isn’t it amazing how seed oils come to life?
Nutritional Benefits of Seed Oils
Let’s talk about why seed oils are not just tasty but also good for us! These oils are packed with nutrients that offer various health benefits. Just imagine drizzling a bit of sunshine onto your salads or cooking up a storm with wholesome goodness! Here’s what makes seed oils so nutritious:
- Healthy Fats: Most seed oils are rich in unsaturated fats, especially omega-3 and omega-6 fatty acids. These are the good fats that our bodies love! They support heart health, help lower cholesterol levels, and keep our skin glowing. Who doesn’t want that?
- Antioxidants: Did you know that some seed oils, like olive oil, are loaded with antioxidants? These little warriors fight off free radicals in our bodies and protect our cells from damage. It’s like having a shield of armor while munching on delicious food!
- Vitamin E: Many seed oils, such as sunflower oil, are excellent sources of vitamin E. This vitamin works wonders for our skin and even supports our immune system. Talk about a multitasking superstar!
- Versatility: Seed oils are not just for cooking; they can also be used in baking, salad dressings, and marinades. They add flavor, richness, and nutrients to all kinds of dishes! I mean, who can resist a sprinkle of sesame oil over a stir-fry?
So next time you reach for that bottle of seed oil, remember it’s not just a cooking ingredient; it’s a health booster, too! By incorporating these oils into my meals, I feel like I’m giving my body a nutritious treat. Isn’t it fantastic how something so simple can pack such a punch of health benefits? Happy cooking!

Refining and Filtering Process of Seed Oils
After the oil has been extracted, it’s time for some important cleaning up! This is where the refining and filtering processes come into play. Think of it as giving the oil a refreshing makeover—it helps make the oil cleaner, clearer, and just plain better! Here’s how it all works:
- Refining Seed Oils:
Refining is all about removing unwanted substances that can affect the oil’s quality. Here are the main steps:
– Degumming: This step involves treating the oil with water or citric acid to get rid of any water-soluble impurities. It’s like rinsing off dirt to make everything shiny!
– Neutralization: In this process, the oil gets treated with an alkali, such as sodium hydroxide, to remove free fatty acids. This helps improve the taste and shelf life. Who doesn’t love a fresher flavor?
– Bleaching: This step uses materials like activated clay to absorb color and odor. It makes the oil look and smell nice and clean!
– Deodorization: Finally, the oil is heated under a vacuum to eliminate any remaining bad smells. We want our cooking oil to smell delightful, don’t we?
- Filtering Seed Oils:
Once refining is done, it’s time for filtering! This step helps remove any leftover solids or impurities. Here’s what happens:
– The oil is passed through fine filters to catch larger particles.
– Then, a special microporous filtration takes place to capture tiny particles and even microbial contaminants.
By refining and filtering seed oils, we create a product that’s not only tasty but also safe and appealing! So, the next time I drizzled some on my salad, I can feel good knowing it’s been given such special care!
Best Practices for Packaging Seed Oils
Now that our seed oils are clean and refined, it’s time to think about packaging! Proper packaging is super important for keeping the oils fresh and delicious. Here are some best practices to consider:
- Choose the Right Containers:
– Dark Glass Bottles: These are fantastic because they protect the oil from light, which can cause it to spoil. Light and oils are not friends, so let’s keep them apart!
– Airtight Seals: Make sure the bottles have secure caps. An airtight seal keeps oxygen out, which helps prevent rancidity. After all, no one wants to have a funky-smelling oil!
- Consider the Size:
– Packaging comes in all sizes! Smaller bottles are great for home chefs like me who don’t cook with oil every day. Larger containers are perfect for those who are cooking up a storm or running a busy kitchen!
- Labeling:
– Clear, informative labels are a must! They should list the oil type, extraction method, and any health benefits. Plus, who doesn’t love a fun design that matches my kitchen decor?
By following these packaging tips, the seed oils can stay fresh and flavorful, ready to jazz up all my favorite dishes!
Storage Tips for Maintaining Seed Oil Freshness
Just like a good friend, seed oils need some care to stay fresh! Proper storage helps maintain the oil’s flavor and nutritional value. Here are some helpful tips for keeping those oils in tip-top shape:
- Keep It Cool:
– Store seed oils in a cool, dark place, away from heat sources like stoves or direct sunlight. Too much heat can lead to rapid spoilage and that’s no fun! Aim for temperatures below 68 degrees Fahrenheit (20 degrees Celsius) for best results.
- Use Dark Containers:
– If the oil is in clear bottles, it’s time to switch to dark glass! This helps shield the oil from light, preventing oxidation.
- Seal It Tight:
– After each use, make sure to securely close the bottle. This keeps air out and helps maintain freshness. No one wants to open a bottle and get hit with a rancid smell!
- Avoid Moisture:
– Keep oils in a dry environment. Moisture can lead to mold growth. No thank you! Avoid storing them near wet areas like sinks.
- Monitor Shelf Life:
– Be aware that different oils have different shelf lives. Knowing this helps me use them at the right time! If an oil smells off or tastes funny, it’s best to toss it out.
By following these storage tips, I can enjoy my seed oils at their best, making every dish I prepare a little more special! Happy cooking!

