Are you ready to dive into the amazing world of chia seeds? These tiny little powerhouses are more than just a trendy topping for your smoothie—they’re packed with nutrients and perfect for home gardening! Join me as we explore how to grow, care for, and harvest your very own chia plants. It’s easier than you think, and I promise it’ll be a fun adventure!
Characteristics and Nutritional Benefits of Chia Seeds
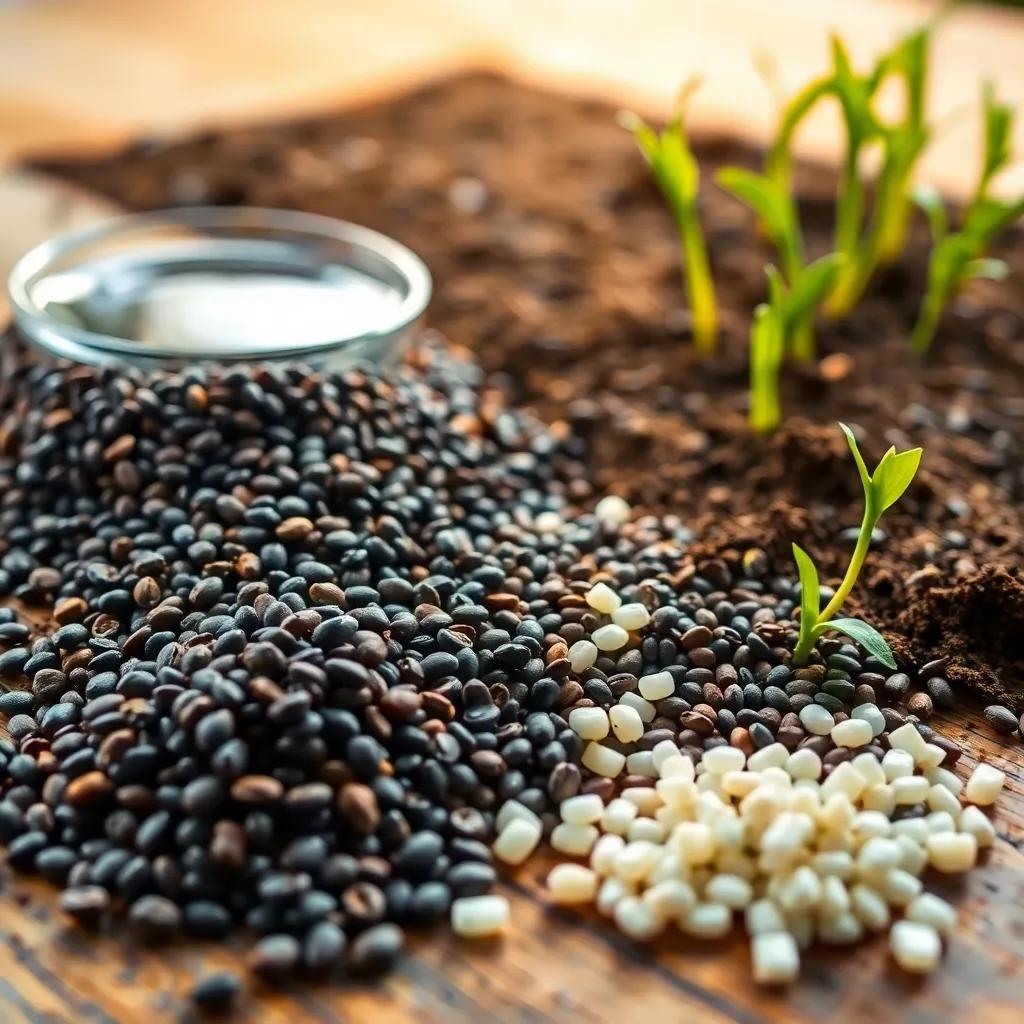
Chia seeds are not just tiny specks that you toss into your smoothies! These small seeds are packed with incredible nutritional benefits that make them a superstar in the health food world. Did you know that chia seeds come from the plant Salvia hispanica? They can be black, brown, or even white, and they are about the size of a poppy seed.
What makes chia seeds special? Let me share some of their amazing characteristics:
- Nutrient Powerhouses: Chia seeds are loaded with omega-3 fatty acids, which are great for heart health. They also contain protein and fiber, making them a fantastic choice for a nutritious snack or meal addition!
- Absorbent Wonder: When you soak chia seeds in water, they swell up and form a gel-like substance. This property not only helps keep you full, but it also adds a unique texture to puddings and smoothies!
- Long Shelf Life: Unlike other seeds, chia seeds can last a long time without losing their nutritional value. This means you can stock up and enjoy them whenever you like!
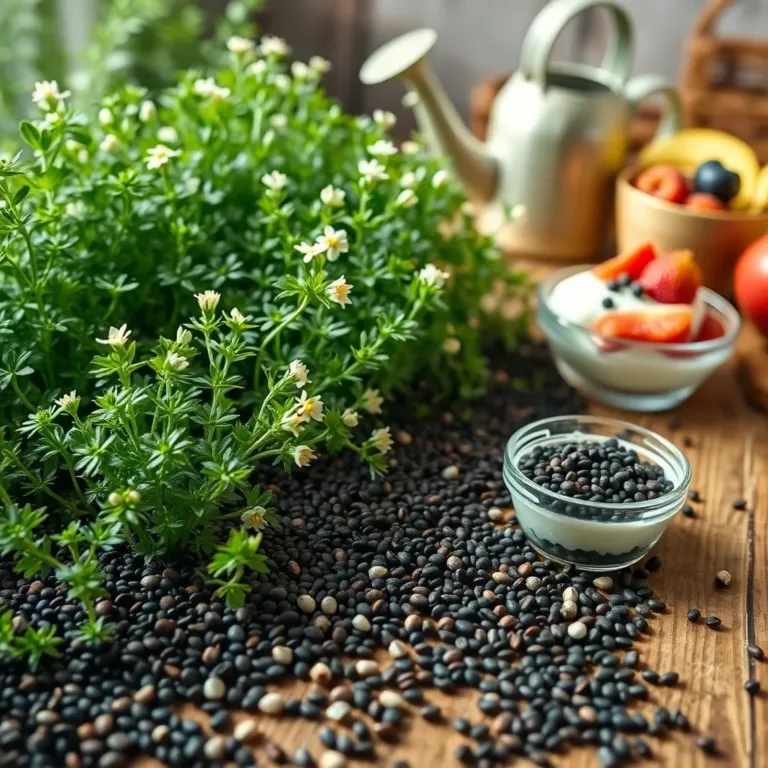
Now, let’s talk about how you can use these little wonders in your kitchen. Chia seeds are super versatile! I love adding them to my breakfast routines, whether it’s sprinkling them on top of my yogurt or blending them into a smoothie. They can even be used as an egg substitute in baking! Just mix 1 tablespoon of chia seeds with 2.5 tablespoons of water, let it sit for a few minutes, and voilà!
In short, chia seeds are not only nutrient-rich but also fun to incorporate into your meals. So, why not give them a try? You’ll be amazed at the difference they can make in your diet!
Germination: The First Step in Growing Chia Seeds
So, you’re excited to start growing your own chia seeds! Awesome! Before they can sprout and flourish, they need to go through the germination process. This is where the magic begins! Germination sounds fancy, but it’s really just the time when seeds come to life and start growing roots.
To kick off the germination journey, chia seeds need the right mix of moisture, warmth, and oxygen. Here’s how it works:
- Swelling Action: When you soak your chia seeds in water, they will absorb that moisture and swell up. This is the first sign that they’re getting ready to grow!
- Root Development: After a few days, you may notice a tiny root, called the radicle, poking out. This root is super important—it starts to dig into the soil, searching for nutrients and water!
- Sprouting Time: Generally, under the right conditions, chia seeds can sprout in 3 to 10 days. Can you believe it? Just a little bit of patience, and you’ll see those little green shoots!
Remember, my friend, the temperature plays a big role in germination! Chia seeds love a cozy environment between 60 to 75 degrees Fahrenheit. If it’s too cold or too hot, they might take longer to germinate or not sprout at all!
So, here’s a fun tip: Always keep the soil moist but not soggy during this stage. You don’t want to drown them! Give them a regular misting or light watering to keep that moisture just right.
And there you have it! The germination process is the exciting first step to growing your own chia plants. Soon enough, you’ll be watching them grow into lush green plants, ready to provide you with all their fantastic benefits. How cool is that?

Optimal Conditions for Successful Chia Seed Growth
To grow healthy and vibrant chia plants, it’s key to provide them with the right conditions! Think of it like setting up a cozy home for your seeds to flourish. Let’s cover what these little powerhouses need:
- Temperature: Chia plants love a warm environment! They thrive best in temperatures ranging from 60 to 75 degrees Fahrenheit (15 to 24 degrees Celsius). If you live in a colder area, consider starting them indoors!
- Sunlight: Chia seeds are sun worshippers! They need 6 to 8 hours of direct sunlight each day. If you can, place them in a nice sunny spot or use grow lights if you’re growing indoors.
- Soil: The right soil is like a comfy bed for your chia seeds. They prefer well-draining soil with a pH level between 6 and 7. Mixing in some compost can really boost their growth!
- Moisture: Keep the soil moist but not soggy! It’s a fine balance. Water regularly, but don’t drown them. A good rule is to check the top inch of soil; if it’s dry, it’s watering time!
- Air Circulation: Chia plants need some space to breathe! Avoid overcrowding them in the garden. This helps reduce the chance of diseases and promotes healthy growth.
By providing these conditions, you’ll be setting your chia seeds up for a successful journey! I can’t wait for you to see how they thrive with a little love and care!
Step-by-Step Guide to Planting Chia Seeds
Alright, it’s time to get those chia seeds into the ground! Planting chia seeds is a fun and easy process. Let’s go through it step by step so you can watch your garden flourish.
- Prepare the Soil: Start by ensuring the soil is well-draining and rich in organic matter. I like to add some compost to give my seeds a boost. Clear the area of any weeds or debris to create a nice, clean workspace.
- Sow the Seeds: Now for the fun part! Scatter your chia seeds evenly across the soil. You can also create shallow furrows about 1/4 to 1/2 inch deep and place the seeds in there. Aim for a spacing of 6 to 12 inches apart!
- Cover the Seeds: Lightly cover your seeds with a thin layer of soil. Remember, they need some sunlight to germinate, so don’t bury them too deep, okay?
- Water Thoroughly: After planting, give the soil a good drink! Water gently but thoroughly to make sure the seeds are well-hydrated.
- Provide Sunlight: Place your planting area in a spot that basks in the sun! If you’re growing indoors, ensure they get enough light from a window or grow lights.
- Monitor Growth: Keep an eye on your little seedlings! Water them regularly and watch them grow. If they start to crowd each other, thin them out to give the strongest plants more room.
With these steps, you’ll be well on your way to creating a beautiful, thriving chia garden! It’s such a rewarding experience to see those tiny seeds turn into lush green plants!
Care, Maintenance, and Harvesting of Chia Plants
Now that your chia plants are growing strong, let’s talk about how to take care of them and when to harvest those amazing seeds! Caring for chia plants is pretty straightforward, and I promise it’s worth the effort!
- Watering: Chia plants don’t require a ton of water, but they do enjoy it! Water deeply but less often, allowing the top inch of soil to dry out between watering. This helps prevent root rot. Just think of it as giving them a nice spa day!
- Mulching: Applying a layer of organic mulch around your chia plants is like giving them a cozy blanket! It helps retain moisture and keeps weeds at bay. Aim for about 2 to 3 inches of mulch.
- Fertilizing: If your plants look like they need a little pick-me-up, consider using a balanced organic fertilizer during the growing season. Most of the time, they will thrive just fine without it!
- Pest Control: Keep an eagle eye on your plants for any pesky visitors like aphids or snails. If you spot any, you can use organic methods like insecticidal soap. You’ve got this!
- Harvesting: Chia plants will be ready for harvest in 90 to 120 days. When the flowers dry and the seeds turn a darker color, it’s time! Gently shake the seed heads over a container to collect the seeds.
- Storage: After harvesting, let the seeds dry completely before storing them in airtight containers. They can last for years, so you’ll be able to enjoy your homegrown chia for a long time!
By following these simple care and maintenance tips, you’ll be able to enjoy a bountiful harvest of chia seeds and reap all the health benefits that come with them! Happy gardening!

