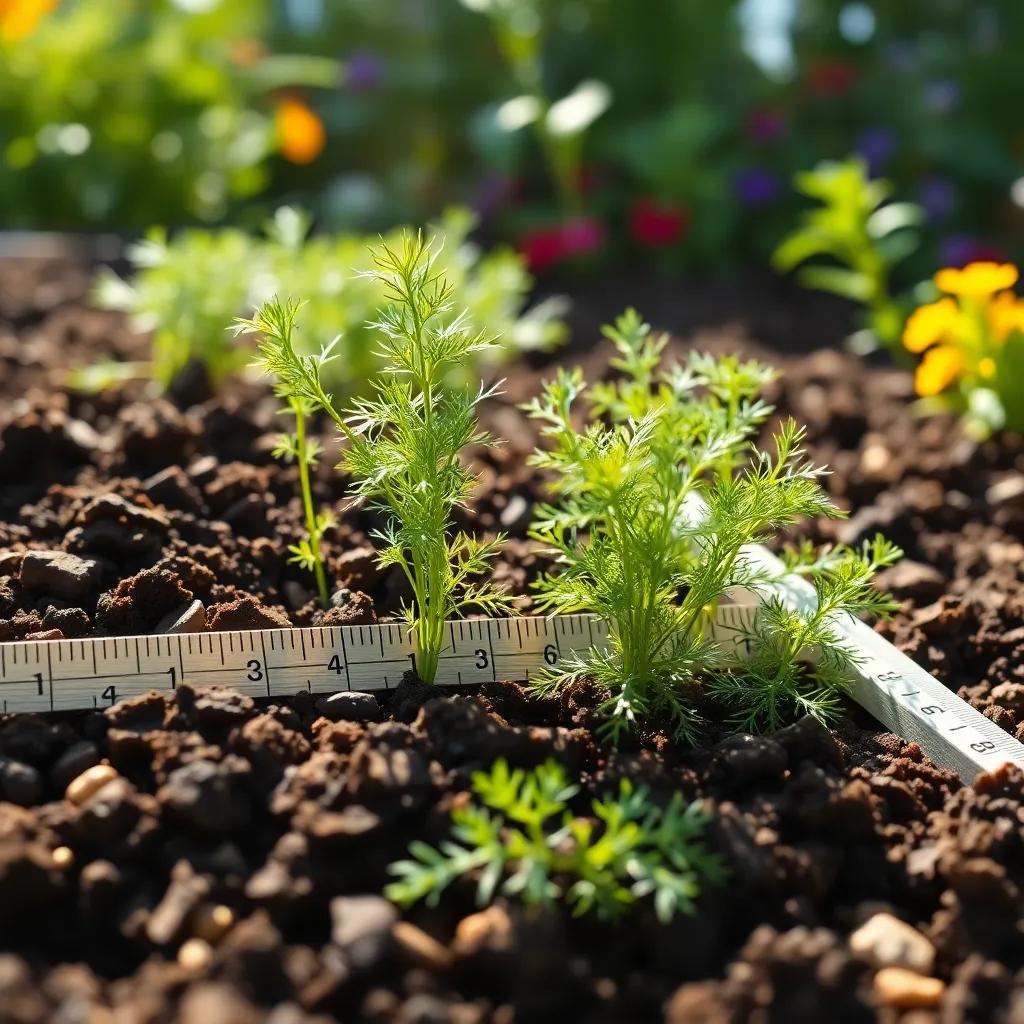
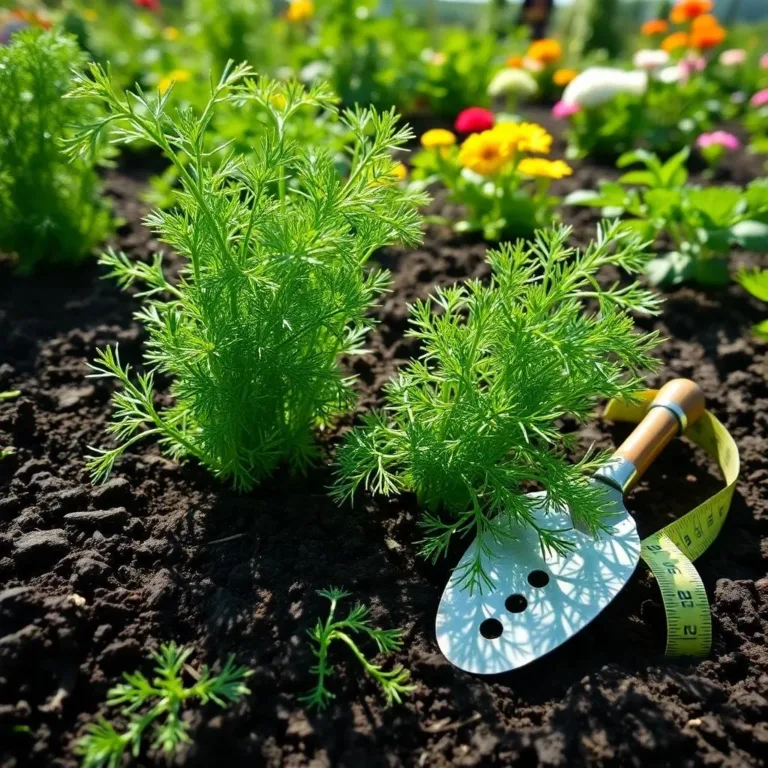
Are you ready to grow some delicious dill? It’s one of the easiest herbs to plant and care for, and it adds such amazing flavor to your dishes! Join me on this gardening adventure where I’ll share simple tips and tricks for planting, nurturing, and harvesting your own dill plants. Let’s bring a little green magic into your kitchen!
Factors Influencing Dill Seed Planting Depth
When it comes to planting dill seeds, there are a few key factors that can really make a difference in how deep you should go. Understanding these will help your dill thrive and grow beautifully! So, let’s dive right in!
- Soil Type: The type of soil plays a big role in how deep to plant your seeds. If you have heavier soils like clay, it’s best to keep your seeds around ¼ inch deep. This helps prevent rot, which can happen if the soil is too wet. On the other hand, with sandy or loamy soils, you can go a bit deeper—up to ½ inch. This is because those types of soils drain better, letting the seeds breathe!
- Moisture Levels: Plants, including dill, love moisture, but not too much! If your soil is too dry, you might lose your seeds. However, if it’s too wet, you risk rot. Keeping a perfect balance is key. Remember, after planting, you want to gently water the area and keep it moist, but not soggy!
- Climate: Dill loves the cooler weather, so wait until after the last frost to plant those seeds. The temperature should be above 60°F (15.5°C) for optimal germination.
- Sunlight: Sunlight is like magic for dill! These plants need 6-8 hours of full sun each day to grow strong. Make sure you choose a spot that gets plenty of light.
So, when you’re thinking about how deep to plant your dill seeds, keep these factors in mind. By doing this, you’re setting up your dill for some serious success! Happy planting!
Ideal Soil Conditions for Dill Seeds
You might be wondering, “What kind of soil does my dill need to flourish?” Well, I’ve got some insights for you! The right soil conditions can help your dill thrive like a superstar!
- Well-Draining Soil: First, and foremost, dill loves well-draining soil. This means the soil allows excess water to escape, preventing the roots from getting soggy. You want your soil to breathe! If you’re working with heavy clay soil, consider mixing in some compost or sand. This will help lighten it up and improve drainage.
- pH Levels: Dill prefers a soil pH between 5.5 and 7.0. You can easily test your soil with a pH kit from the garden store. If your soil needs a little help, you can add lime to raise the pH or sulfur to lower it.
- Organic Matter: Adding organic matter such as compost or well-rotted manure is a great idea. Not only does it improve soil structure, but it also provides nutrients that your dill craves. It’s like giving your plants a little buffet!
- Nutrient-Rich: While dill isn’t a heavy feeder, it benefits from some nutrients. A balanced organic fertilizer or compost mixed into your soil before planting can help your dill grow big and strong.
- Temperature: Finally, make sure your soil temperature is nice and cozy! The ideal range is 60°F to 70°F (15°C to 21°C). You can warm up soil in early spring by covering it with black plastic to absorb the sun’s rays.
With these ideal soil conditions, your dill seeds will be set for success! Just think of your soil as the comfy bed where your dill will grow—it needs to be just right! Happy gardening!

Step-by-Step Guide to Planting Dill Seeds
Planting dill seeds can be one of the most rewarding parts of gardening! It’s like giving life to little green friends. Let’s walk through the simple steps to get those seeds into the soil and on their way to becoming vibrant dill plants!
- Choose the Right Spot: First, find a sunny spot in your garden. Dill loves at least 6-8 hours of sunlight daily! A sunny location means happy plants!
- Prepare Your Soil: As we talked about earlier, make sure your soil is well-draining and nutrient-rich. Mix in some compost or organic fertilizer for a boost. I like to use a trowel or garden fork to turn the soil and get it ready!
- Plant the Seeds: When your soil is all prepped, it’s time to plant! Take your dill seeds and plant them ¼ to ½ inch deep in rows. I usually space them about 12-18 inches apart. This gives them plenty of room to grow without getting too crowded.
- Water Gently: After planting, water the area gently. I like to use a watering can with a fine spout to avoid washing the seeds away. Keep the soil moist but not soggy.
- Watch Them Grow: Keep an eye on your garden and be patient! It usually takes about 7 to 14 days for those seeds to sprout.
By following these steps, you’ll be on your way to enjoying fresh dill from your very own garden!
Essential Care Tips for Growing Dill Successfully
Once you’ve planted your dill seeds, it’s time to give them the love and care they need. Just like any other plant, dill enjoys a bit of attention to help it thrive. Here are some essential care tips that I swear by!
- Watering: Dill likes a moderate moisture level. Water deeply but let the soil dry out a bit between waterings. I find that watering every few days works wonders, especially during dry spells. Just don’t drown your poor plants!
- Weeding: Keep the area around your dill free from pesky weeds. Weeds compete for nutrients and water. I like to check my garden regularly and pull unwanted plants as soon as they pop up.
- Thinning Seedlings: If you notice your seedlings are too close together, thin them out! Leave about 12 inches of space between plants. This gives each plant room to breathe and grow strong.
- Fertilizing: A light touch of organic fertilizer every few weeks can make a big difference. Dill is generally low-maintenance, but a little extra food won’t hurt!
- Pest Control: Keep an eye out for any bugs that might want to munch on your dill. Use natural pest deterrents like neem oil or soap sprays to keep those bugs at bay.
By giving your dill plants the right care, you’ll be rewarded with lush, aromatic dill that’s perfect for cooking!
Harvesting and Using Your Dill Plants
Harvesting your dill is like a mini celebration in your garden! It’s the moment when you get to enjoy the fruits (or herbs) of your labor. Here’s how you can do it right!
- When to Harvest: Dill is ready to be harvested when the leaves are lush and green, and the plants are about 6 inches tall. You can start snipping away once they have enough foliage to spare.
- How to Harvest: I like to use scissors to cut the leaves. Just snip off the top third of the plant, leaving some leaves behind for continued growth. This way, your dill keeps producing!
- Harvesting Seeds: If you want to save seeds for next year, wait until the flower heads turn brown and dry. Cut the stems and place them in a paper bag to catch the seeds as they fall out.
- Using Fresh Dill: Dill is fabulous in many dishes! I love adding fresh dill to salads, sauces, or even as a garnish for fish dishes. It adds a delightful flavor that can elevate any meal.
- Storing Dill: If you have extra dill, you can store it in the fridge in a damp paper towel or freeze it in ice cube trays with a bit of water. This way, you can enjoy that fresh flavor long after the harvest!
With these tips, you’ll be well on your way to reaping the rewards of your dill gardening adventure! Happy harvesting!

