Are you ready to become a seed-saving superstar? I know I am! In this article, I’ll share everything you need to know about how to store seeds effectively, keep them fresh for planting, and test their viability. With these tips, we can ensure our gardens are bursting with life and color for seasons to come! Let’s get started!
Factors Impacting Seed Longevity
When it comes to the longevity of seeds, a few factors play a major role in how long they can stay viable. Let’s dive into some of these factors so we can all become seed-storage pros!
1. Moisture
Think of moisture as the enemy of seeds! If seeds are stored in a humid environment, they can become moldy or even begin to sprout too soon. Yikes! To keep seeds safe, make sure they’re in a dry place. Low humidity is the key. Aim for 30% to 40% humidity—perfect for seed survival!
2. Temperature
Seeds love a cool climate, just like me on a hot summer day! The ideal temperature for seed storage is between 40°F to 50°F (4°C to 10°C). If it gets too warm, seeds may not last long at all. So, if you have extra space in your refrigerator, that’s a great spot for your seeds! Just don’t forget about them!
3. Light
Seeds need to be kept in the dark to stay happy. Too much light can trick them into thinking it’s time to grow, which can shorten their lifespan. Keep those seeds in opaque containers or tucked away in a dark cupboard to block out that pesky light!
4. Oxygen
Too much oxygen is like having too many party guests—things can get chaotic! Air can cause seeds to deteriorate over time. Using airtight containers helps reduce oxygen exposure, keeping those seeds safe and sound.
5. Seed Quality
Last but not least, the quality of the seeds when you store them matters! Healthy seeds, free of diseases or pests, have a better chance of lasting longer. Make sure you’re always starting with quality seeds for the best results!
By keeping these factors in mind, you can give your seeds a fighting chance to stay viable for planting. After all, who doesn’t want a bountiful garden filled with beautiful blooms and delicious veggies?
Optimal Conditions for Effective Seed Storage
Now that we understand what can affect our seeds, let’s talk about how to create the perfect storage conditions! Just like a cozy blanket on a chilly night, seeds need certain conditions to stay happy:
1. Cool and Stable Temperature
As I mentioned earlier, seeds love the cool side of life. Keeping them at a consistent temperature between 40°F and 50°F works wonders! Avoid places that have temperature swings, like attics or near heating vents.
2. Low Humidity
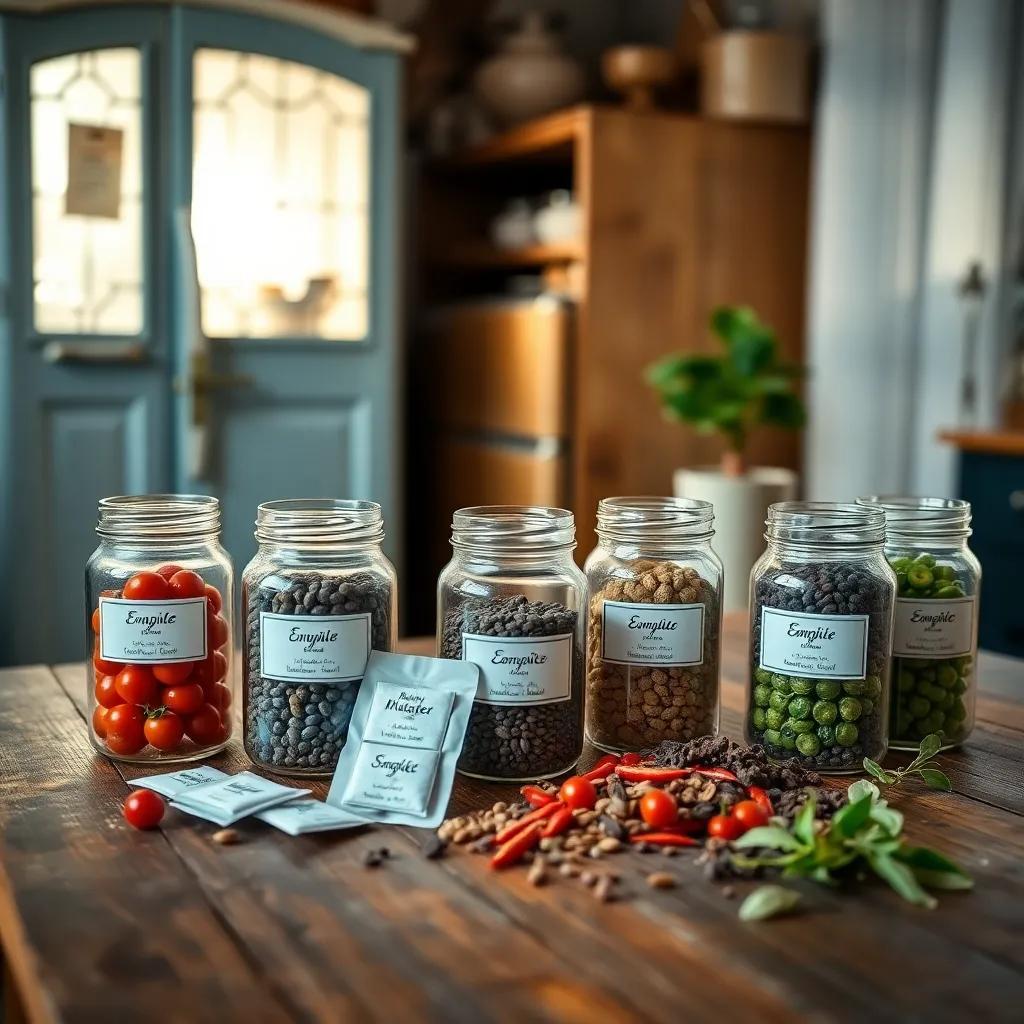
Maintaining low humidity is key to preventing mold! Ideally, keep it between 30% to 40%. If your seeds ever feel a bit damp, pop in a desiccant like silica gel packets to soak up the moisture. You can even use rice! Just make sure the desiccant isn’t directly touching your seeds.
3. Darkness is Your Friend
Light can be a sneaky seed sprouter! Storing seeds in dark-colored glass jars or opaque containers keeps them in their dormant state. I mean, who would want to wake up seeds too early? That’s like serving cake before dinner!
4. Ventilation
While we want to avoid moisture, we also don’t want our seeds to suffocate! Using breathable containers allows for air circulation but still protects seeds from humidity. Just remember—don’t fully seal them unless they’re airtight!
5. Labeling
Keeping track of your seeds is like managing a well-organized pantry. Label each container with the seed type and the storage date. This will help you use the older seeds first, ensuring all your kiddos get planted on time!
So, those are my favorite tips for creating the best storage conditions for seeds! Follow these guidelines and you’ll be on your way to preserving your seeds like a pro! Happy gardening!

Maximum Storage Durations for Various Seed Types
When it comes to storing seeds, not all seeds are created equal! Different types of seeds have different shelf lives, and knowing these durations can help me keep my garden thriving. Let’s take a look at how long some common seeds can last when stored properly:
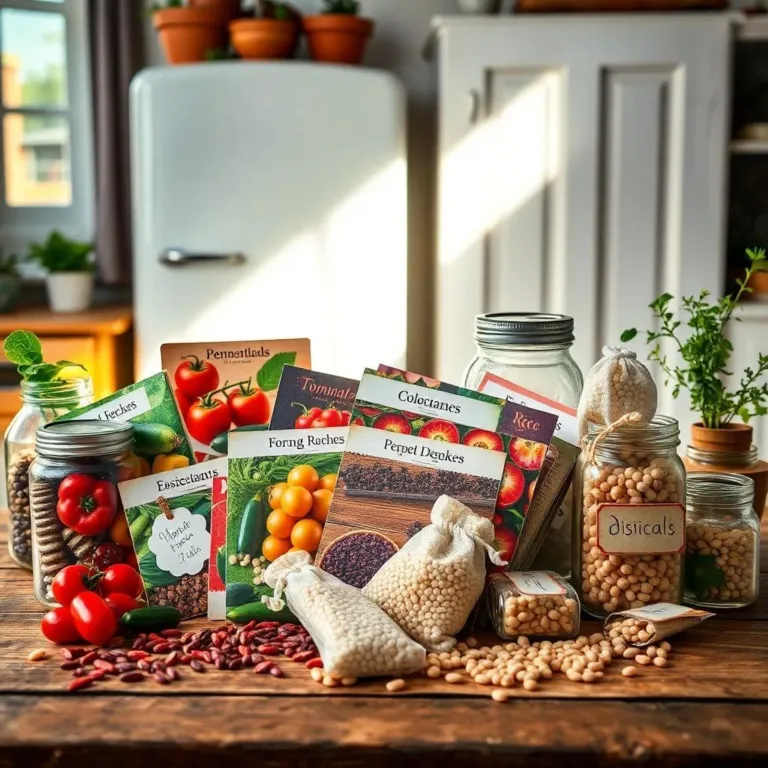
- Tomatoes: These tasty treats can stay viable for about 4 to 7 years! If I store them in the right conditions, I’m golden for a few growing seasons. However, I usually like to use them within the first 2 to 3 years for the best sprouting action.
- Peppers: Pepper seeds are a bit fussier, lasting around 1 to 3 years. It’s best to plant them within the first year or two to maximize those spicy flavors!
- Lettuce: For those crunchy salads, lettuce seeds can last about 3 to 5 years. I find that using them within the first 2 to 3 years leads to healthier plants.
- Beans: These guys are the champions of longevity! Bean seeds can last up to 3 to 5 years and still have fantastic germination rates. I love knowing I can count on them!
- Corn: Corn seeds can keep for about 2 to 3 years. I like to use them within the first 1 to 2 years for the best results.
- Cucumbers: Cucumber seeds can last around 5 to 7 years, but like the rest, I try to use them within 3 to 4 years for the best germination.
- Carrots: Carrot seeds are a bit shorter-lived, lasting for about 2 to 3 years. I aim to use them in the first 1 to 2 years for optimal growth.
- Herbs: Herb seeds usually last 1 to 3 years, but I always check individual seed types for specifics!
Before planting, it’s super smart to check the viability of any seeds that are old. A simple germination test can save me from planting seeds that won’t sprout! By keeping track of these durations and using my seeds wisely, I can enjoy a flourishing garden season after season.
Techniques to Extend Seed Shelf Life
I want my seeds to last as long as possible, and there are some simple techniques to help me work my magic! Here are my favorite tips for extending the shelf life of my precious seeds:
1. Dry Seeds Thoroughly
Before I store my seeds, I always make sure they’re super dry. Excess moisture is like inviting mold to the party! I lay my seeds out on a paper towel or tray for a few days, letting them air dry completely.
2. Use Air-Tight Containers
After drying, I store my seeds in airtight containers. I love using glass jars with tight lids or vacuum-sealed bags. These containers keep moisture and air out, protecting my seeds from deterioration. Plus, they look lovely on my shelf!
3. Include Desiccants
To absorb any sneaky moisture, I add desiccants like silica gel packets or even rice to my containers. Just make sure they don’t touch the seeds directly! These little helpers keep humidity levels low and my seeds safe.
4. Keep Them Cool
With my seeds all packed up, I store them in a cool, stable environment, like my fridge. I keep them away from temperature extremes because fluctuations can harm the seeds. A cool cellar works too!
5. Regularly Check for Moisture
I make it a habit to check on my seed stash every so often. If I spot any moisture or condensation, I remove the seeds, let them dry again, and switch them to fresh, dry containers.
6. Label and Date Containers
As a bonus, I always label my containers with the seed type and date. This helps me know which ones to use first and keeps my little garden library organized!
By applying these techniques, I can breathe new life into my seed storage routine! Here’s to successful gardening for many seasons to come!
Testing Seed Viability Before Planting
Before I dive into planting, I want to know if my seeds are still good to go! Testing seed viability is a smart way to check how well my seeds might sprout. Here are a few easy methods I love to use:
1. Germination Test
The germination test is my go-to method. I take 10 to 20 seeds, place them on a damp paper towel, and fold it over. I keep the towel in a plastic bag or container to maintain moisture. Then, I check them daily, ensuring they stay damp but not soggy. After about 7 to 14 days, I count how many seeds have sprouted. This gives me a clear idea of how viable my seeds are!
2. Water Float Test
For bigger seeds, like beans and peas, the water float test works wonders! I put the seeds in a container of water and give them a gentle stir. Viable seeds usually sink, while non-viable ones float. It’s a quick and easy way to gauge their potential!
3. Seed Tetrazolium Test
If I want a more precise test, I might try the seed tetrazolium test. This involves soaking seeds in a solution of tetrazolium chloride. The viable seeds will turn red or pink while non-viable seeds stay white. This test can be a bit more complex, so I usually just stick to the first two options for casual gardening!
4. Commercial Seed Testing
If I have a lot of seeds or want a detailed evaluation, I might consider sending a sample to a professional seed testing lab. They use advanced techniques to determine viability and offer me a complete report on seed quality.
5. Seed Vigor Testing
In addition to checking viability, I’m also curious about seed vigor—basically, how quickly and strongly the seeds sprout. This can be tested in labs too. Knowing the vigor helps me choose seeds that will grow robust plants!
Testing my seeds before planting saves time, energy, and disappointment. With these simple methods, I can be sure my garden will flourish with all the right seeds! Happy planting!

