Are you ready to turn your pumpkin patch dreams into reality? By saving and storing pumpkin seeds the right way, you can enjoy a bounty of vibrant pumpkins year after year! In this guide, I’ll share everything you need to know—from factors that affect seed shelf life to the best practices for harvesting and storing. Let’s dig in!
Factors Influencing Pumpkin Seed Shelf Life
When it comes to pumpkin seeds, their shelf life varies based on several factors. Understanding these will help you keep your seeds fresh and ready for planting. Let’s break it down!
First, the age of the seeds matters a lot. Fresh seeds are your best friends! They have a better chance of sprouting than older seeds. I mean, wouldn’t you trust a bright-eyed seed over an old, shriveled one? It’s a no-brainer!
Next up is storage conditions. This is where things can get a bit tricky. Here are a few things to think about:
- Temperature: Seeds love cool spots. Ideally, they should be stored around 40°F to 50°F. Too hot or too cold can spoil the fun!
- Humidity: Keep the moisture levels low! Too much humidity can cause seeds to mold or rot. If your seeds can’t breathe, they won’t thrive!
- Light: Seeds need darkness to stay fresh. Think of them as little vampires! Store them in a dark container or cupboard to keep them safe.
Another thing to consider is how the seeds are harvested and processed. If I scoop seeds straight from a pumpkin and toss them in a bag without cleaning, I might be setting myself up for failure. It’s like putting away dirty dishes and expecting them to stay clean!
Lastly, seed quality plays a huge role. Always pick seeds that are plump and firm. Look for seeds that are free of cracks or blemishes. Healthy seeds are more likely to sprout and give you that beautiful pumpkin patch you’re dreaming about!
By keeping these key factors in mind, you’ll have a better chance of keeping your pumpkin seeds viable and ready to grow!
Best Practices for Harvesting Pumpkin Seeds
Harvesting pumpkin seeds is like hosting a little party for them! You want everything to be just right, so let’s chat about the best practices for gathering those seeds so they’re primed for planting.
- Pick Ripe Pumpkins: Only choose pumpkins that are fully grown and ripe. You want them firm with a deep orange color. If they look like they’re still in pajamas (aka green or soft), leave them be!
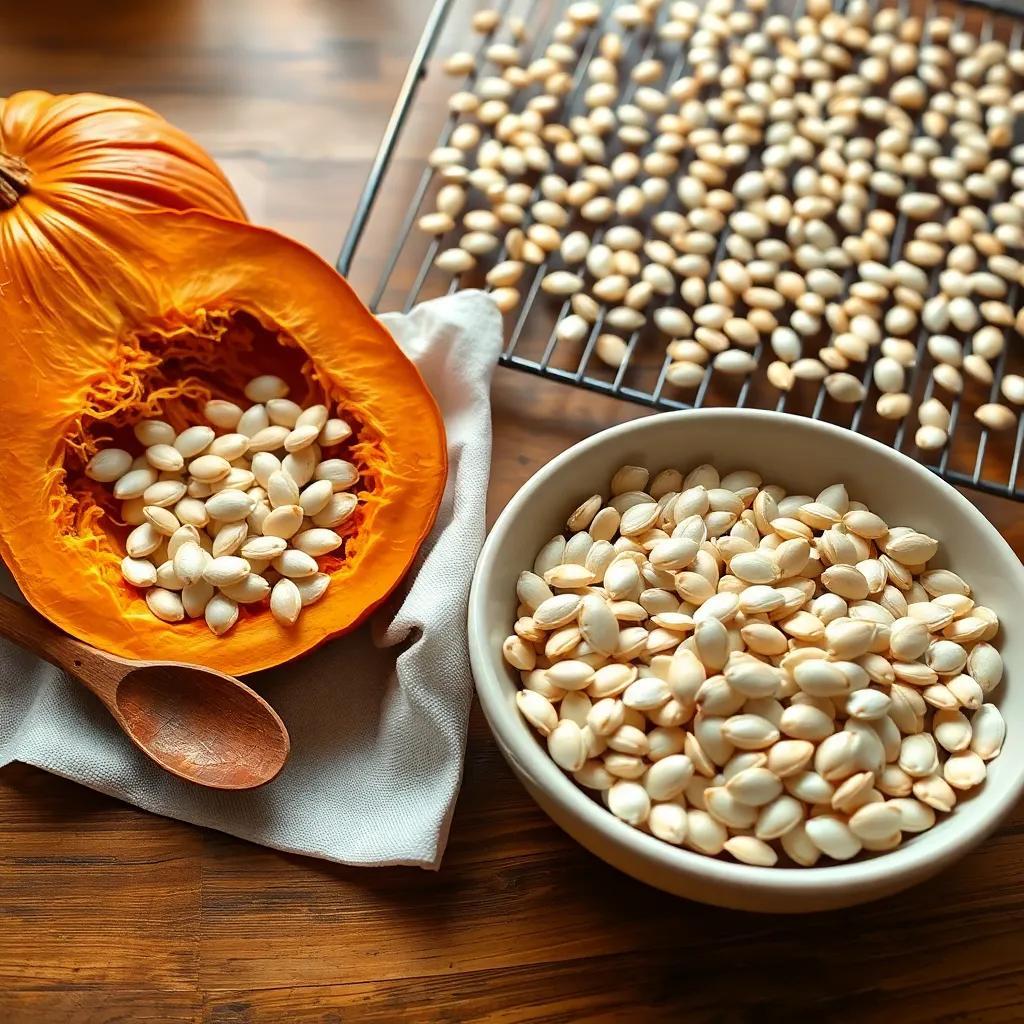
- Cut and Scoop: Time to get hands-on! Cut open the pumpkin and scoop out those seeds. I like to use a spoon – it makes the job easy and fun! Get rid of the stringy pulp too. Trust me, no one likes a messy party!
- Clean, Clean, Clean: Rinse those seeds in a bowl of water. A little swish-swish will help remove any leftover bits of pumpkin. You want them as clean as a whistle–no slimy stuff here!
- Dry Them Off: Lay the seeds in a single layer on a towel or drying rack. Let them dry for several days in a cool, well-ventilated space. Just remember, direct sunlight is a no-go. You don’t want to fry them!
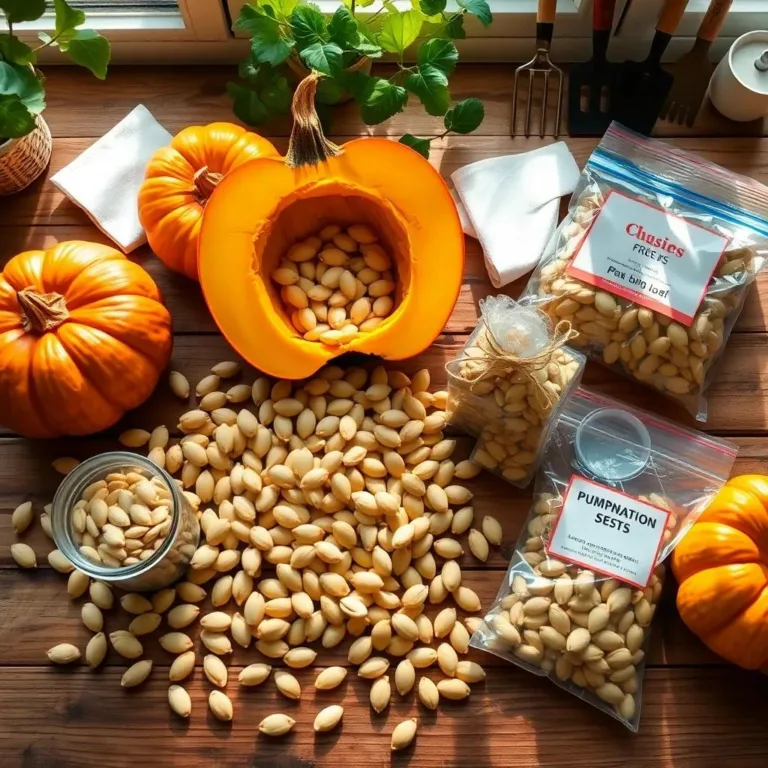
- Storage Time: Once your seeds are nice and dry, they’re ready for storage! Put them in airtight containers or resealable bags. Be sure to label the containers! You wouldn’t want to mix them up with your other seeds!
By following these steps, you’ll give your pumpkin seeds the best chance of staying fresh for when it’s time to plant! Happy harvesting!

Optimal Storage Methods for Pumpkin Seeds
Now that we’ve harvested and cleaned our pumpkin seeds, it’s time to talk about how to store them properly! The right storage methods can make all the difference in keeping those seeds fresh and ready for planting. Let’s go over some tips to keep your seeds happy!
- Choose the Right Containers: First things first, select airtight containers or resealable plastic bags for storage. This helps keep moisture and pesky bugs out. I like to use glass jars because they look nice on the shelf and seal tightly!
- Cool, Dark Space: Find a cozy spot for storage that’s cool and dark—ideally between 40°F (4°C) and 50°F (10°C). A dark pantry works wonders! Avoid places like the attic or garage where temperatures can go up and down like a roller coaster.
- Humidity Matters: Keep humidity levels low—aim for less than 50%. If you live in a damp area, consider using desiccant packs or silica gel inside the containers to absorb extra moisture. Those little packets do wonders!
- Label Everything: Don’t forget to label your containers! Write down the seed variety and the date you stored them. This way, you won’t be playing the guessing game when it’s time to plant.
- Regular Checks: I recommend checking on your seeds every few months. Look for any signs of moisture or pests. If you see anything suspicious, it’s best to address it right away!
By following these simple storage methods, your pumpkin seeds will stay in tip-top shape until it’s time to plant them. Fresh seeds mean a better chance of growing those gorgeous pumpkins!
Testing the Germination Rate of Stored Seeds
Alright, so you’ve got your pumpkin seeds all stored away, but how do you know if they’re still good to go? That’s where testing their germination rate comes in! It’s an easy way to find out if your seeds are ready to sprout or if it’s time to buy new ones. Let’s walk through it together!
- Gather Supplies: You’ll need a few damp paper towels, a resealable plastic bag, and some seeds. It’s super simple and won’t cost you a dime!
- Prepare the Seeds: Take a small sample of seeds—about 10 to 20 is perfect. Lay them out on a damp paper towel, making sure they’re spaced out and not touching.
- Seal the Bag: Now, fold the paper towel around the seeds and place it inside a resealable plastic bag. Don’t forget to label the bag with the seed type and today’s date. It makes things easier later!
- Find a Warm Spot: Place the bag in a warm location, like a sunny windowsill. Check on it every few days. If the towel starts to dry out, give it a little spritz of water!
- Count the Sprouts: After about a week, check for any sprouting seeds. Count how many have germinated. If more than 80% have sprouted, you’re in great shape! If it’s between 50% and 80%, you might want to plant a few extras. But if it’s below 50%, it’s a sign to get some fresh seeds.
Testing germination is like giving your seeds a little quiz to see if they’re ready for the big show! It helps you plan for planting and ensures you’ll have a bountiful garden.
Common Questions About Pumpkin Seed Storage
I get a lot of questions when it comes to pumpkin seed storage, and I bet you do too! Let’s tackle some of the most common queries I hear, so you can feel confident about your seeds.
Q: Can I keep pumpkin seeds for planting for more than one year?
A: Absolutely! If stored properly, pumpkin seeds can last for up to 6 years. Just remember to keep them in a cool, dark place and in airtight containers to maintain freshness!
Q: When is the best time to plant pumpkin seeds?
A: The best time to plant pumpkin seeds is in late spring or early summer. Make sure the soil temperature is at least 70°F. This gives your seeds the best chance to sprout and grow into healthy plants!
Q: How deep should I plant pumpkin seeds?
A: Plant pumpkin seeds about 1 inch deep in the soil. Space them around 2-3 feet apart to give them plenty of room to thrive!
Q: Can I plant pumpkin seeds directly in the ground?
A: Yes! You can plant pumpkin seeds directly in the ground as long as the soil is warm enough. Choose a sunny spot with well-draining soil for the best results.
By having answers to these common questions, you’ll feel more prepared and excited about your pumpkin gardening adventure! Happy planting!

