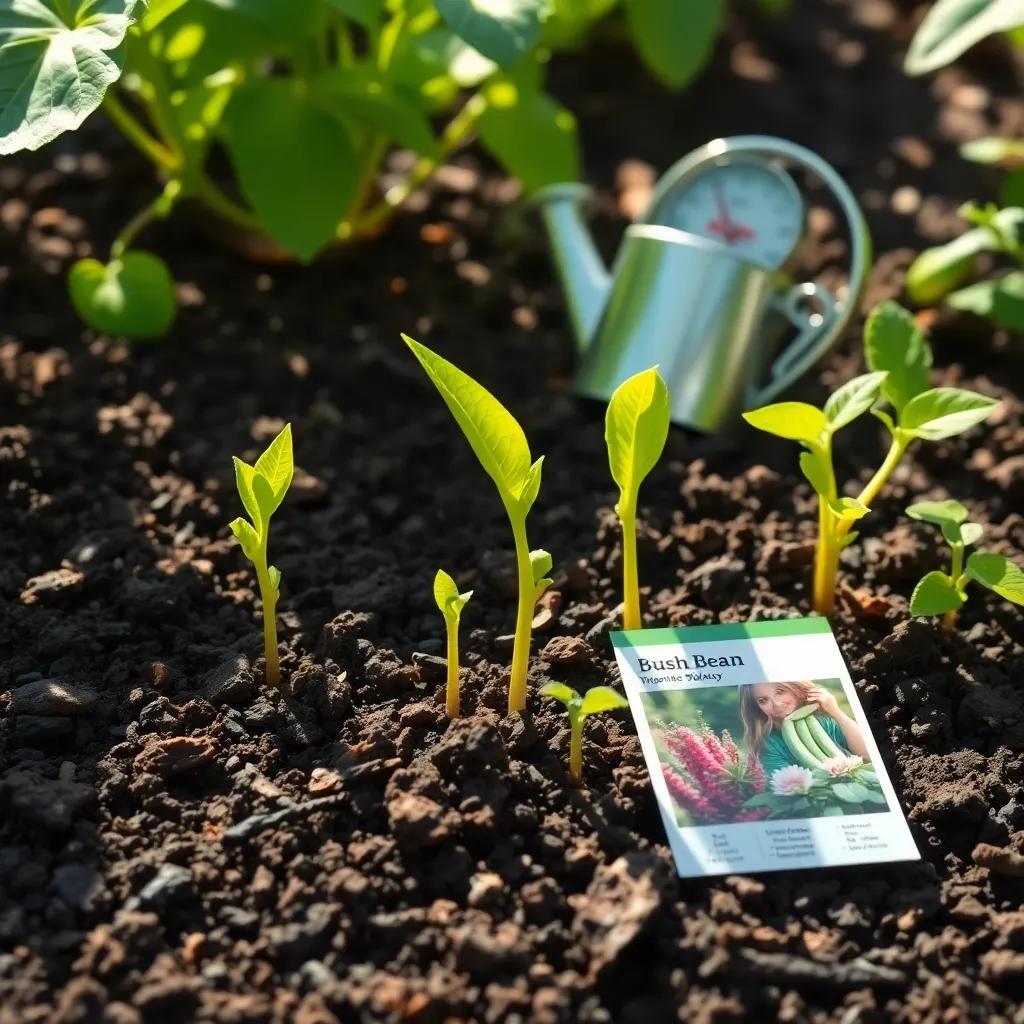
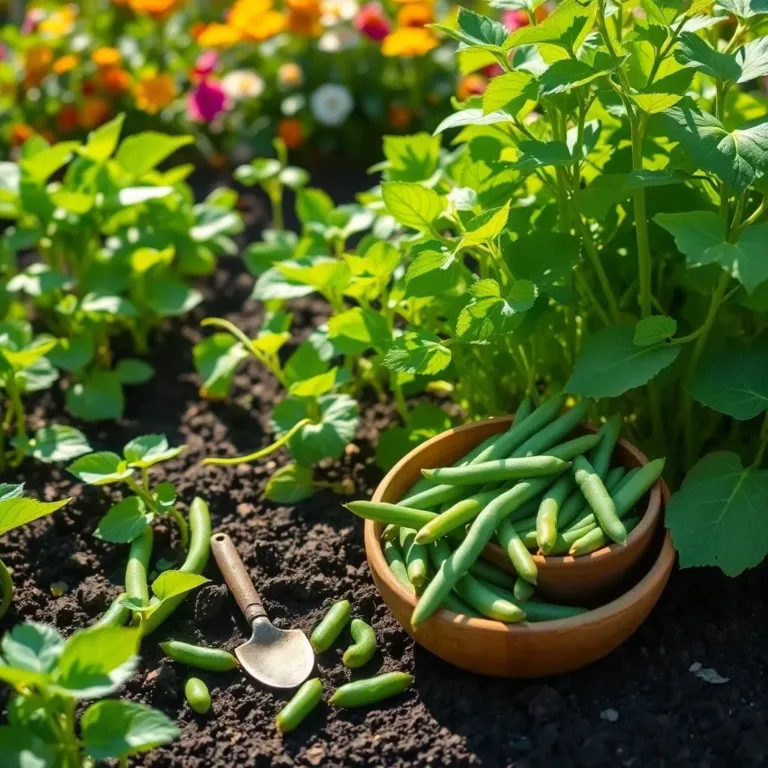
Are you ready to grow some delicious bush beans? Gardening is an exciting adventure, and watching those little seeds transform into vibrant plants is pure magic! Join me as we explore everything you need to know about germination, nurturing, and harvesting these tasty treasures from your garden! Let’s dig in! 🌱✨
Factors Affecting Bush Bean Germination Time
When it comes to growing bush beans, germination time can be a bit of a rollercoaster ride! Various factors play a big role in how quickly those little seeds start sprouting. Let’s take a closer look at what affects the germination time of bush beans.
- Seed Quality: First off, always choose high-quality seeds! Fresh seeds are like that energetic friend who always gets things done. They’ll sprout faster than older or damaged seeds, which might take their sweet time.
- Temperature: Did you know that bush beans love warmth? They thrive in soil temperatures between 70°F and 80°F (21°C to 27°C). If it’s too chilly, they’ll just sit there sulking, making you wait longer. On the flip side, if it gets too hot—above 90°F (32°C)—that can slow things down too! So, keep an eye on your garden thermometer!
- Moisture: Just like humans need water, so do seeds! Keeping the soil moist but not soggy is key. Too much water can drown those little guys, while dry soil will make them think about taking a vacation. Check that soil regularly and keep it just right.
- Light: Surprisingly, bush bean seeds don’t need light to germinate. They prefer the cozy darkness while doing their thing underground. However, once they sprout, they’ll need lots of sunlight—let’s say around 6-8 hours a day!
- Soil Quality: Lastly, the condition of your soil matters. Beans like it well-draining and rich in organic matter. Consider adding compost to make it extra inviting for your sprouting seeds!
By keeping these factors in mind, you can set your bush beans up for a successful start! So, get ready and let those seeds do their magic! 🌱
Optimal Conditions for Germinating Bush Beans
Alright, now that we know what affects germination, let’s chat about the optimal conditions for your bush beans to thrive! Think of it like creating a cozy spa day for your seeds.
- Temperature: Like I mentioned earlier, bush beans love warm soil. Aim for temperatures between 70°F and 80°F (21°C to 27°C). If your garden isn’t warming up, you can always sneak those pots indoors near a sunny window or use a heat mat. They’ll appreciate the extra warmth, trust me!
- Moisture: Keeping the right moisture level is like being Goldilocks—don’t make it too dry or too wet! The soil should remain evenly moist throughout the germination period. I like to check by sticking my finger into the soil. If it feels dry, give it a light watering. Just don’t flood it!
- Soil Preparation: Before planting, I mix in some compost or well-rotted manure to make the soil rich and nutritious. This way, my seeds have everything they need right from the start. A pH level of around 6.0 to 7.0 is perfect for bush beans.
- Seed Spacing: When planting your seeds, space them about 2-3 inches (5-7.6 cm) apart. This gives them room to grow without feeling cramped. They’re like kids at a party—everyone needs their space!
- Light after Germination: Remember, once those seedlings pop up, they need sunshine! Find them a sunny spot in the garden where they can soak up those rays for 6-8 hours each day.
By giving your bush beans the best conditions, you’ll watch them sprout up with joy! Who knew growing beans could be this fun? 🌞

Step-by-Step Guide to Germinate Bush Beans
Germinating bush beans is a fun and rewarding process! To help you get started, I’ve put together a simple step-by-step guide. Let’s roll up our sleeves and get planting!
- Select High-Quality Seeds: The journey begins with choosing fresh and healthy bush bean seeds. Pick seeds that are plump and uniform. Trust me, they’re the best starters for your garden!
- Prepare Your Containers: Get some small pots or seed trays and fill them with a good quality seed-starting mix. Make sure the mix is well-draining. It’s like giving your seeds a cozy bed to sleep in! Moisten the soil lightly before planting, so it’s ready for those little seeds.
- Plant the Seeds: Create small holes in the soil about 1-1.5 inches (2.5-3.8 cm) deep. Place one seed in each hole, then cover them gently with soil. Give it a little pat down—just enough to make sure they’re snuggled down.
- Water Wisely: After planting, give your soil a gentle watering. It’s like tucking them in! Keep the soil moist but not soggy. Too much water can drown them, and we don’t want that!
- Provide Warmth: Place your planting containers in a warm spot. Remember, bush beans love temperatures between 70°F and 80°F (21°C to 27°C). If it’s a bit cool, you might need to move them indoors or use a heat mat for a boost!
- Check for Germination: Keep an eye on your seeds daily! It usually takes 6 to 10 days for them to sprout. Once you see those first little leaves peeking through, it’s time to move them to a brighter area.
Following these steps will set you well on your way to having a lovely garden full of bush beans!
Common Germination Issues and Solutions
While germinating bush beans can be exciting, sometimes things don’t go as planned. Don’t fret! Let’s take a look at some common germination issues and how to tackle them.
- Slow Germination: If your seeds are taking longer than expected to sprout, it might be all about the temperature. Remember, they love warmth! If the soil’s too chilly, try moving them to a warmer spot or adding a heat mat.
- Poor Germination Rate: If only a few seeds sprout, the problem could be old or low-quality seeds. Always choose fresh seeds from a trusted source. And check your moisture levels—too dry can lead to sad seeds!
- Damping-Off Disease: This nasty fungal disease can cause seedlings to fall over and die. To prevent this, don’t over-water and make sure your containers are clean. Using a sterilized soil mix helps these little guys thrive!
- Leggy Seedlings: If your seedlings are tall and skinny, they’re probably not getting enough light. Once they sprout, provide 6-8 hours of sunlight each day. If natural light is limited, consider using grow lights.
- Transplant Shock: When you move your seedlings to the garden, they may not adapt right away. To minimize this, handle them gently and plant them at the right depth. Keep them well-watered and protected from harsh weather for a few days.
By keeping a close eye on your seedlings and troubleshooting any issues, you can ensure your bush beans grow strong and healthy!
Harvesting Tips for Bush Beans After Germination
Harvesting your bush beans is like a sweet reward for all your hard work! Here’s how to do it right, so you can enjoy the fruits (or should I say, beans?) of your labor!
- Timing is Everything: Bush beans typically take about 50 to 60 days after planting to reach maturity. Check your seed packet for specific timing, as it can vary between varieties.
- Inspect for Readiness: Look for plump, bright green pods that feel firm to the touch. If they’re starting to look dry or brown, they might be past their prime. You want them fresh and tender!
- Use the Right Technique: Grab a pair of sharp garden shears or scissors. With one hand, hold the stem of the bean pod and cut just above it with the other hand. Be careful not to damage the plant or any nearby pods!
- Harvest Regularly: To keep your plants producing, harvest every 2 to 3 days. The more you pick, the more beans your plants will produce. It’s like giving them a little encouragement!
- Proper Storage: If you have more beans than you can eat right away, store them in a perforated plastic bag or airtight container in the fridge. They’ll stay fresh for up to a week—if you can resist munching on them sooner!
By following these tips, you’ll enjoy a bountiful harvest of delicious bush beans, perfect for your next meal! Happy harvesting! 🌱🍽️

