Are you ready to take your gardening game to the next level? Growing microgreens is a fun and rewarding way to enjoy fresh flavors right from your home! In this guide, I’ll share everything you need to know about germination times, tips for success, and answers to your burning questions. Let’s get those tiny seeds sprouting! 🌱✨
Factors That Influence Microgreen Germination Time
When I first started growing microgreens, I discovered that the germination time can vary quite a bit! It’s not just about planting seeds and waiting patiently – there are several factors that can affect how quickly those tiny greens pop up. Let’s look at some of the key players in this little garden adventure!
- Seed Quality: The seeds are the stars of the show! Fresh, high-quality seeds tend to germinate faster and more evenly. If I’m buying seeds, I always check the date on the package. Old or poor-quality seeds can lead to disappointment.
- Temperature: You’ve got to keep it cozy! Most microgreens thrive in a temperature range of 60 to 75 degrees Fahrenheit (15 to 24 degrees Celsius). If it’s too cold, those seeds might just take a nap instead of sprouting. And if it’s too warm? Well, they might sprout too quickly and become weak. Finding the sweet spot is key!
- Humidity: A little moisture goes a long way. Microgreens like it humid, especially in the early days. I often cover my trays with a clear lid or plastic wrap to create a mini greenhouse effect. But watch out! Too much humidity can invite mold to the party, and nobody wants that.
- Light: Speaking of parties, light is like the DJ for your plants. Some seeds need light to sprout while others prefer a little darkness. Make sure to research what your microgreens prefer and adjust their light accordingly. After germination, they’ll need bright light to grow strong and healthy!
- Watering: Watering is like giving your plants a drink. Not too much, not too little! Consistent moisture is essential, so I like to check the soil daily. Keeping it moist helps the seeds focus on growing instead of worrying about dehydration.
By keeping these factors in mind, I’m hopeful that my microgreens will thrive and bring a burst of flavor to my meals! 🌱
Understanding the Germination Process of Microgreens
Germination is the magical moment when seeds turn into sprouting greens! It’s a bit like watching popcorn pop, and I can’t help but get excited every time. So, how does this process work? Let’s break it down step by step!
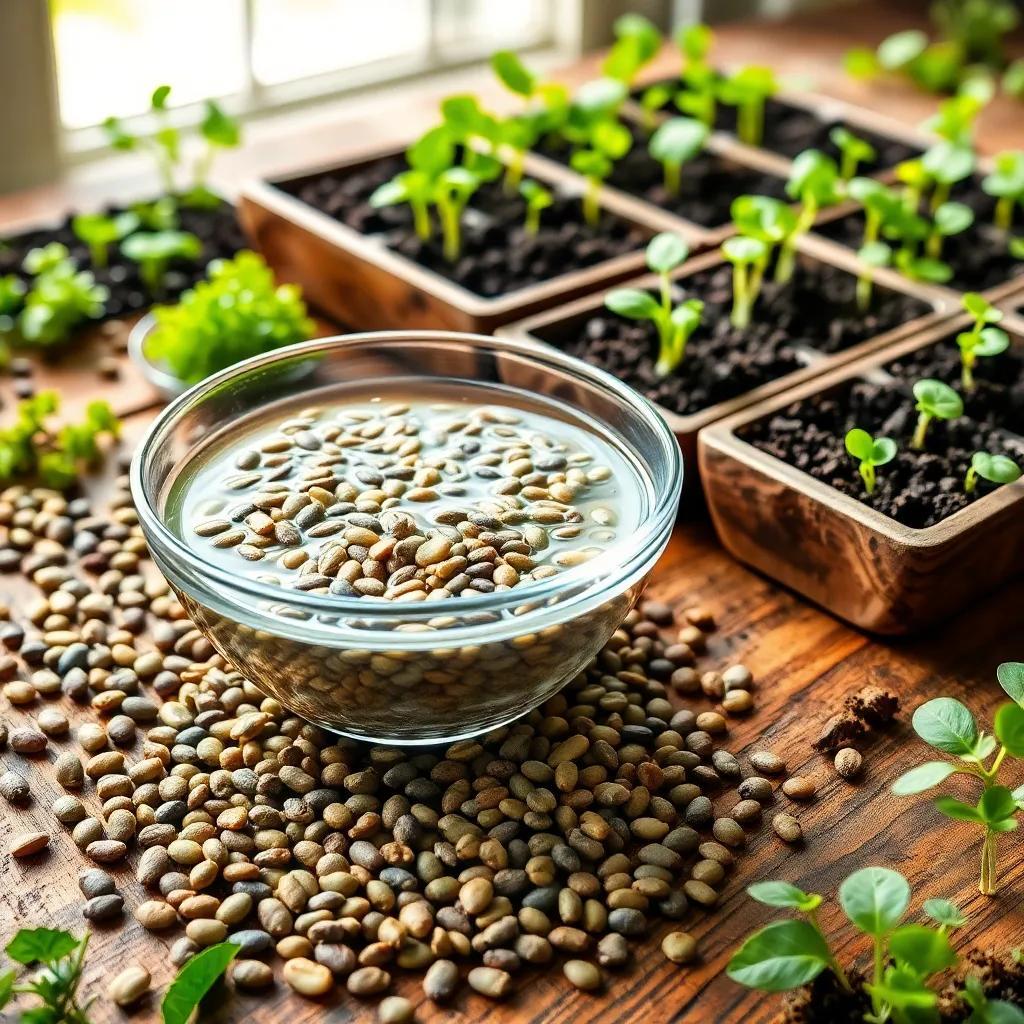
First up, we have the soaking phase! To awaken the seeds from their slumber, I soak them in water for a few hours or even overnight. This little spa treatment gets them ready to sprout. Soaking helps seeds absorb moisture and kickstarts their internal growth processes.
Next, it’s time for sowing! I spread the soaked seeds evenly onto a growing medium, like soil or a special microgreen mix. Then, I gently press them in so they have good contact with the soil. This is crucial for moisture absorption – they need to feel secure!
Once the seeds are in place, I cover them with a clear lid or a layer of plastic wrap to trap humidity. It’s like tucking them in for a cozy nap! During germination, the seeds begin to access and break down their stored nutrients, much like a little snack before they wake up to the world.
Now, the average germination time for most microgreens ranges from 7 to 14 days. However, some speedy varieties, like radishes, can sprout in as little as 3 to 5 days! Isn’t that impressive?
After the seeds sprout, they need some light to grow strong and healthy. Good lighting helps them produce chlorophyll, which makes them the vibrant green we all love. Forgetting about light can leave your seedlings leggy and sad – and I don’t want that for my little greens!
This whole germination process is a delightful way to connect with nature while enjoying some yummy results. So, roll up your sleeves, because it’s time to watch those seeds come to life! 🌱✨

Average Germination Times for Popular Microgreens
I love the excitement of watching microgreens sprout, but I also know that different varieties have their own germination timelines. Just like people, these little greens have their own unique personalities! Let’s explore the average germination times for some popular microgreen varieties, so you can plan your growing adventure with ease.
- Broccoli: These nutritious mini greens usually take about 4 to 6 days to germinate. They’re mild and versatile, and I often toss them in salads or stir-fries for a delightful crunch!
- Radish: If you’re looking for a speedy option, radish microgreens are my go-to! They typically sprout in just 3 to 5 days. Their peppery flavor adds a kick to any dish—perfect for sandwiches or as a salad topper!
- Sunflower: Known for their delightful crunch and nutty flavor, sunflower microgreens take a bit longer, about 7 to 10 days. They’re great in salads or as a snack on their own!
- Pea Shoots: These are not only sweet but also quick to grow! They generally germinate in 3 to 5 days and make a fantastic addition to wraps or salads.
- Cilantro: If you love the taste of cilantro, wait around 7 to 10 days for these aromatic microgreens to sprout. They enhance salsas and soups beautifully!
- Spinach: Spinach microgreens thrive in about 5 to 7 days. I enjoy adding them to smoothies or salads for a nutritious boost!
With these average germination times in mind, you can mix and match varieties for a colorful harvest! Just remember, every seed is a little different, and factors like temperature and moisture can influence how quickly they sprout. Happy growing!
Tips for Successful Microgreen Germination
Getting those little seeds to sprout is one of the most satisfying parts of growing microgreens! But how do I make sure everything goes smoothly? I’ve rounded up some tried-and-true tips that help me achieve successful germination every time!
- Choose High-Quality Seeds: I always opt for fresh, organic seeds from trusted suppliers. This step is like laying the foundation for a beautiful home!
- Pre-soak Your Seeds: Soaking seeds before planting can give them a head start! I like to soak them for a few hours or overnight. This helps them absorb moisture and break dormancy.
- Use the Right Growing Medium: A good, well-draining soil or specialized microgreen mix is essential. This ensures my seeds have the nutrients they need right from the start!
- Keep Moisture Levels Just Right: My secret weapon is to keep the growing medium consistently moist but not soggy! I like to use a spray bottle for a gentle mist. Overwatering can lead to mold—yikes!
- Provide Good Ventilation: Air circulation is important! After the seeds sprout, I remove any covers to promote airflow. This helps reduce the risk of dampness and keeps my seedlings happy.
- Find the Perfect Temperature: Keeping the temperature between 60 to 75 degrees Fahrenheit (15 to 24 degrees Celsius) helps my microgreens thrive. I try to keep them in a warm and cozy spot!
- Monitor Light Levels: Once my seeds sprout, they need plenty of bright light. I often place my trays near a sunny window or use grow lights. This encourages strong, healthy growth!
By following these tips, I feel more confident in my ability to grow beautiful microgreens! With just a little attention and care, those seeds will soon transform into delicious greens, ready to brighten up any dish! 🌱✨
Common Questions About Microgreen Germination
I remember when I first started growing microgreens, I had a ton of questions! If you’re feeling a bit curious, you’re not alone. Here are some of the most common questions about microgreen germination that I am happy to share!
Q: What are microgreens?
A: Microgreens are the young seedlings of various vegetables and herbs. They are harvested just after their first leaves appear. They’re tiny but packed with flavor and nutrients!
Q: How long does it take for microgreens to germinate?
A: Germination times can vary! Most microgreens take around 2 to 7 days, depending on the type of seed and the growth conditions. Some varieties, like radish, can sprout in as little as 3 days!
Q: What do microgreens need to germinate?
A: They need moisture, warmth, and oxygen! Keeping the growing medium moist—and not waterlogged—is key. A warm environment helps seeds sprout!
Q: Can I speed up the germination process for microgreens?
A: Definitely! I soak the seeds beforehand, and maintain a warm, humid environment. This little trick can help them germinate faster. Just don’t go overboard with water, or you may end up with mold!
Q: How do I know when my microgreens are ready to harvest?
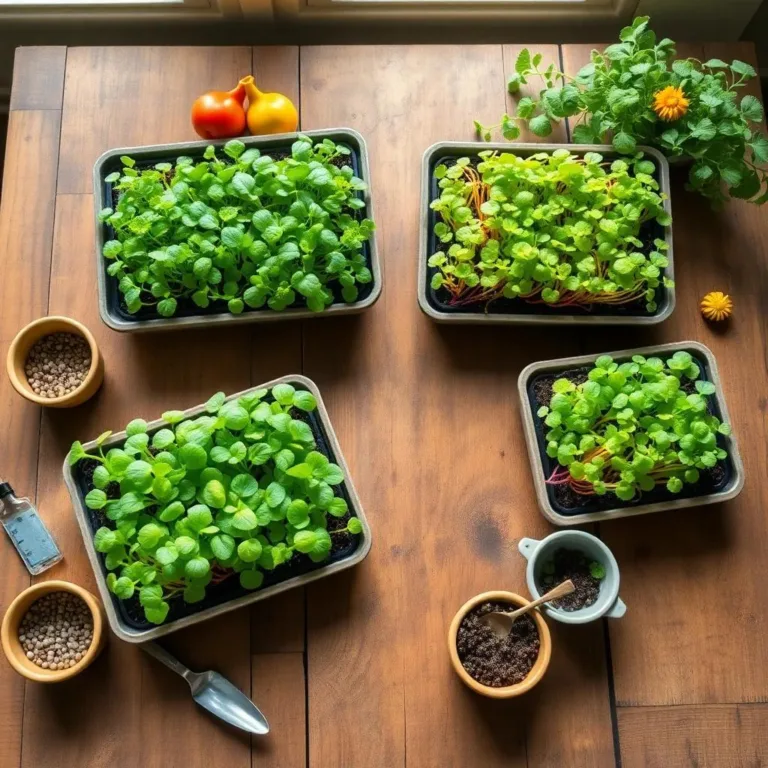
A: Typically, microgreens are ready when they have developed their first set of true leaves, which usually happens around 1 to 3 weeks after germination. They should be about 1 to 3 inches tall and ready for snipping!
I hope this helps clear up any questions you may have had about growing microgreens! It’s such a fun journey, and before you know it, you’ll be enjoying those vibrant greens in your meals! 🌿✨

