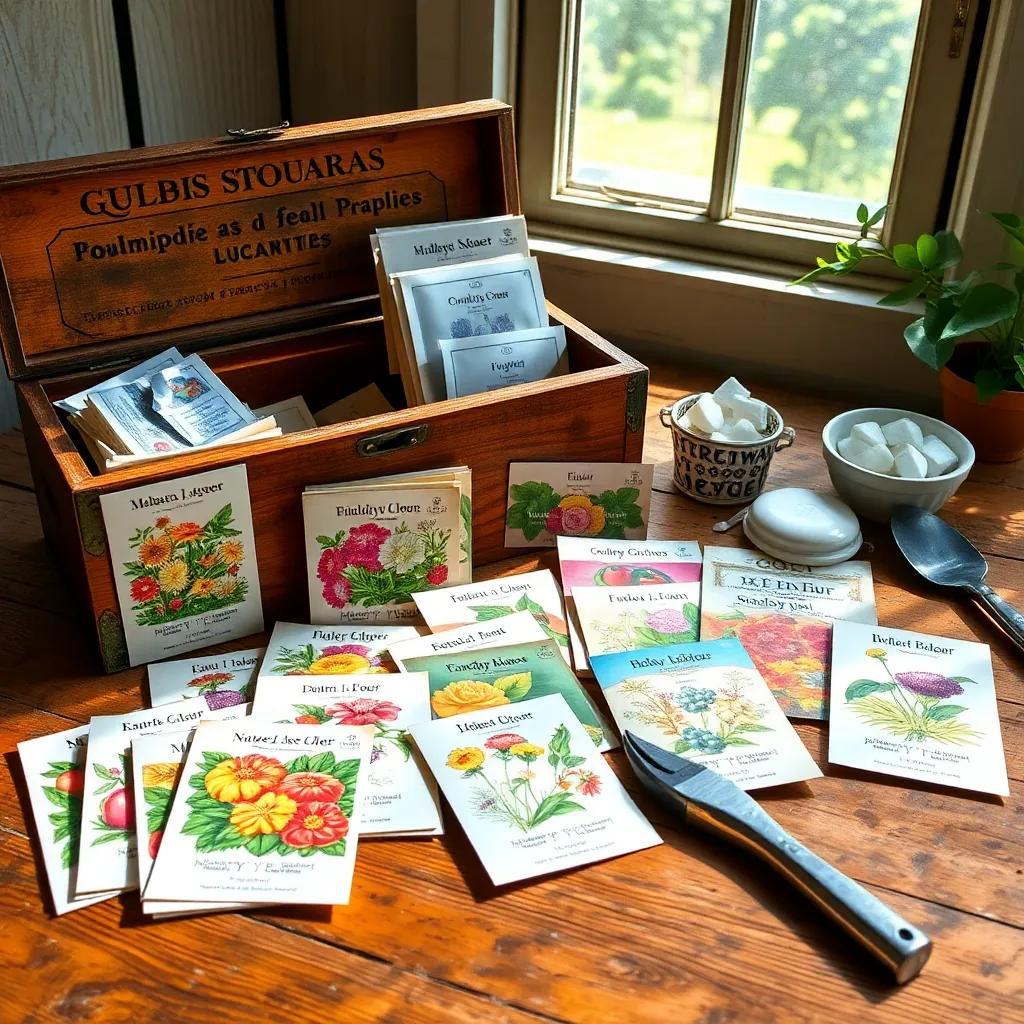
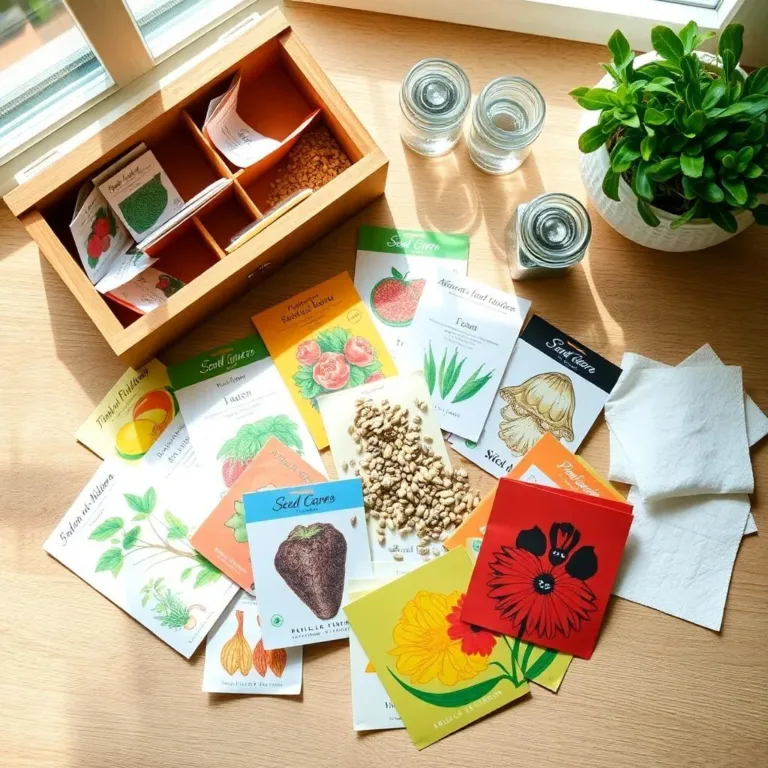
Are you ready to unlock the secrets of seed packets? I love gardening, and one of the most exciting parts is knowing how long my seeds will last! In this article, we’ll explore how to keep those little packets of potential fresh, spot expired seeds, and even test their germination rates. Let’s dig in and make sure our gardens flourish!
Factors Influencing Seed Packet Longevity
When it comes to the longevity of seed packets, several factors come into play. Understanding these can help me to keep my seeds fresh and ready for planting! Let’s explore the key factors that affect how long those tiny packets of potential can last:
- Seed Viability: Each type of seed has its very own lifespan. For example, some seeds like tomatoes and peppers can last for years, while others, like onions, may only be good for a year or so. It’s kinda like being a teenager versus a grandma—some just have more life in them!
- Storage Conditions: How I store my seeds can significantly impact their lifespan. Seeds love cool, dry, and dark places! If I leave them out in the sun or in a humid area, they’ll probably give up on life faster than my plants when winter rolls in.
- Seed Quality: The initial quality of seeds plays a big role too. Fresh, high-quality seeds that are free from diseases will outlast older, neglected ones—just like fresh produce at the market! If I get my seeds from a reliable source, I can expect them to last much longer.
- Packaging: The packaging itself counts! Good seed packets are designed to keep moisture and light out. If the packet is torn or flimsy, it might allow conditions that shorten the seeds’ lifespan. So, I always check the packet for any damage when I store them!
- Seed Type: Different seeds naturally have different lifespans. Knowing the lifespan of the specific seeds I have can help me plan better. Regularly checking the expiration dates on my packets is a great idea!
Understanding these factors helps me treat my seeds right and keeps my garden blooming! By managing storage conditions and choosing high-quality seeds, I can maximize their lifespan and ensure a successful growing season.
Best Practices for Storing Seed Packets
Now that I know what influences seed packet longevity, let’s talk about how to store those little gems! Proper storage is like giving my seeds a cozy home where they can thrive until they’re ready to sprout. Here are my favorite tips for keeping seed packets safe and sound:
- Cool and Dry: I keep my seeds in a cool area, ideally between 32°F and 41°F (0°C and 5°C). A refrigerator is a fantastic spot for long-term storage! Just make sure they’re in airtight containers to avoid moisture. Nobody wants soggy seeds!
- Darkness is Key: Light can potentially trick seeds into thinking it’s time to grow, which is not good when they’re meant to be resting! I love storing my seeds in a dark drawer or cupboard to keep them out of sight and mind.
- Labeling: I always label my seed packets with their type and dates—no more guessing if I’ve got old seeds or fresh ones! It’s a great way to keep track of what I’ve got and when I need to use them.
- Avoid Temperature Swings: I steer clear of places with wild temperature changes, like attics or garages. Extreme conditions can be a recipe for disaster. Instead, I choose a consistent spot!
- Consider Desiccants: Adding a desiccant pack, like silica gel, to my seed container can help absorb any moisture that sneaks in. It’s like giving my seeds a little buddy to keep them company while keeping them dry!
By following these simple storage practices, I can help ensure my seeds remain viable and ready to go when planting time arrives! Happy gardening!

Identifying Signs of Expired Seeds
Knowing when my seed packets have expired is essential for a successful garden! Nothing is more disappointing than planting seeds only to find out they’ve lost their viability. Here’s what to look for when checking if my seeds are still good:
- Past the Viability Date: Most seed packets have a date on them that tells me how long the seeds should last. If I’m looking at a pack that’s past this date, it’s a good idea to be cautious. Although some seeds may still germinate, the chances can be slimmer.
- Germination Tests: Before planting a whole packet, I can try a germination test. I’ll take a few seeds, place them between moist paper towels, and watch for sprouting. If only one or two sprout, I might want to buy new seeds!
- Physical Inspection: It’s a good idea to check the seeds. If they look cracked, shriveled, or even moldy, it’s a sign they’ve seen better days. Healthy seeds should appear firm and undamaged!
- No Seedlings: If I’ve sown the seeds and nothing pops up within the expected time, it might be a signal that they’re expired. Patience is key, but sometimes, it’s just not meant to be.
- Storage Issues: If my seeds have been stored improperly, like in a humid or hot environment, they might have degraded faster than expected. It’s always good to check how I stored them!
By keeping an eye on these signs, I can help ensure that my plants will grow strong and healthy—no more guessing games!
Tips to Extend Seed Packet Viability
Now that I know how to identify expired seeds, let’s look at ways to keep my precious packets lasting longer! Here are some fun and simple tips to extend the life of my seed packets:
- Ideal Storage Conditions: Keeping seeds in a cool, dry, and dark place is the best way to go! If I can, storing them in a refrigerator is an excellent option. Just remember to place them in airtight containers to keep moisture out!
- Seal the Deal: I want to make sure my seed packets are tightly sealed. If they don’t have a resealable feature, I can transfer them into small, airtight containers. This will keep unwanted moisture and air from sneaking in!
- Rotate My Collection: I like to practice “first in, first out” with my seeds. This means I should use my older seeds first before the new ones. By doing this, I can enjoy my freshest seeds while keeping track of their shelf life.
- Keep a Record: I always label my seed packets with the planting date. This way, I know exactly how long they’ve been stored! It’s like giving my seeds their own birthday!
- Perform Germination Tests: Whenever I’m in doubt, I can take a few seeds to test their germination rate. This will help me decide if it’s time to refresh my seed collection!
By following these tips, I can extend the life of my seeds and keep my garden thriving. So let’s start planting and watch those seeds grow!
Conducting Seed Germination Tests
Testing the germination of our seeds is a fantastic way to make sure I’m planting viable options! Plus, it’s super easy and can save me from disappointment later on. Here’s how I can conduct a simple germination test in just a few steps:
- Gather Materials: I’ll need some seeds, moist paper towels, a plate or plastic bag, and a spot that stays warm. It’s like prepping for a little science experiment—how fun is that?!
- Moistening the Towels: First, I’ll dampen a couple of paper towels, making sure they’re not soaking wet, just moist. Too much water can drown the seeds, and nobody wants that!
- Placing Seeds: Next, I’ll place 5-10 seeds on one of the towels, spacing them out so they don’t crowd each other. I’ll then fold the towel over the seeds to keep them cozy.
- Covering Up: I can either place the towel on a plate or put it in a plastic bag to create a mini-greenhouse effect. This will help retain warmth and moisture, which seeds love!
- Waiting Game: Now comes the hardest part—waiting! I’ll check the seeds every day or so to see if they start sprouting. Depending on the type of seeds, this could take anywhere from a couple of days to a week!
- Evaluating Results: Once the waiting is over, I’ll count how many seeds have germinated. If I see a high germination rate (like 70% or more), my seeds are still good to go! If not, it might be time to shop for some fresh ones.
Conducting germination tests can be a fun activity and helps me plan for my garden goals. Let’s make sure those seeds are ready to grow and flourish!

