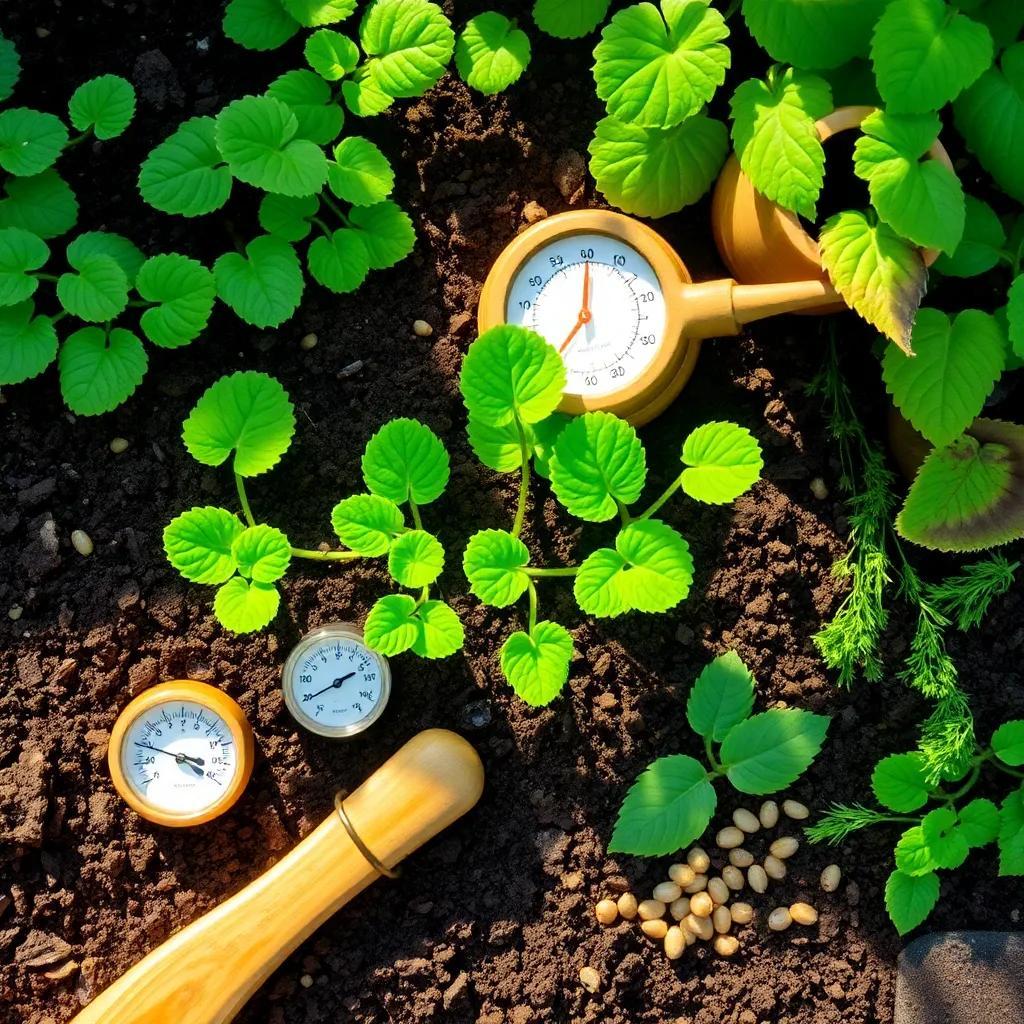
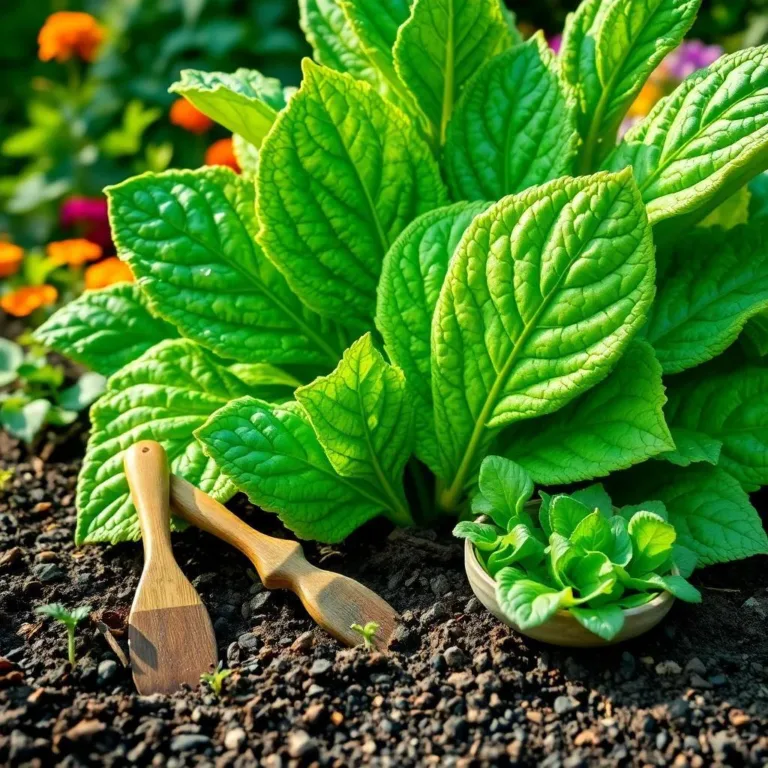
Have you ever thought about growing your own comfrey? This amazing plant is not only beautiful but also super useful! In this article, I’ll guide you through the exciting journey of growing comfrey from seed, sharing tips on germination, transplanting, and harvesting. Get ready to discover how to turn tiny seeds into a thriving garden treasure!
Understanding Comfrey Seed Germination Factors
When it comes to growing comfrey from seed, a few factors can make or break the success of your gardening adventure! Let’s talk about what really affects how these little seeds sprout and grow.
Temperature is a big player in the germination game. Comfrey seeds are happiest when they’re cozy in a temperature range of 60-75°F (15-24°C). If it’s too cold, those seeds might just sit there, sulking. On the other hand, if it’s too warm, they could decide to take a long nap instead of sprouting! So, it’s all about finding that sweet spot.
Moisture is another key ingredient in the germination recipe! Comfrey seeds love to have their soil kept consistently moist—not too dry and definitely not waterlogged. I like to think of it as giving them a nice drink of water, but not a full-on swim! Keeping the soil evenly moist during this time helps those seeds soak up what they need to burst into life.
Then, let’s chat about seed quality. Trust me, starting off with fresh seeds makes a huge difference. Old or poorly stored seeds may lack that vigor we want. I always buy seeds from trusted sources and keep them in cool, dry places. It’s like giving my seeds a spa day before I start my garden!
Another trick up my sleeve is seed treatment methods. Techniques like scarification (which is just a fancy way of saying “make a small scratch on the seed”) or stratification (chilling them for a bit) can wake those seeds up and get them ready to germinate faster!
By keeping temperature, moisture, seed quality, and treatments in check, I can usually expect my comfrey seeds to sprout within 10 to 21 days—and let me tell you, it’s worth waiting for healthy little seedlings to pop up!
Essential Conditions for Growing Comfrey from Seed
Alright, let’s dig into the essentials for growing comfrey from seed. If you want your little plants to flourish, you’ve got to create the right conditions! Think of it as throwing a party for your seeds!
- Soil Quality: Comfrey thrives in well-draining soil with good organic content. To prepare, mix in some compost or well-rotted manure. This way, your plants will have all the nutrients they need to grow strong and healthy. It’s like giving them a buffet of yummy food!
- Sunlight: Comfrey loves the sun but can also tolerate a bit of shade. Aim for about 6 to 8 hours of sunlight a day. If you can’t provide that much sun, don’t panic! Partial shade can still make your plants happy!
- Watering Routine: Remember that delicate balance of moisture we talked about? Keep a schedule! Water your seedlings regularly, especially during the initial growth phase. Once they’re established, they can handle longer dry spells. I like to think of it as teaching them to drink responsibly!
- Temperature Control: As mentioned before, keeping temperatures between 60-75°F (15-24°C) helps those seeds germinate, but it’s also important for seedlings. If it gets too chilly or hot, they might not be as productive. I like to check my little garden buddies regularly to make sure they’re comfy!
Now that you know the essential conditions, you’re well on your way to growing happy and healthy comfrey plants! Just remember, a little love and care go a long way. Gardening is a journey, and I hope you enjoy every moment!

Best Practices for Transplanting Comfrey Seedlings
Transplanting comfrey seedlings is an exciting step in your gardening adventure! Once your seedlings have grown their first true leaves and reached a height of about 3-4 inches (7.5-10 cm), it’s time to help them settle into their new home. Here are some friendly tips to make the process as smooth as possible:
- Timing is Everything: Choose a sunny to partially shaded spot for your comfrey. Late spring is usually the best time for transplanting, ensuring the seedlings are strong enough to handle their new environment.
- Prepare the Soil: Before transplanting, I like to improve the soil. Mix in some organic matter like compost or well-rotted manure. This boosts nutrients and helps the comfrey thrive in its new space. A little pre-planting pampering goes a long way!
- Digging Holes: Make holes that are slightly larger than the root ball of your seedlings. Space them about 2-3 feet apart. This gives them room to grow and spread their beautiful leaves!
- Transplanting Technique: Gently remove the seedlings from their containers. Avoid pulling on the stems to prevent damage. Place each seedling in its hole, cover with soil, and lightly pat down. A cozy bed for your baby plants!
- Water, Water, Water: After they’re planted, give them a good drink. This helps settle the soil around the roots and reduces transplant shock. Keep watering consistently until they establish themselves, and they’ll thank you with healthy growth!
By following these simple steps, you can confidently transplant your comfrey seedlings, setting the stage for a flourishing garden experience!
Estimated Time for Comfrey Growth Stages
When growing comfrey, patience is key! Just like waiting for a delicious cake to bake, comfrey takes time to grow and mature. Let’s break down the timeline for each growth stage:
- Germination (10-21 Days): After sowing your seeds, expect them to sprout within this range. The factors like temperature and moisture will play a big role. Keep an eye on your garden; it’s so exciting when those little green shoots start appearing!
- Seedling Stage (4-6 Weeks): Once germinated, the seedlings will develop their first true leaves. During this time, they grow strong roots and start showing off their vibrant green leaves. This stage is all about building a solid foundation!
- Establishment (8-12 Weeks): As the comfrey plants mature, they’ll continue to grow and create a more extensive root system. This stage is crucial for resilience! Make sure they get enough water and sunlight to thrive during this time.
- Vegetative Growth: After establishing themselves, your comfrey plants will enter a period of rapid growth. Depending on the variety and conditions, this could last several months. They will produce plenty of lush leaves!
- First Harvest (3-6 Months): You can start harvesting leaves when the plants are healthy and robust. Cutting back some leaves encourages new growth, but don’t go overboard. Always leave some leaves behind for the plant to keep thriving!
- Maturity (1-2 Years): Finally, your comfrey plants will reach full maturity. They’ll be strong, ready to flower, and grow more seeds! After this period, you can enjoy regular harvests for years to come.
By understanding these growth stages, I find that it makes my gardening journey feel more rewarding. Each stage is a little milestone, and soon enough, you’ll be reaping the benefits of your efforts!
Harvesting Techniques for Comfrey Plants Grown from Seed
Ah, harvesting comfrey! This is the moment we’ve all been waiting for! Once your plants reach maturity, you can enjoy the fruits of your labor. Here’s how to do it right:
- Timing for Harvesting: Wait until your comfrey plants are fully mature—about 1 to 2 years after planting. Once the leaves are large and vibrant, it’s time to cut! Harvesting too early can stunt growth.
- Choose Healthy Leaves: Focus on picking the largest and healthiest leaves. These tend to have the most nutrients. Look for lush green leaves that aren’t damaged or diseased. Your plants will thank you for being picky!
- Selective Harvesting Method: Instead of stripping the entire plant, I prefer to take just a few individual leaves or small clusters. This way, the plant can continue to thrive and grow new leaves after your harvest. It’s like giving them a little haircut!
- Using the Right Tools: Grab a sharp pair of scissors or pruning shears. Clean tools help prevent disease. When cutting, snip the leaves close to the base but avoid damaging the crown. We want to keep our plants healthy and happy!
- Harvest Frequency: Depending on how fast your comfrey grows, you can usually harvest every 4-6 weeks during the growing season. Remember to allow some time for recovery between harvests, just like giving yourself a break after a busy week!
- Post-Harvest Care: After harvesting, rinse the leaves to remove any dirt. Allow them to air-dry a bit before using or storing. Avoid exposing them to direct sunlight for too long, as it may cause them to wilt.
- Utilizing Harvested Leaves: You can use comfrey leaves fresh or dried in various ways. They’re great for medicinal uses, composting, or making a nutrient-rich liquid fertilizer. Get creative; the possibilities are endless!
With these harvesting techniques, you’ll be well-equipped to enjoy the bountiful rewards of your comfrey plants. Happy harvesting!

