Are you ready to grow some fabulous clover in your garden? I’ve got all the tips and tricks you need to help those little seeds sprout into lush, green plants! From understanding the germination phases to troubleshooting common issues, this guide will make you a clover-growing pro in no time. Let’s dig in and get started on our clover adventure! 🌱✨
Understanding the Germination Phases of Clover Seeds
When I think about growing clover, I get excited about the germination process! It’s like watching a magical transformation! The process can be broken down into key phases: imbibition, activation, and growth. Let’s explore these phases together.
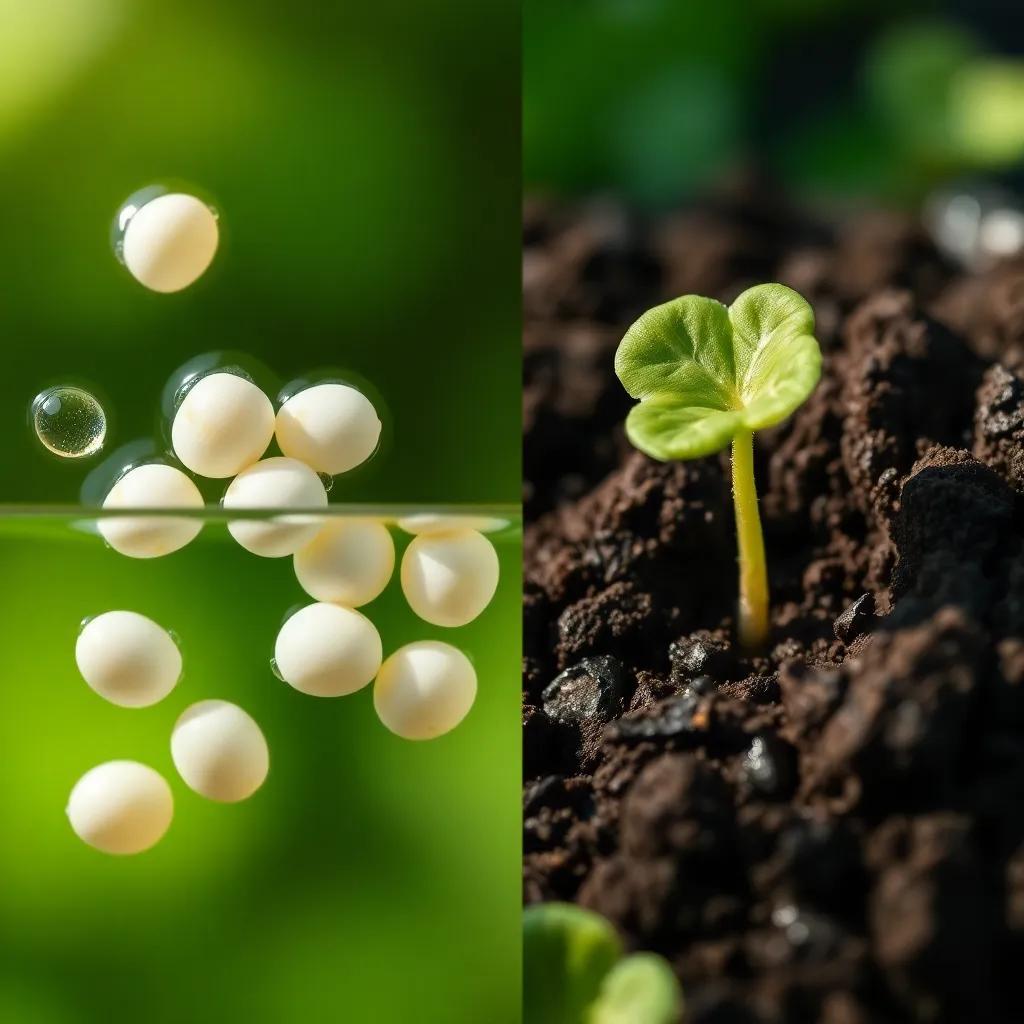
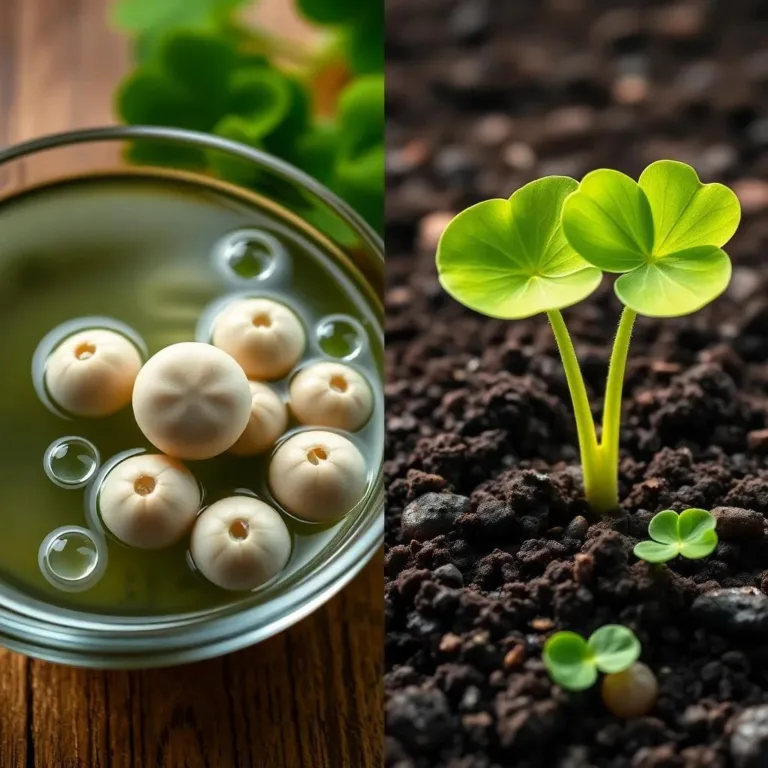
- Imbibition: This is the first step, where those sleepy clover seeds drink up water like they’re at a spa! They absorb moisture, swell up, and prepare for action. It’s fascinating because as they soak, enzymes kick into gear. They start waking up and getting ready for the next steps!
- Activation: After soaking, the seeds get super energized! Enzymes break down their stored nutrients, turning them into energy. This is like a pre-game pep talk for the seeds! They’re getting all their supplies lined up for some serious growth.
- Growth: Now for the grand finale! The radicle, which is the seed’s primary root, breaks through the seed coat and digs into the soil. This is where the real fun begins! It anchors the seedling down and starts drinking up all that yummy water and nutrients. In the meantime, the hypocotyl, or the stem, pops up, bringing the seed leaves (called cotyledons) into the light. These leaves are vital because they feed the young plant until it’s strong enough to grow its true leaves and start photosynthesis.
So, the next time you plant clover seeds, think of this wild journey from dormancy to vibrant little plants! It’s all about giving them the right conditions to thrive during these phases!
Factors Influencing Clover Seed Germination Success
Now that we’ve covered the phases, let’s talk about what can make or break our clover seeds’ chances. Think of it like baking a cake; if you don’t have the right ingredients or conditions, it’s not going to taste good! Here are some key factors to keep in mind:
- Seed Quality: First off, always choose high-quality seeds! Seeds from trusted suppliers are like the best chocolate chips in a cookie recipe. They have a higher chance of sprouting successfully and growing into healthy plants.
- Moisture: Remember, clover seeds love water, but don’t drown them! Aim for the perfect balance; they need enough moisture to initiate germination but not so much that they start to rot. It’s a delicate dance, but it makes a world of difference!
- Temperature: The right temperature makes a huge difference too! Most clover seeds prefer a cozy range of 60-70°F (15-21°C). Too cold? They’ll be sluggish. Too hot? They might not even survive! It’s like finding the sweet spot on a sunny day.
- Oxygen: Just like us, clover seeds need oxygen to breathe! Well-draining soil is essential to keep them happy. If the soil is packed tight, those poor seeds might struggle. Make sure to aerate the soil for good airflow.
- Light: While clover seeds don’t need light to germinate (how cool is that?), once they sprout, they’ll need sunlight to grow strong! It’s like giving them a warm hug after they’ve pushed through the soil!
By keeping these factors in check, you’re on your way to growing a thriving clover garden. Happy planting! 🌱✨

Optimal Conditions for Fast Clover Seed Germination
Creating the right environment for our clover seeds is like setting the perfect stage for a play! It’s all about giving them what they need to sprout quickly and grow strong. Here are some key elements to help your clover thrive:
- Moisture: Think of moisture as a big hug for your seeds! Before planting, make sure the soil is evenly moist but not soggy. After planting, keep the soil consistently moist to support germination. If you can, use a spray bottle to lightly mist the soil, preventing any seeds from getting disturbed.
- Temperature: Most clover seeds love a cozy temperature between 60-70°F (15-21°C). If it’s too chilly, they might just sit there, looking at you like, “Uh, hello?” You can use a soil thermometer to check the warmth. If it’s too cold, try placing the seeds in a warmer spot or using a germination mat for a little extra warmth!
- Soil Preparation: Good soil is like a great foundation for a house. Before planting, loosen the soil and remove any weeds or debris. This helps the seeds have room to grow. Make sure the soil is well-draining too, so they don’t drown.
- Sowing Depth: When you plant those seeds, aim for a depth of 1/4 to 1/2 inch. This is just right for them – not too deep, but still cozy.
- Protection: Don’t forget to protect your little sprouts! Birds and critters can be curious. Using protective netting or row covers helps keep them safe until they’re strong enough to stand on their own.
By creating these optimal conditions, you set the stage for a flourishing clover garden that will leave you smiling!
Germination Times for Various Clover Species
Now that we’ve covered how to create the right environment, let’s chat about how long it takes different clover species to germinate! Knowing this helps me plan ahead and manage my expectations. Here’s a handy guide to some popular clover types:
- Red Clover (Trifolium pratense): These vibrant seeds usually take about 7 to 14 days to germinate. They’re a bit unpredictable, so don’t worry if some take longer!
- White Clover (Trifolium repens): Similar to red clover, white clover seeds generally sprout within 7 to 14 days. Some fast varieties may pop up in as little as 5 to 7 days—now that’s speedy!
- Dutch White Clover (Trifolium repens var. ‘Ladino’): This variety is known for its vigorous growth and typically germinates in about 7 to 10 days. It’s a favorite among gardeners looking for resilience.
- Crimson Clover (Trifolium incarnatum): If you want a quick turnaround, crimson clover is the way to go! It usually germinates within 5 to 10 days, making it perfect for quick cover.
- Berseem Clover (Trifolium alexandrinum): This annual clover species typically takes around 7 to 10 days to sprout. It’s often used in cover cropping or forage.
Remember that these times can vary based on conditions like moisture, temperature, and seed quality. Keeping an eye on the garden and being patient makes all the difference while watching for those little green sprouts!
Troubleshooting Common Clover Seed Germination Issues
Sometimes, despite our best efforts, germination can be a bit tricky. But don’t worry! I’ve got some common issues and solutions to help keep your clover seeds happy:
- Poor Germination Rates: If you find that many of your seeds aren’t sprouting, check the quality of the seeds first. Did you get them from a reliable source? Next, evaluate the moisture and temperature levels. Adjusting these can make a big difference!
- Seed Dormancy: Some seeds may not want to wake up! If you suspect dormancy, try scarifying the seeds. Gently nicking the seed coat with sandpaper can help them absorb water faster.
- Seedling Weakness: If your seedlings look weak or are wilting, they might not be getting enough moisture. Be sure to keep the soil consistently moist, but don’t overwater them! If they seem to be struggling in the sun, consider providing temporary shade.
- Pest Problems: Little critters can cause big issues! Regularly check your seedlings for pests like aphids. If you notice signs of trouble, use organic pest control methods to keep them at bay.
- Weed Competition: Weeds can be relentless! Keep your clover seedlings safe by regularly removing weeds. Using mulch can also help suppress weed growth while keeping the soil moist.
By being aware of these common problems, you can tackle challenges head-on. Remember, gardening is all about patience and learning from experience. Happy planting! 🌱✨

