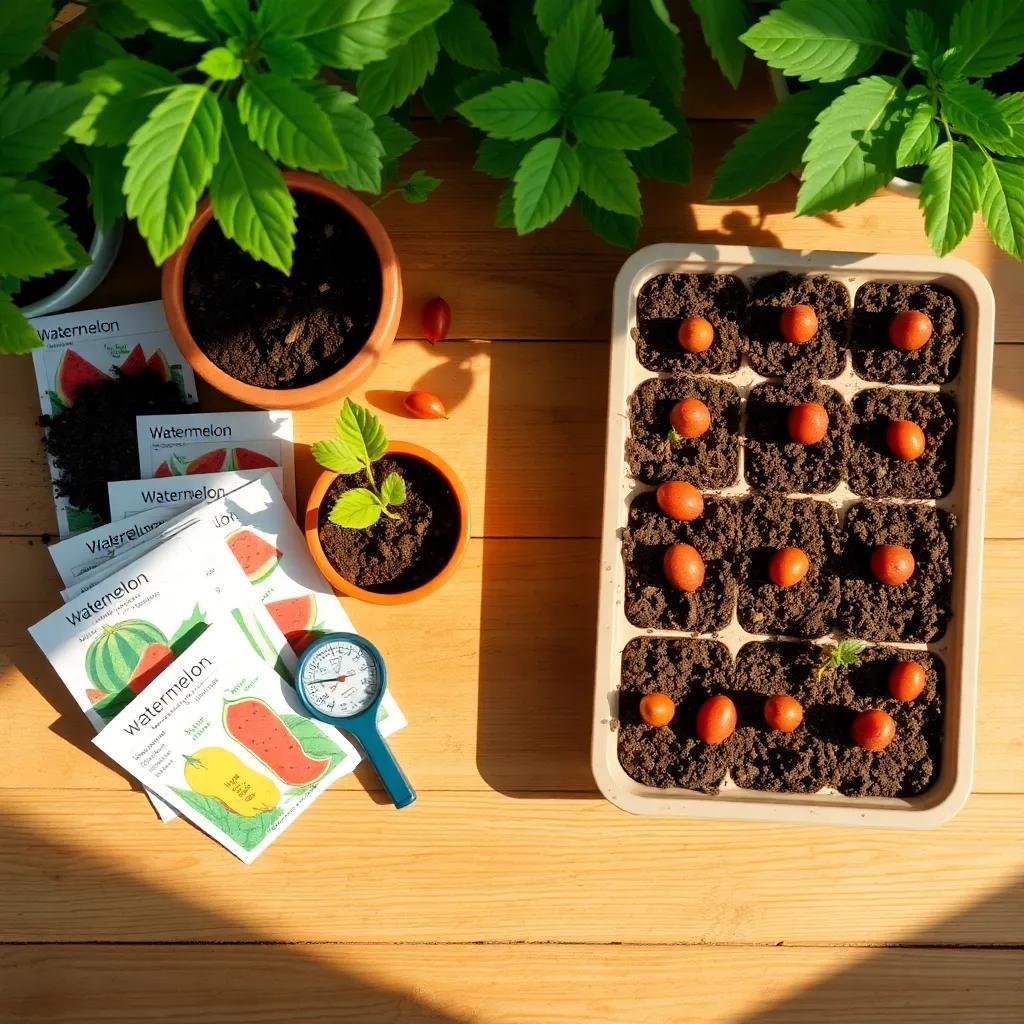
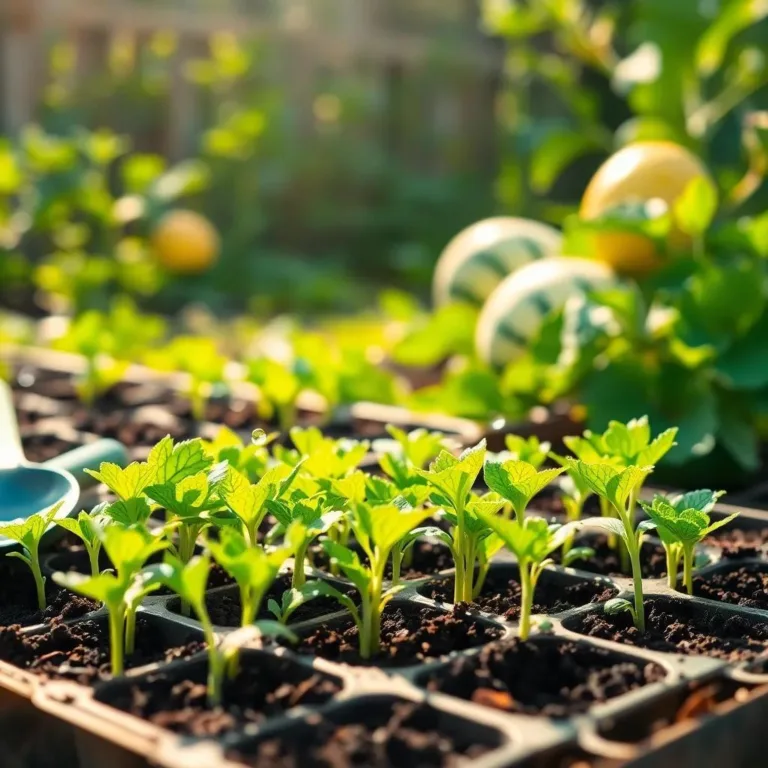
Are you ready to grow your very own sweet and juicy watermelons? I can’t wait to share all the tips and tricks that will turn those tiny seeds into delicious summer treats! Whether you’re a seasoned gardener or just starting out, this guide will help you understand everything from germination timelines to nurturing healthy seedlings. Let’s dig in and get those watermelon plants thriving! 🍉✨
Understanding Watermelon Seed Germination Timeline
Did you know that watermelon seeds are like little time bombs waiting to sprout? They typically need about 7 to 10 days to germinate, but this time frame can change based on how cozy their environment is! Think about it—if you were a seed, wouldn’t you want the perfect weather to grow? I sure would!
So, what do you need for those seeds to explode into life? Let’s break it down.
- Temperature: Watermelon seeds prefer a warm hug! Keep the soil temperature between 70°F and 90°F. Too cold? They’ll just sulk. Too hot? They might not germinate either! Aim for that sweet spot, just like I do when I find the perfect slice of watermelon on a hot summer day!
- Moisture: These seeds need a drink, but not too much! They like the soil to be moist but not soaked. It’s like when I want my cake batter just right—not too dry, not too runny!
- Seed Quality: Always choose healthy seeds. If they look a little sad or shriveled up, they probably won’t sprout. It’s like picking ripe fruit; if it looks good, it usually is!
- Patience: Finally, the hardest part—waiting! Keep an eye on those seeds, and resist the urge to dig them up and check. They’ll appreciate the space and warmth, and you’ll be rewarded with sprouts in about a week!
So, as you sit back and watch those babies grow, remember that each day brings you closer to juicy watermelon bliss!
Optimal Conditions for Successful Germination
Alright, let’s chat about what makes the perfect home for our little watermelon seeds! Creating a great environment is like throwing a party—everyone needs to feel comfortable and happy to join in on the fun!
Here’s what I do to set the stage:
- Temperature Control: Keep the soil temperature cozy, right around 75°F to 85°F. You could use a heating mat if it’s a bit chilly in your space. It’s like a warm blanket for your seeds!
- Moisture Management: Water the soil before you plant those seeds so they can drink in the goodness right away. Once planted, keep the soil evenly moist. I like to use a spray bottle for this—it’s just like misting my plants on a hot day!
- Soil Quality: Make sure you use well-draining soil. A mix with good organic matter always does the trick! You want it rich and fluffy, like a perfect pancake batter—not too thick and definitely not too thin!
- Darkness: Now, here’s a little secret—watermelon seeds like it dark while they’re germinating. So cover them lightly with soil. Think of it as tucking them in for bedtime!
- Good Seed Quality: Don’t forget! Using seeds from reputable suppliers or healthy fruits helps. If they’re fresh and high-quality, you’re on your way to a luscious harvest!
With these conditions in place, you’re setting the stage for watermelon seeds to sprout and grow into healthy plants! And let’s be real, who doesn’t want their garden filled with delicious, sweet watermelons ready for summer picnics? Happy gardening! 🍉

Troubleshooting Common Germination Issues
Sometimes, growing watermelon seeds can feel like a rollercoaster ride! You’ve done everything right, but then—bam!—something goes wrong. No worries! I’m here to help you troubleshoot any issues that pop up during the germination process. Let’s tackle some common problems together!
Slow Germination
If your seeds are taking their sweet time to sprout, first check the temperature! Remember, watermelon seeds love warmth. If it’s too cold, they might just be snoozing. A cozy spot between 75°F and 85°F should wake them up!
Uneven Germination
Not all seeds sprout at the same time, but if it seems really uneven, your soil moisture might be at fault. Keeping the soil too dry can make seeds sluggish. Aim for evenly moist soil, kind of like a sponge that’s just damp but not dripping!
Fungal Problems
Oh no! If you see any signs of white fuzz on your seedlings, it might be fungus. Keep an eye on moisture levels—too much water can lead to these pesky problems. Make sure your soil drains well and give those seedlings enough air circulation!
Pests
Watch out for little critters! Aphids and other pests can be a pain. If you spot any, don’t panic! You can use gentle soap or introduce ladybugs to help control those uninvited guests.
Drying Out
If seedlings look droopy, they may be thirsty! Keep that soil consistently watered. Mulching around your plants can help maintain moisture levels too, which is like giving your seedlings a cozy blanket to snuggle under!
By keeping an eye on these potential issues and acting quickly, you’ll be nurturing healthy watermelon seedlings in no time!
Germinating Watermelon Seeds Indoors vs. Outdoors
Now that we’ve tackled some bumps in the road, let’s explore the great debate: should you germinate your watermelon seeds indoors or outdoors? Both methods can lead to fruitful results, but each has its own perks and quirks! Let’s break it down!
Germinating Indoors
Germinating indoors is like having a VIP section for your seeds! Here’s why it’s fantastic:
- Control Over Conditions: You get to set the temperature and moisture levels just right. You can create a mini greenhouse with a clear cover and a warm spot. It’s like a vacation for seeds!
- Start Early: Beginning indoors means you can get a jump on the growing season. Depending on your climate, you can start seeds weeks before it’s warm outside!
- Protection from Pests: Indoor seedlings are safe from outdoor pests and weather extremes. No sudden rainstorms ruining your plans!
Germinating Outdoors
If you prefer the natural route, germinating outdoors can be equally rewarding!
- Natural Light: Your seedlings will receive direct sunlight, which is essential for strong growth. They’ll soak up those rays like we do on a sunny day at the beach!
- Less Maintenance: Once planted, you can let nature do its thing. No need to worry about moving trays around or adjusting light sources.
- More Space: Depending on your garden size, you can plant many seeds at once—creating a vibrant patch of watermelon plants!
Making Your Decision
So, what should you choose? If you want to control every step, I say go for indoor germination! But if you have a nice warm location and want to embrace nature, outdoor germination might be for you. Remember, wherever you choose to start those seeds, patience is key!
Caring for Seedlings After Germination
Congratulations! Your watermelon seeds have sprouted, and now it’s time to show those little seedlings some love! Caring for them is like nurturing a new pet—it’s rewarding and a bit messy at times, but so worth it!
Watering
Now that your seedlings are out and about, make sure to water them regularly. It’s best to water them gently so you don’t disturb those delicate roots. Aim to keep the soil moist but not soggy. Using a spray bottle or a watering can with a fine spout can help!
Sunlight
Your young plants need lots of sunshine to grow strong. Once they have a few leaves, they should be getting at least 6 to 8 hours of sunlight each day. If they’re indoors, move them to a sunny windowsill or use grow lights. They need that energy to thrive!
Nutrients
As the seedlings grow, they’ll need food! You can start fertilizing with a balanced fertilizer once they have their first true leaves. Just follow the instructions on the package. It’s like giving them a special treat for their hard work!
Thinning
When your seedlings have grown a bit, you might notice they’re a little crowded. That’s when it’s time for thinning! Keep the strongest seedlings and gently remove the weaker ones. This helps ensure that your plants have enough space to grow big and strong without competing for resources.
Monitoring
Lastly, keep an eye on them! Make sure they’re healthy and happy—check for any signs of pests or diseases. If you spot any trouble, tackle it quickly to keep your plants thriving!
By providing consistent care and attention, you’ll soon see your watermelon plants flourish, and before you know it, you’ll be on your way to enjoying those juicy, sweet fruits! Happy gardening! 🍉

