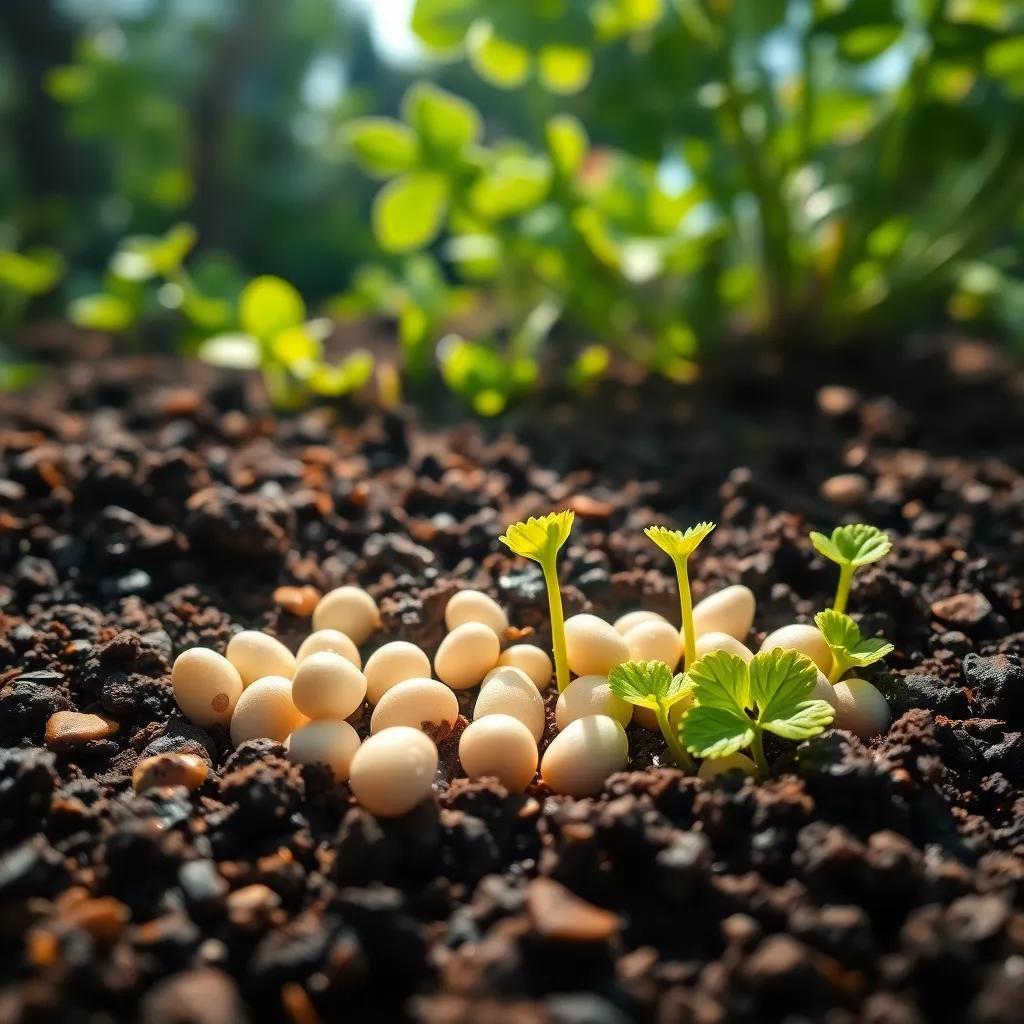
Have you ever wondered how those tiny clover seeds turn into lush green plants? I’m here to share the secrets behind their magical transformation! From the ideal conditions for sprouting to common challenges that might pop up, join me on this fun journey and let’s grow a beautiful clover garden together! 🌱
Factors Influencing Clover Seed Germination Time
When it comes to getting those clover seeds sprouting, several factors can really make or break the process! I’ve learned over time that by understanding what influences germination, I can create the best environment for my seeds. Let’s dive into the key factors that play a role in how quickly clover seeds sprout!
- Temperature: Clover seeds love a warm embrace! The ideal soil temperature for them to germinate is between 50°F and 77°F (10°C to 25°C). If it’s too cold, the seeds might just sit there, waiting for warmer days. Too hot? They may struggle to sprout. So, lovely spring days are just perfect for planting!
- Moisture: Seeds need water—it’s like their cozy blanket! Clover seeds require consistent moisture to begin the germination process. Keeping the soil damp is key, but be careful not to drown them. Too much water can lead to rot, and nobody wants that!
- Light: Believe it or not, clover seeds are light-loving little guys! They actually need light exposure to germinate. When planting, simply press them into the soil instead of covering them up deeply. Think about it, who doesn’t like a sunbath?
- Soil Type: Well-draining soil is the best friend of clover seeds! Loamy or sandy soil works great. It keeps the roots happy by providing good drainage and aeration. Remember, waterlogged soil can lead to diseases that could ruin your clover adventure!
By keeping these factors in mind, I can create the perfect cozy setting for my clover seeds, resulting in healthy sprouts and a vibrant garden!
Germination Timeline for Popular Clover Varieties
Alright, now that we know the important factors, let’s chat about how long it takes those lovely clover seeds to sprout! Each type has its own timeline, and I find it fascinating to see how quickly they can pop up. Here’s what I’ve gathered about the expected germination times for some popular clover varieties:
- Red Clover (Trifolium pratense): Usually, red clover seeds take about 7 to 14 days to germinate. But sometimes, they might surprise you and take a bit longer—up to 21 days! It’s like waiting for a surprise party to start!
- White Clover (Trifolium repens): White clover seeds are almost identical to red ones, sprouting in 7 to 14 days, with the occasional 21-day wait. Just like waiting for your favorite show to premiere!
- Crimson Clover (Trifolium incarnatum): If you’re looking for speed, crimson clover might just be your best buddy! They typically sprout within 5 to 10 days. Talk about instant gratification!
- Alsike Clover (Trifolium hybridum): These seeds can take a little longer, usually sprouting in about 10 to 21 days. Patience is key here, folks!
- Ladino Clover (Trifolium repens var. ladino): Just like red and white clover, ladino seeds typically take 7 to 14 days to germinate, but they can also stretch the wait up to 21 days depending on conditions.
Remember, these timelines are averages, and while I get excited for the sprouts to arrive, I keep in mind that nature has its own pace. With proper care and the ideal conditions mentioned earlier, I can look forward to a flourishing clover garden in no time! 🌱

Essential Conditions for Successful Clover Seed Sprouting
Creating the perfect setting for clover seeds to sprout is like preparing a cozy nest for a family of birds—nurturing and full of love! I’ve found that specific conditions really make a difference in getting those little seeds to germinate and thrive. Let’s break down what clover seeds need to feel at home!
- Moisture: Clover seeds are like little sponges that thrive on moisture. Keep the soil consistently damp, but not soggy! I usually check my soil daily, giving it a light sprinkle if it feels dry. Remember, too much water can drown the seeds, so aim for a happy medium!
- Temperature: As I mentioned before, clover seeds prefer warmer temperatures, ideally between 50°F and 77°F (10°C to 25°C). If it’s too chilly, the seeds might take their sweet time sprouting. If you have a warm spring day, that’s the time to plant!
- Light Exposure: These seeds love a good dose of sunlight! When planting, just press them into the soil lightly. This way, they get all the light they need without being buried too deep. Watching them reach for the sun is just delightful!
- Well-Draining Soil: Good drainage is essential! Use a mix of loamy or sandy soil. This helps keep the roots happy and prevents any waterlogging issues. I often mix in some compost, which adds nutrients and enhances drainage.
By giving my clover seeds the right conditions, I set them up for success. Watching them sprout and grow feels like a little gardening miracle every time!
Common Germination Challenges and Solutions
Even the best of gardeners face challenges from time to time, and that includes our little clover friends! Here are some common issues I’ve encountered while growing clover seeds, along with practical solutions to turn those frowns upside down!
- Low Germination Rates: Sometimes, I notice that not all the seeds sprout. This can happen due to poor seed quality or not enough moisture. If I ever find myself in this situation, I check the seed packaging for the expiration date. Using fresh seeds often makes a big difference!
- Seed Dormancy: Some clover varieties might be a little lazy and won’t germinate right away. If I suspect seed dormancy, I try a little scarification by lightly scratching the seed coat to help water penetrate better. This simple trick can help wake them up!
- Pest Problems: Pests like aphids and cutworms can be sneaky little buggers, threatening my seedlings! I keep an eye on my plants and can use remedies like neem oil or insecticidal soap if I spot them. Sometimes, introducing beneficial bugs, like ladybugs, can help too!
- Too Much or Too Little Water: This is a classic oversight! Overwatering can lead to mold, while underwatering can leave the seeds parched. I always feel the soil before watering—if it feels damp, I hold off a bit.
By being proactive and alert, I can tackle these challenges head-on. With a little patience and care, I can keep my clover seeds on the path to germination success!
Tips for Enhancing Clover Seed Germination Rates
I’ve gathered some handy tips over the years to enhance the germination rates of clover seeds! By following these simple steps, I can boost my chances of seeing those delightful green sprouts in no time.
- Pre-Sowing Treatments: Before planting, I consider giving my seeds a little pampering! Sometimes, I scarify the seeds to break their dormancy. It’s like putting them in a spa before their big debut! This can lead to faster sprouting.
- Perfect Planting Depth: When I sow the seeds, I aim for a depth of about ¼ to ½ inch (6-12 mm). If they’re too shallow, they may dry out. Too deep, and they might struggle to break through. It’s a delicate balance!
- Keep the Soil Moist: As I’ve mentioned before, moisture is key! Right after sowing, I water the area lightly and continue to monitor it daily. This helps create the ideal conditions for sprouting.
- Use Quality Seeds: Investing in reputable seeds pays off! I always choose seeds from well-known suppliers to ensure they’re fresh and viable. It’s like selecting the finest ingredients for my favorite recipe!
- Regular Monitoring: I make it a habit to check on my seeds and soil regularly. Watching for any signs of pests, diseases, or drying can save me from bigger problems down the line.
By following these tips, I can give my clover seeds the best possible shot at sprouting and thriving in my garden! Happy planting! 🌱

