Are you ready to create your very own plumeria paradise? These stunning flowers not only bring beauty to any garden, but growing them from seeds can be an exciting adventure! In this article, I’ll share all the essential tips, tricks, and fun facts you need to know about how to successfully germinate plumeria seeds and watch them bloom into beautiful plants. Let’s get started! 🌸✨
Key Factors Influencing Plumeria Germination Time
Germinating plumeria seeds can feel like a little adventure! But, before we plant those little gems, it’s good to understand what influences their germination time. Here are some important factors that can make your gardening journey smoother and more enjoyable.
- Seed Quality: Just like we want the freshest ingredients for our meals, it’s the same for plumeria seeds! Fresh, healthy seeds are much more likely to sprout quickly. If you have older seeds, you might find them taking longer or not sprouting at all. So, always get seeds from a trusted source!
- Storage Conditions: Did you know that how you store your seeds matters? Seeds thrive best in a cool, dry place. If they sit in a damp corner or a hot spot, they might lose their magic! Treat your seeds like a prized possession, keeping them safe from moisture and heat.
- Temperature: Plumeria seeds love warmth—think cozy blankets! The temperature should be between 70 and 80 degrees Fahrenheit (21 to 27 degrees Celsius) for optimal growth. If it’s too cold, they might just sit there, grumbling like a cat in a bathtub!
- Moisture: Moisture is essential, but not too much. Imagine trying to swim in a kiddie pool filled to the brim— not fun! The soil should be damp but not soggy. You want to give your seeds a nice drink without drowning them.
- Scarification: This is a fancy word for making it easier for seeds to drink up that water. The tough outer layer of plumeria seeds can be a tough nut to crack. A little nick or scratch helps water get in, speeding up germination.
All these factors work together to create the perfect environment for your plumeria seeds! Tending to them with care and attention will lead you to a flourishing garden in no time!
Step-by-Step Guide to Germinating Plumeria Seeds
Ready to get your hands dirty? Let’s walk through a step-by-step guide for germinating plumeria seeds! Trust me; it’s easier than baking a cake!
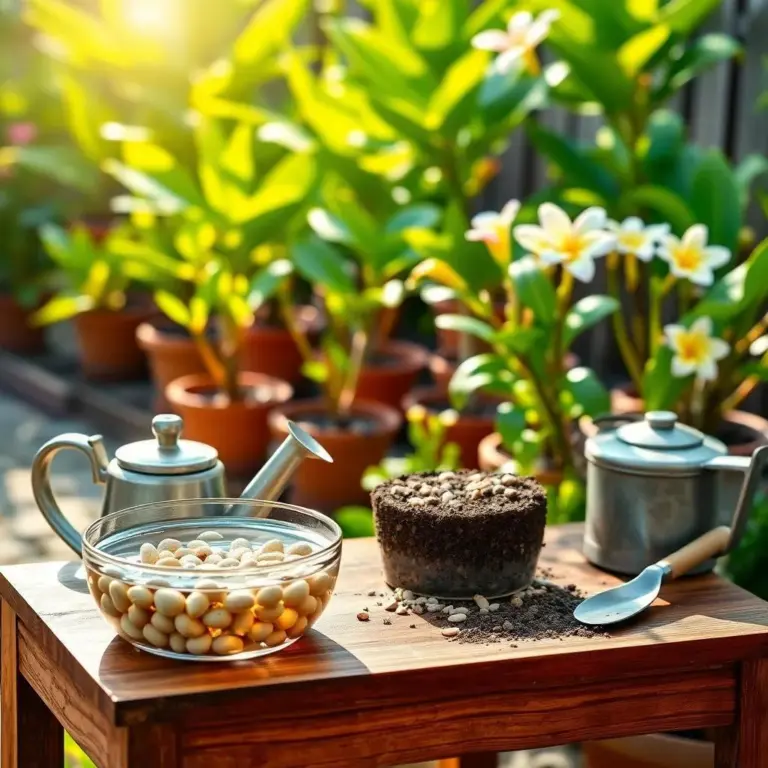
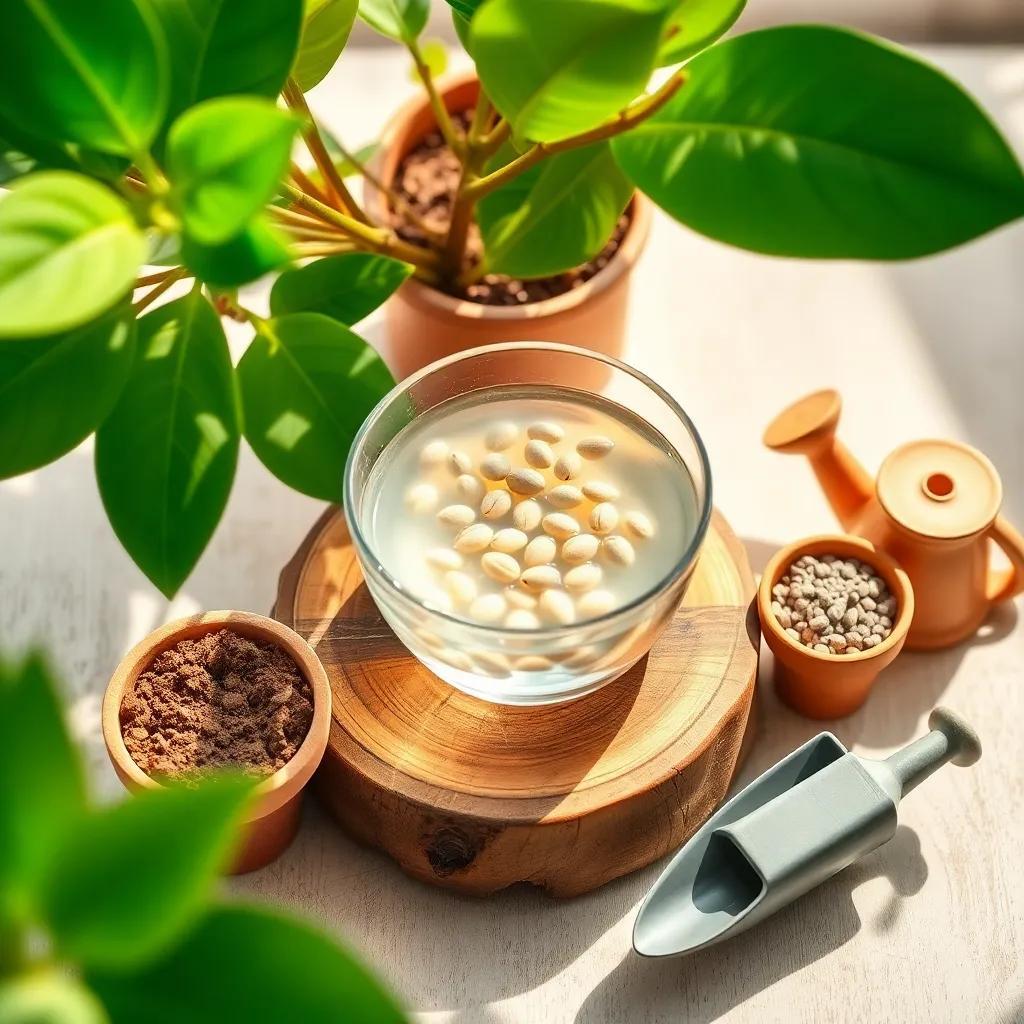
- Gather Your Materials: You’ll need fresh plumeria seeds, a container or tray, a well-draining soil mix, and warm water. Simple, right?
- Soak the Seeds: Time for a little spa treatment! Soak those seeds in warm water for 24 to 48 hours. This helps wake them up and gets them ready to sprout. Just like how I need my morning coffee to start my day!
- Prepare the Soil: Mix equal parts of perlite and potting soil to create a well-draining medium. Fill your container and give it a gentle press. Think of it as giving the soil a nice hug!
- Plant the Seeds: Place the soaked seeds on the soil surface, giving them some space to grow. Don’t bury them too deep—these guys like a little light!
- Moisture and Cover: Mist the soil lightly to keep it moist, then cover the container with plastic wrap or a clear lid. This creates a mini greenhouse that keeps the humidity in. It’s like giving your seeds their own cozy apartment!
- Find the Perfect Spot: Place your container in a warm location, like on a heating mat or in a sunny window (but not in direct sunlight!).
- Patience Pays Off: Keep an eye on your seeds! Germination can take 1 to 3 weeks. Remember to check moisture levels and resist the urge to dig them up to see if they’re growing—trust the process!
With these easy steps, you’re setting your plumeria seeds up for success. Soon enough, you’ll see those tiny seedlings sprouting, and it will feel like magic unfolding right in front of your eyes! Happy planting! 🌱✨
Common Challenges in Plumeria Seed Germination
When it comes to germinating plumeria seeds, there’s always a chance we might hit a few bumps along the way! Don’t worry though—challenges are just part of the journey. Here are some common challenges I’ve encountered, along with some handy tips to tackle them.
- Low Seed Viability: One of the biggest culprits for failed germination is old or poorly stored seeds. If your seeds have been hanging around for too long, they might not sprout at all! To avoid this, always buy fresh seeds from reliable sources.
- Hard Seed Coats: Those little seeds can be stubborn! The hard outer shell of plumeria seeds sometimes prevents water from getting in. If you forgot to scarify your seeds (nick or scratch the seed coat), they might sit there sulking instead of sprouting. Remember, a little prep goes a long way!
- Moisture Issues: Finding the right moisture level can feel like a high-stakes tightrope walk. Too much water can lead to mold or rotting. On the flip side, not enough moisture can cause seeds to dry out before they even get a chance. Aim for a consistently damp soil; it should feel like a sponge—not a soaking wet sponge!
- Temperature Fluctuations: Plumeria seeds love warm, cozy spots. If temperatures dip too low, your seeds might just take a permanent vacation. Keep your seeds in a warm location, ideally between 70 and 80 degrees Fahrenheit, for best results.
- Pests and Diseases: Just like any plant, plumerias can be susceptible to pesky pests or diseases. Watch out for aphids, mealybugs, or fungal issues that can spoil your fun. Regularly inspect your seeds, and don’t be afraid to use natural pest control options if needed.
By knowing these challenges, you can tackle them head-on and increase your chances of successful germination!
Troubleshooting Germination Issues for Plumeria Seeds
Oh no! What if your plumeria seeds aren’t doing their thing? Don’t panic! Let’s troubleshoot together. Here’s a list of potential issues and solutions that can help you get those seeds sprouting.
- Slow or No Germination: If your seeds seem to be taking ages, double-check your conditions. Are you keeping the temperature warm enough? If not, try moving them to a warmer spot or using a seedling heat mat.
- Mold or Fungal Growth: Yikes! If you see mold, that’s a sign of too much moisture. Get rid of excess water and improve airflow by removing the plastic cover for a bit. Remember, your seeds need air just as much as they need moisture!
- Rotting Seeds: If you notice seeds turning mushy, it’s likely overwatering. Make sure your soil drains well and let the top layer dry out between watering. A little drought can sometimes do wonders!
- Damaged Seed Coats: If you skipped scarification and your seeds look like they’re struggling, gently nick them! This tiny effort will help water penetrate, making germination much easier.
- Seedlings Wilting or Stunted: If your seedlings are looking droopy or aren’t growing, it might be transplant shock or lack of nutrients. Handle your seedlings with care during any moves, and consider a gentle fertilizer to boost their growth.
By being proactive and addressing these issues, you’ll be well on your way to happy, healthy plumeria plants!
Tips for Successful Plumeria Seed Germination
Now that we’ve tackled the challenges and troubleshooting, let’s focus on tips that will help you become a pro at germinating plumeria seeds! With a little love and care, you can create the perfect environment for your seeds. Here’s how:
- Use Fresh Seeds: As I mentioned earlier, fresh seeds are like gold! They have a higher chance of germinating. Whenever possible, buy seeds that are labeled as fresh and viable.
- Scarification: Don’t skip this step! A little nick or scratch on the seed coat before soaking helps water get in. It’s like giving your seeds a little massage to wake them up!
- Control Moisture Levels: Keep the soil consistently moist but never soggy. I like to mist the soil lightly with a spray bottle. This way, I can keep an eye on the moisture without overdoing it.
- Provide Plenty of Warmth: Keep your seeds cozy! Using heating mats or placing them in warm areas of your home can make a world of difference. It’s all about creating a warm and inviting environment for them.
- Light Conditions: While plumeria seeds don’t need light to germinate, they do enjoy indirect sunlight once they sprout. So, keep them in a darker spot for germination, then gradually introduce them to light after they’ve broken through the soil.
- Patience is Key: Remember, germination can take time! Each seed is unique, and some may sprout faster than others. Keep an eye on the progress, but don’t rush them. Gardening is all about enjoying the journey!
With these tips in hand, you’ll feel more confident and ready to grow your plumeria plants. Happy gardening! 🌺✨