Are you ready to grow your very own thyme right from seed? It’s easier than you might think! In this article, I’ll share the secrets to helping those tiny seeds germinate and flourish, from creating the perfect cozy environment to tackling common gardening hiccups. Let’s dig in and get our herb garden blooming!
Factors Influencing Thyme Seed Germination
When I decided to grow thyme, I quickly learned that germination isn’t just about tossing seeds in the soil and hoping for the best. Nope! Several important factors come into play that can affect how quickly those tiny seeds sprout. Let’s break it down!
- Temperature: Thyme seeds like it warm! For the best results, aim for a cozy temperature between 65°F to 75°F (18°C to 24°C). If it’s too chilly, thy seeds might sulk and take longer to germinate. And let’s not forget about overheating! If it goes above 80°F (27°C), those seeds could feel like they’re on a hot plate—definitely not ideal!
- Moisture: Keeping the soil just right is key! Thyme seeds love moisture, but they’re not fans of soggy soil. It’s like trying to walk in a pool—no fun! Try to keep the soil moist, but avoid making it waterlogged. A good practice is to water from the bottom. This way, the seeds can sip water without being drenched!
- Light: Did you know thyme seeds are light-loving? That’s right! They need a few hours of indirect sunlight each day. So, when you plant those little guys, just lightly cover them with soil, and let them bask in the light. It’s like giving them a warm hug!
- Seed Quality: Fresh seeds are the way to go! Old seeds may be like stale bread—not very effective. I always buy from trusted sources to ensure I have the best chance of sprouting healthy thyme plants.
The magic happens when you get these factors just right! With a little patience and attention, your thyme seeds will be sprouting before you know it!
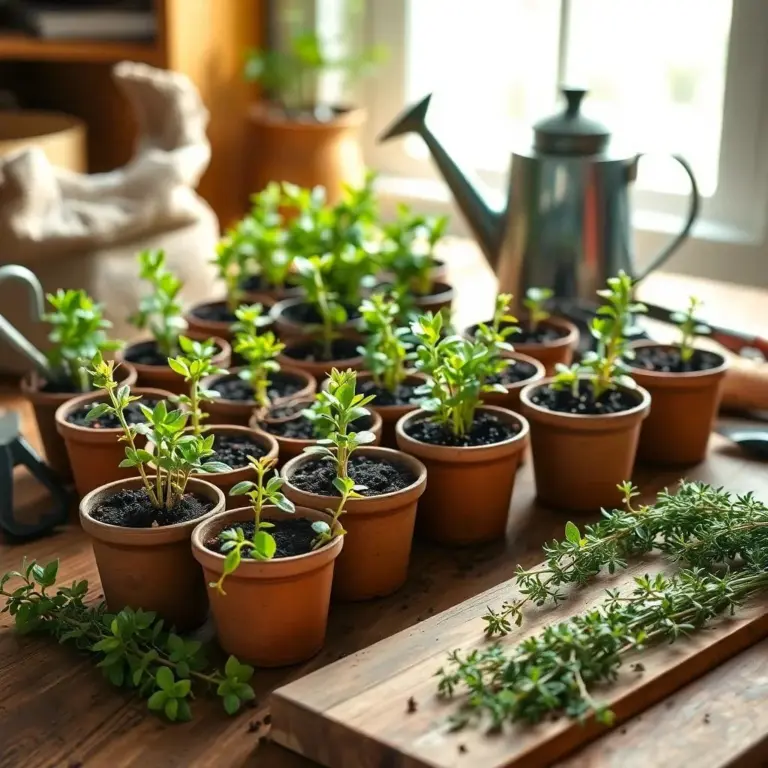
Optimal Soil and Container for Thyme Seeds
Now that we’ve covered what your thyme seeds need to sprout, let’s chat about the best soil and containers! Trust me, getting these right can make a world of difference in your thyme journey!
- Soil Mix: Thyme thrives in a well-draining soil mix. A great recipe is to combine equal parts of potting soil, perlite, and vermiculite. Here’s why this mix works wonders:
– Potting soil provides nutrients.
– Perlite helps with drainage.
– Vermiculite retains moisture without being soggy.
- Choosing Containers: You can use a seed tray, shallow container, or even biodegradable pots! I personally love using biodegradable pots because they’re eco-friendly and add a fun touch to my garden! Just make sure whatever you choose has drainage holes. Think of it as giving the soil a way to breathe.
- Watering Strategy: Once you’ve got your seeds in their cozy new home, it’s time to water! Keep the soil damp, but don’t drown it. I like to water from the bottom by placing my containers in a tray of water. This lets the soil soak up just the right amount.
By creating a nurturing environment with the right soil and containers, you’re setting your thyme seeds up for success! They’ll feel comfy, happy, and ready to sprout in no time! So, roll up your sleeves and get planting—your thyme garden is awaiting!
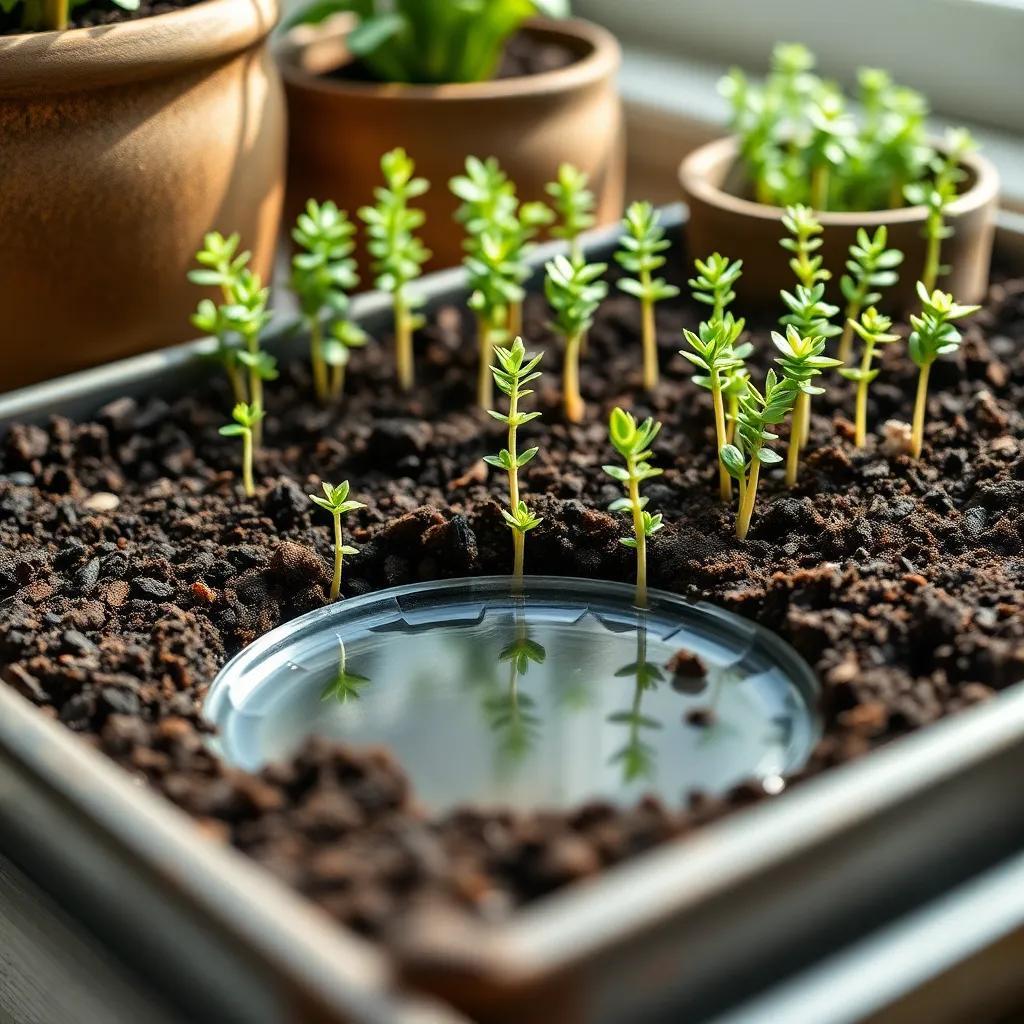
Maintaining Ideal Temperature and Moisture Levels
Alright, my gardening friends, let’s talk about keeping things cozy for our thyme seeds! The right temperature and moisture levels are key to helping those little seeds sprout into vibrant plants. Think of it like creating the perfect warm blanket for your seedlings!
- Temperature Tactics: Thyme seeds are quite particular about their temperature. They do best in a warm environment between 65°F and 75°F (18°C to 24°C). If your home is a bit chilly, consider using a heating mat! Just place your seed tray on it to give those seeds an extra boost. Just remember, too much heat can be a problem. Avoid anything over 80°F (27°C), as this can make the seeds feel scorched.
- Moisture Monitoring: Now, let’s chat about moisture! Keeping the soil consistently damp is super important. I like to check my soil daily—just stick a finger in there. If it feels dry, it’s time for a sip! But don’t drown them; too much watering can lead to seed rot. A good rule of thumb is to water only when the top layer feels dry.
- Humidity Help: If you’re in a dry area, consider covering your seed tray with plastic wrap to create a mini greenhouse! This keeps humidity levels high, helping those seeds feel like they’re in paradise. Just make sure to remove the cover once they start sprouting, so they can breathe!
By keeping a close eye on temperature and moisture, you’ll set your thyme seeds up for success, making sure they grow strong and healthy!
Techniques to Speed Up Thyme Germination
Who doesn’t want to see those thyme seeds sprout quickly? I know I do! There are several fun and easy techniques I’ve learned that can help speed up the germination process. Let’s get those sprouts growing faster!
- Pre-Soaking: This is one of my favorite tricks! Before planting, soak your thyme seeds in warm water for a few hours. It’s like giving them a little spa treatment! This helps soften the seed coats and can kick-start the germination process.
- Scarification: Now, this sounds fancy, but it’s really simple. Use a bit of sandpaper to gently scratch the hard outer coating of the seeds. This helps moisture get in and speeds up germination. Just be gentle—think of it like giving your seeds a light massage!
- Bottom Heat: To promote quicker growth, you can use a heat mat or place your seed tray on top of something warm, like a refrigerator. This gentle warmth encourages those seeds to pop out of their cozy shells faster.
- Grow Lights: If you’re starting them indoors with limited natural light, using grow lights can improve germination speed. Aim for 12-16 hours of light each day. It’s like giving your seeds a sunbath!
By applying these techniques, you’ll not only speed up germination but also add a bit of excitement to your gardening adventures. Watch your thyme seeds burst into life!
Common Issues and Solutions in Thyme Germination
Sometimes, despite our best efforts, we run into a few bumps along the gardening road. But don’t worry! I’ve encountered my share of hiccups when germinating thyme seeds, and I’m here to share some common issues and their solutions.
- Poor Seed Quality: If you’re seeing low germination rates, it might be time to check your seeds. Old or expired seeds can be like stale chips—hardly any fun! Always choose fresh seeds from reputable sources. If they don’t sprout, that’s a sure sign to replace them.
- Inconsistent Germination: It’s normal to see some seeds sprout while others lag behind. This inconsistency can be due to variations in seed quality or exposure to light. To fix this, make sure all your seeds are getting the same friendly environment—light, moisture, and warmth!
- Fungal Issues: Overwatering can lead to nasty fungal diseases like damping-off. Keep moisture balanced! Allow the top layer of soil to dry out a bit before adding more water. Good air circulation is key to preventing mold, so don’t crowd plants!
- Insufficient Light: If your seedlings are looking weak or leggy, they might not be getting enough light. Move them closer to a bright window or add some grow lights to their space. Think of it as giving them a workout to grow strong!
- Pest Problems: Keep an eye out for pests like aphids or mites. Regularly inspect your plants. If you spot any unwelcome guests, remove them by hand or spray them with a gentle organic solution.
By tackling these common issues head-on, you can continue to nurture your thyme seeds with confidence. With a little love and care, you’ll be rewarded with a flourishing thyme garden! Happy gardening!