Are you ready to grow your own turmeric and add a splash of color to your garden? This spicy little root is not only great for cooking but also super fun to cultivate! In this guide, I’ll share everything you need to know about turmeric germination, from understanding what makes those seeds sprout to how to tackle any challenges along the way. Let’s dig in and get those seeds growing!
Factors Influencing Turmeric Seed Germination
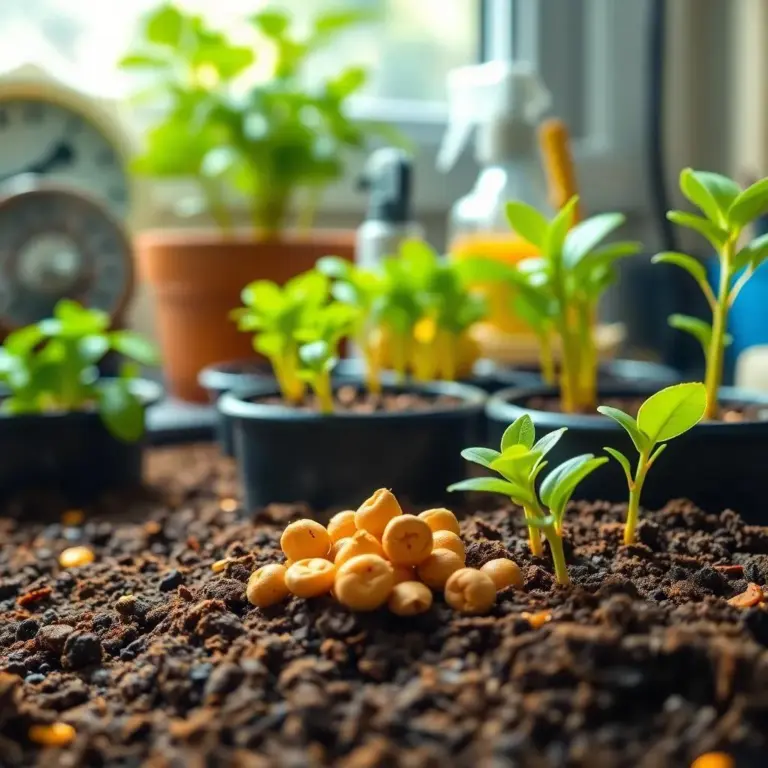
Growing turmeric is such an exciting adventure! However, there are a few key factors that can make or break your germination experience. Understanding these factors will help you create the best environment for your turmeric seeds to sprout!
- Seed Quality: Just like baking a great cake, starting with the right ingredients is important! Using high-quality seeds is essential. I always recommend getting seeds from reputable suppliers. Fresh seeds, with a high germination rate, will give you the best chance for success!
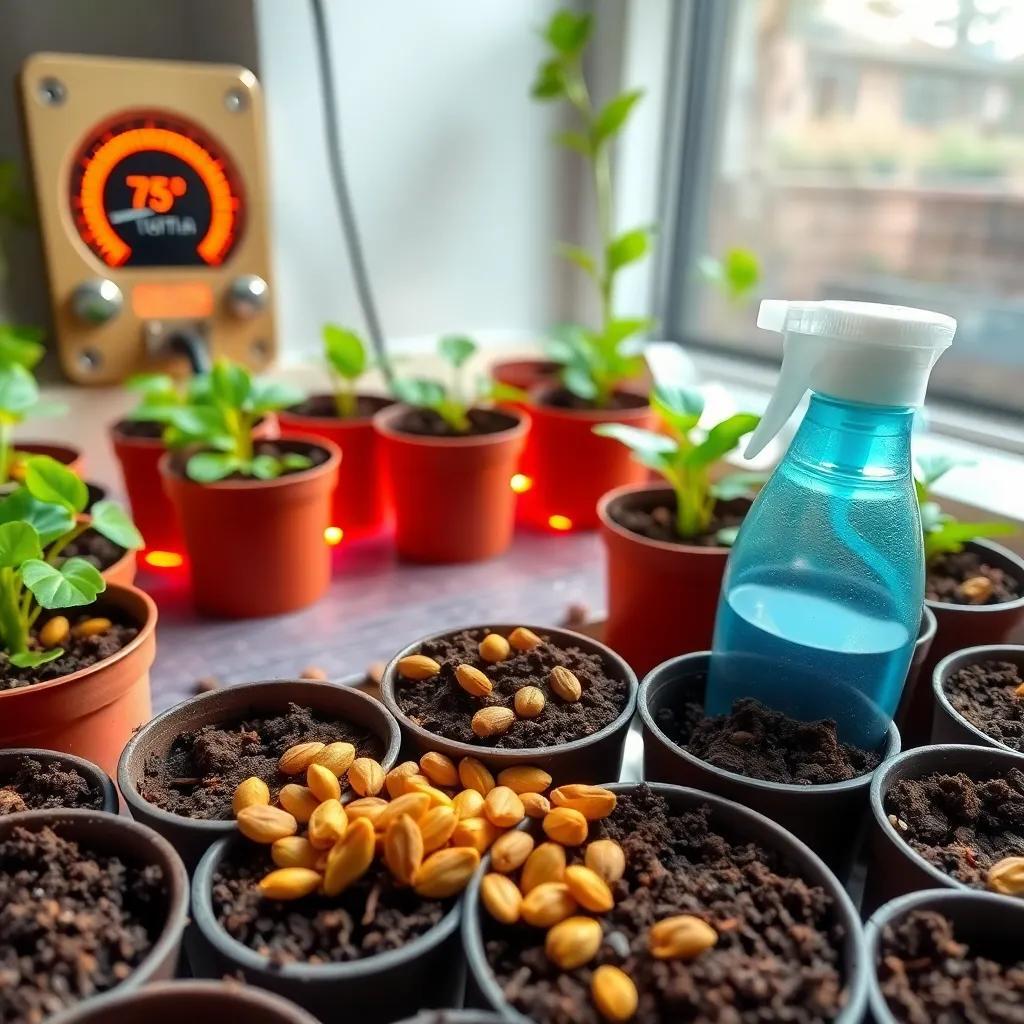
- Temperature: Turmeric seeds are tropical plants, and they love the warmth! The ideal temperature for germination is between 75°F and 95°F (or 24°C and 35°C). If it’s too chilly, your seeds might just sit there like they’re hibernating! So, consider using a heat mat or placing them in a warm spot in your home.
- Moisture: Here’s where things get a little tricky. Your seeds need moisture to germinate, but too much can lead to rotting! It’s like trying to have a pool party in the rain—it just doesn’t work out! Keep the soil moist but not soggy. Regular misting can help keep things just right.
- Soil Quality: Turmeric thrives in well-draining soil that is rich in organic matter. Consider using a mix of potting soil and compost to give your seeds a nourishing bed to grow.
- Light Exposure: While turmeric seeds don’t like direct sunlight, they still need some light to help them grow. Providing indirect light is like having a cozy candlelit dinner—just the right atmosphere for magic to happen!
Keeping these factors in mind ensures your turmeric seeds have the best chance to sprout and flourish!
Creating Optimal Conditions for Turmeric Germination
Alright, my gardening friends, it’s time to create the perfect conditions for our turmeric seeds! If we want them to germinate successfully, we need to set up a cozy little environment for them. Let’s explore how to do just that!
- Temperature Control: As we mentioned earlier, warmth is critical! Aim for that sweet spot of 75°F to 95°F. You could place the seeds near a heater (but be careful not to roast them!) or use a heat mat for consistent warmth.
- Moisture Management: Keeping the soil moist is vital. I like to use a spray bottle for gentle misting. Think of it as giving your seeds a refreshing shower! Just remember, we want them moist, not waterlogged. Check the soil regularly and adjust as needed.
- Soil Selection: Choose a well-draining soil mix that retains moisture. A mix of potting soil and compost will do wonders. Aim for a pH level between 6.0 and 7.5. You can use a pH testing kit to check! If it’s too acidic or alkaline, you can amend it easily.
- Light Levels: As tempting as it is to place them in direct sunlight, turmeric seeds prefer filtered light. A north-facing window or a spot with bright but indirect light will work wonders. Just like a comfy reading nook!
- Ventilation: Good air circulation is important too! It helps prevent mold and keeps the atmosphere fresh. Place your germination tray in a well-ventilated area or use a small fan to keep the air flowing.
By following these simple tips, you’re setting the stage for a successful turmeric planting experience! Happy gardening!
Typical Timeline for Turmeric Seed Germination
Alright, friends! Let’s talk about the exciting timeline for turmeric seed germination! When growing turmeric, one of the most common questions I get is, “How long will it take?” Well, buckle up because I’m here to give you the scoop!
Typically, turmeric seeds will start to germinate within 4 to 6 weeks after planting. That’s right, a whole month of anticipation! But before you start tapping your foot impatiently, remember that several factors can affect this timeline.
- Temperature: If you keep your turmeric seeds cozy, in that perfect 75°F to 95°F temperature range, they’re likely to sprout sooner! If it’s cooler, you might find yourself waiting a little longer.
- Moisture Levels: You must keep the soil moist but not waterlogged. If the soil gets too dry, those little seeds might decide to take a longer nap!
- Seed Quality: Using fresh, high-quality seeds can speed things up. If your seeds are old or damaged, they might take longer to show their beautiful green leaves.
- Viability Check: If you want to get a sneak peek before planting, try soaking a few seeds in warm water for 24 hours. This little trick can give you an idea of their viability!
So remember, patience is key! Each seed is unique, and some may surprise you by germinating sooner than others. Just keep providing the right conditions, and soon enough, you’ll see those vibrant turmeric plants growing!
Effective Tips to Speed Up Germination
If you’re like me, you might be a bit impatient when waiting for those lovely turmeric seeds to sprout! So, let’s explore some fantastic tips to help speed up the process. While we can’t make them sprout overnight, these simple ideas can make a difference!
- Pre-soak the Seeds: Before planting, soak your turmeric seeds in warm water for 24 hours. This softens the seed coat and preps them for action!
- Use Bottom Heat: Turmeric seeds love warmth, as we mentioned before. You can place them on a heat mat or even on a warm windowsill. Consistent warmth can help them wake up faster!
- Maintain Optimal Moisture: Check your soil regularly and keep it consistently moist. A gentle mist can make a big difference, helping the seeds feel comfy and ready to grow!
- Enhance Soil Fertility: Adding some organic matter like compost can help provide essential nutrients. This makes the soil more inviting for the seeds and encourages quicker growth.
- Germination Trays: Consider using germination trays with individual cells for planting. This way, each seed gets its own space without competing for nutrients, leading to faster sprouting!
With these tips in your gardening toolkit, you’re all set to enjoy the excitement of quicker turmeric germination! Just remember to keep a close eye, be patient, and let the magic of nature unfold!
Common Challenges in Turmeric Germination and Solutions
As much as I love gardening, sometimes things don’t go as planned. Turmeric germination can bring its own set of challenges. But don’t worry! I’ve got some handy solutions to help you through any hiccups along the way.
- Poor Seed Quality: If nothing seems to be happening, check the seeds! If they aren’t sprouting, you might be dealing with old or low-quality seeds. Always choose fresh seeds from trusted suppliers for the best results.
- Inadequate Warmth: If your turmeric seeds are sluggish, they might not be warm enough. If the temperature dips below 75°F, you may need to find a warmer spot or use a heating mat. Your seeds will thank you!
- Overwatering or Underwatering: Finding the right balance is tricky! Overwatering can lead to rotting, while underwatering might cause seeds to dry out. Keep the soil moist but not soggy—like a well-wrung sponge!
- Poor Soil Drainage: If your soil is heavy and retains too much water, it can create problems. Try mixing in organic matter or sand to improve drainage. Think of it as making a comfy bed for your seeds!
- Fungal Infections: We don’t want our seeds to get sick! Make sure the humidity isn’t too high, and keep air circulating. If you spot any mold, immediately remove the affected seeds—no one likes a party crasher!
With these solutions in mind, you’ll be ready to tackle any challenges that come your way. Growing turmeric can be such a rewarding experience, and by overcoming these hurdles, you’re one step closer to enjoying your own home-grown spice! Happy gardening!