Are you ready to grow some beautiful milkweed and attract those magnificent butterflies? In this guide, I’ll share everything you need to know about germinating milkweed seeds, from creating the perfect cozy environment to transplanting your little green friends into the garden. Let’s dig in and make your garden a fluttering paradise!
Optimal Conditions for Milkweed Seed Germination
Getting the right conditions for milkweed seed germination is like setting the stage for a great party. You want everything to be just right! So, let’s make sure your seeds feel cozy and happy!
Temperature: Milkweed seeds get excited when it’s warm. Aim for temperatures between 65°F and 85°F (18°C – 29°C). Too cold? They might just sit there, dreaming. Too hot? They could give up! A warm, sunny windowsill is perfect, or you can use a heating mat. Just think of it as a comfy blanket for your seeds!
Moisture: Seeds need plenty of moisture, but not too much! It’s like giving them a gentle drink, just enough to feel refreshed, but not so much that they drown. Mist the soil with water, making sure it’s consistently moist without being soggy. If it’s waterlogged, seeds can rot—yikes!
Light: Believe it or not, milkweed seeds actually need light to sprout! So, don’t bury them too deep. Just sprinkle a little soil on top. Keeping them in a sunny spot makes them super happy! If you don’t have enough sunlight, fluorescent grow lights positioned 6-12 inches (15-30 cm) above the seeds can work wonders. Aim for 12-14 hours of light daily!
Soil: Not all soils are created equal! Use a sterile seed-starting mix. This helps prevent any funny business from fungus or pests. A light, fluffy mix keeps things aerated, which is what seeds love!
Here’s a quick checklist for you:
- Temperature: 65°F – 85°F (18°C – 29°C)
- Moisture: Keep it moist but not soggy
- Light: 12-14 hours daily
- Soil: Use a sterile seed-starting mix
With these comforting conditions, your milkweed seeds are bound to sprout and start their lovely journey—just like you!
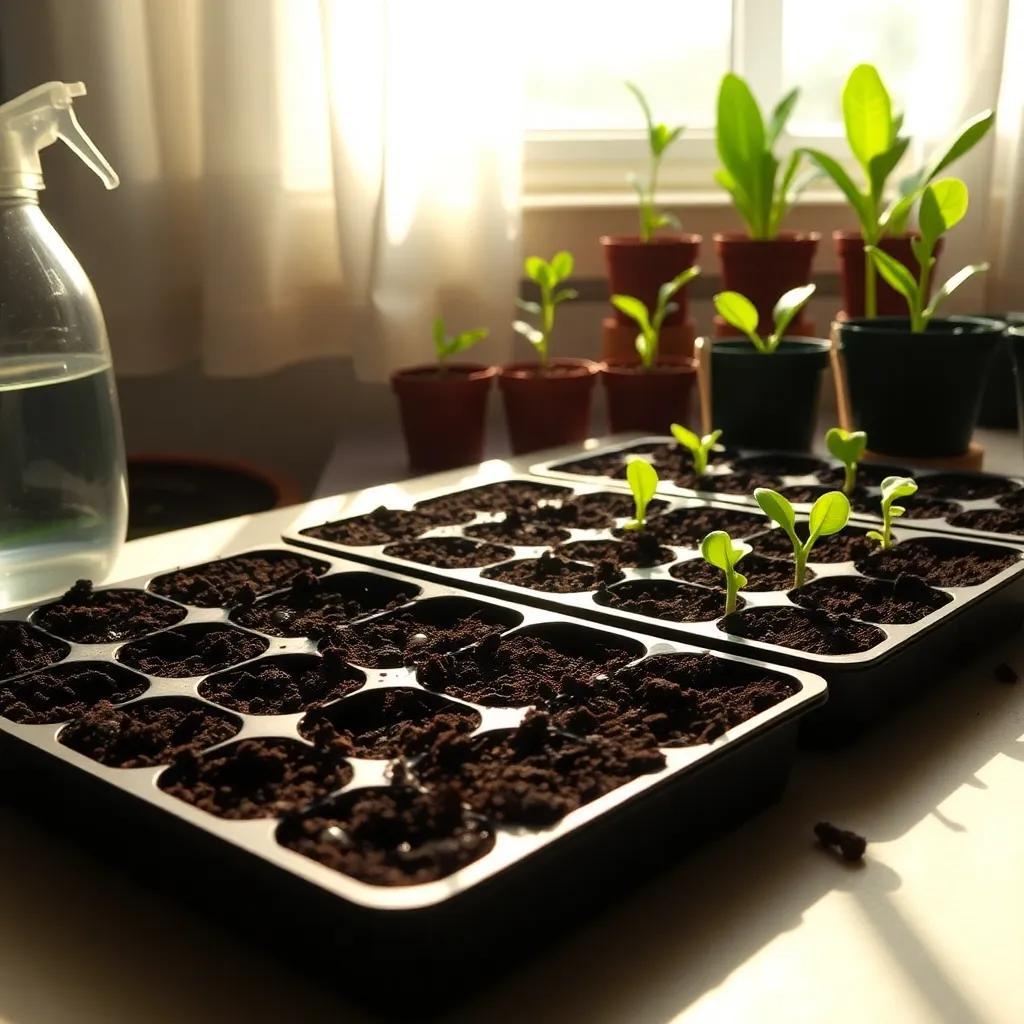
Steps for Starting Milkweed Seeds Indoors
Starting milkweed seeds indoors is like giving them a jumpstart on life! It feels like prepping for a big adventure, and I’m excited to share these simple steps with you. So, let’s get those little guys growing!
- Gather Your Materials: First things first! Grab your seed trays, peat pots, and that lovely sterile seed-starting mix. It’s like gathering your ingredients before making a cake!
- Fill the Seed Trays: Fill your trays or pots with that sterile mix. Don’t forget to moisten it with water! We want it evenly damp, like a sponge, not a swimming pool. Just a light sprinkle will do the trick!
- Sow the Seeds: Now it’s time to get those seeds in! Place one or two milkweed seeds into each cell and gently press them down. Think of it as tucking them in for a nice cozy nap!
- Maintain Moisture: Be sure to mist the soil regularly. This keeps it nice and comfy for your seeds. Avoid overdoing it, though! Nobody likes damp socks—especially seeds!
- Provide Light and Warmth: After they’re tucked in, place the trays in a warm spot. If you’re using grow lights, keep them about 6-12 inches (15-30 cm) above the seeds. They’ll be soaking up the rays like they’re on a tropical vacation!
- Monitor and Wait: Keep an eye on those little miracles. Germination can take anywhere from a week to several weeks. Once they pop up, it’s exciting! Thin them out if they’re crowded, leaving the healthiest plants to thrive.
And there you have it! You’re all set for starting your milkweed seeds indoors. It’s like an art project waiting to happen—each little sprout will bring joy to your garden and help support those beautiful butterflies! Happy planting!
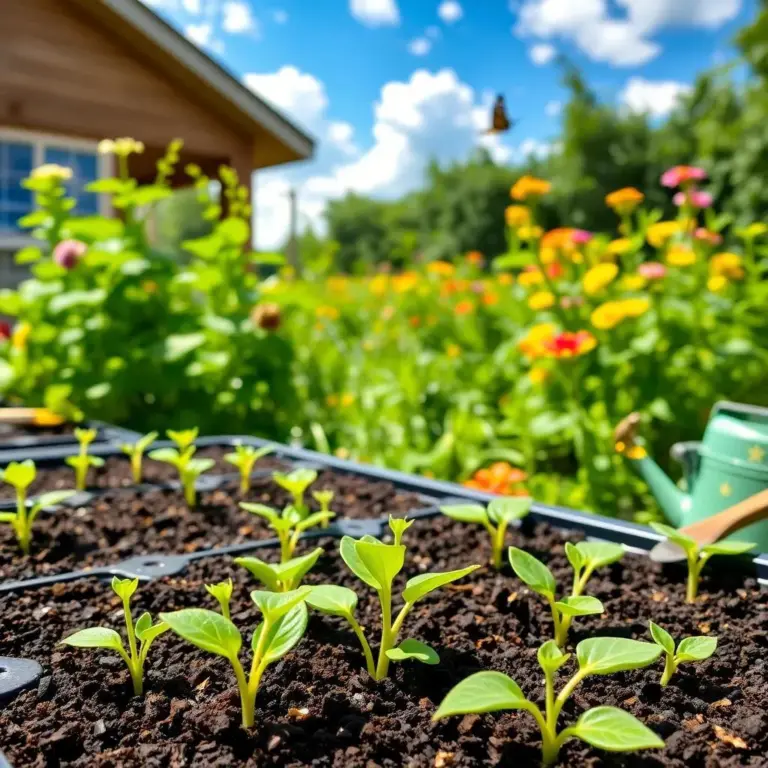
Direct Sowing Milkweed Seeds in the Garden
Direct sowing milkweed seeds is like planting a treasure right in your garden! It’s a simple process that allows these beautiful plants to grow exactly where they’ll thrive. So, let’s dig in!
- Choose the Right Spot: Start by finding a sunny corner in your garden. Milkweed loves the sun! Ideally, pick a spot that gets 6-8 hours of direct sunlight daily. The more sunshine, the happier your plants will be!
- Prepare the Soil: Clear away any weeds, rocks, or debris from your chosen area. Then, loosen the top layer of soil with a garden fork or tiller. Think of it as fluffing up a comfy pillow! This helps the roots spread out and soak up all the nutrients they need.
- Sow the Seeds: Now comes the fun part! Scatter the milkweed seeds over the prepared soil. You can plant them in neat rows or just sprinkle them like confetti. Make sure to space them about 1 inch (2.5 cm) apart. This gives them room to grow without bumping into each other!
- Cover the Seeds: Lightly cover the seeds with a thin layer of soil. You don’t want to bury them too deep, just a little blanket of dirt will do. This ensures they can absorb moisture and feel cozy.
- Water and Protect: Give the area a gentle watering right after sowing. Keep the soil consistently moist during the germination period—this might mean checking daily! To protect your seeds from hungry birds and pests, you can use a floating row cover or some mesh netting. They’ll be safe and sound underneath!
- Wait and Watch: After sowing, be patient. You’ll want to check regularly for any signs of life! Germination can take about a week to several weeks, depending on the milkweed species. As seedlings start to pop up, you’ll feel like a proud gardener!
Direct sowing is a natural way to grow milkweed. With a little care, you’ll have beautiful plants in no time, and you’ll be helping those lovely butterflies!
Caring for Germinating Milkweed Seedlings
Once your milkweed seeds have sprouted, it’s time to give them some extra love and care! Think of it as nurturing little green friends who are just starting out. Here are some tips to help your seedlings thrive!
- Watering Wisely: Keep the soil evenly moist but not soggy! Milkweed seedlings love a drink, but too much water can lead to root rot. I like to check the top layer of soil—if it feels dry, it’s time for a gentle watering!
- Sunlight for Growth: These little plants are sun worshipers! Make sure they get at least 6-8 hours of direct sunlight each day. If you’re growing them indoors, position them near a bright window. If natural light is lacking, consider using grow lights to give them that sunny boost they crave!
- Thinning Out: If your seedlings are growing in close quarters, it may be time to thin them out. Choose the strongest seedlings in each spot and carefully snip the weaker ones at the soil level. This gives the chosen plants more room to grow and flourish!
- Mulching Magic: Once your seedlings are a bit bigger, adding a layer of organic mulch, like straw or wood chips, around their base can work wonders. It helps retain moisture and keeps pesky weeds at bay. Just remember to leave a little space around the stems to prevent rot!
- Watch for Pests: Keep an eye out for any pesky insects that might want to munch on your seedlings. Look for aphids or other critters. Handpicking them off can be satisfying! If you see bigger problems, using organic pest control methods can help without harming your plants.
By following these simple care tips, you’re setting the stage for your milkweed seedlings to grow strong and healthy. Soon, you’ll have lovely plants ready to support those fluttering butterflies!
Transplanting Seedlings for Successful Growth
Transplanting your milkweed seedlings into the garden is an exciting step! It’s like sending your little green buddies off to their forever home. Here’s how to make sure they thrive once they’re out in the big world!
- Timing Is Key: Wait until the danger of frost has passed before transplanting. Depending on your area, this could be late spring or early summer. Consult a gardening calendar for your region to pick the best time!
- Prepare the New Home: Choose a sunny spot in your garden with well-draining soil, just like their previous cozy spot. Clear away any weeds and turn the soil with organic matter to help your new plants settle in comfortably.
- Water Before Moving: Water your seedlings in their trays thoroughly a few hours before transplanting. This helps keep the root balls intact and reduces shock when moving them to their new home.
- Digging the Holes: Make holes in the prepared garden area that are slightly larger than each seedling’s root ball. Space them according to the needs of the specific milkweed species. Remember, they’ll grow big and need room to spread!
- Planting Procedure: Gently lift each seedling from its tray, being careful not to pull on the stem. Place it in the hole and backfill with soil. Make sure the top of the root ball is level with the surrounding soil surface. Give them a little pat to make sure they are snug!
- Water and Mulch: After transplanting, water them deeply to settle the soil around the roots. Adding a layer of mulch will help keep the moisture in and suppress weeds.
- Ongoing Care: Keep an eye on the weather and your newly transplanted seedlings. Water them regularly, especially in dry times, and monitor for any signs of stress or pests.
Transplanting can feel a bit nerve-wracking, but with careful steps, you’ll be rewarded with beautiful, thriving milkweed plants. Soon, you’ll see butterflies flitting around, and you’ll know all your hard work was worth it! Happy gardening!