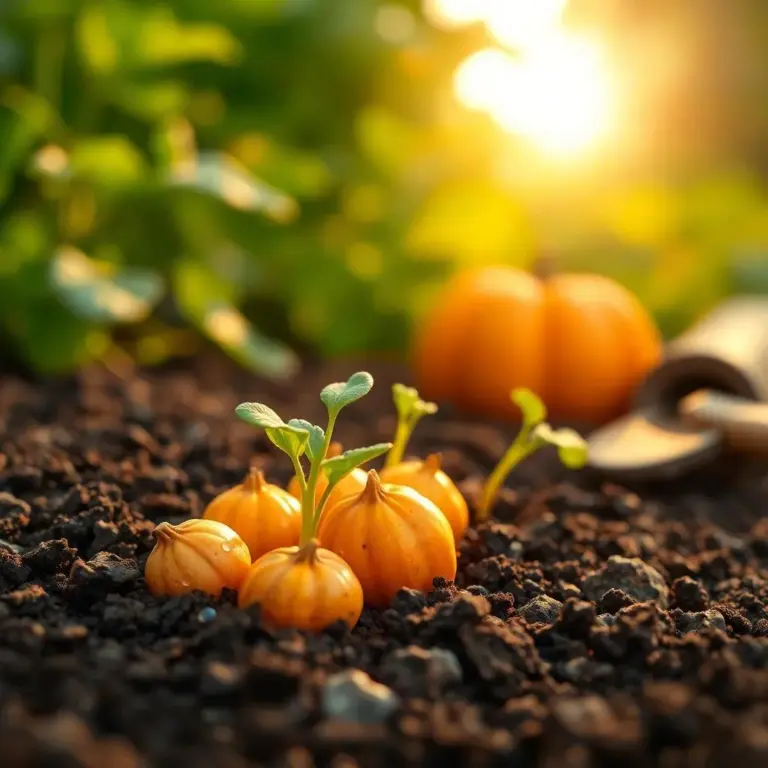
Are you ready to grow some amazing pumpkins? I sure am! In this article, I’m excited to share all about how long it takes for pumpkin seeds to sprout, the best ways to help them along, and how to care for them as they grow. Let’s dig into the wonderful world of pumpkin gardening together! 🌱🎃
Factors Influencing Pumpkin Seed Germination Time
When I plant my pumpkin seeds, I always wonder why they take different amounts of time to sprout. It’s like waiting for popcorn to pop! Several factors can influence the germination time of pumpkin seeds. Let’s explore what I’ve learned over the years.
1. Soil Temperature
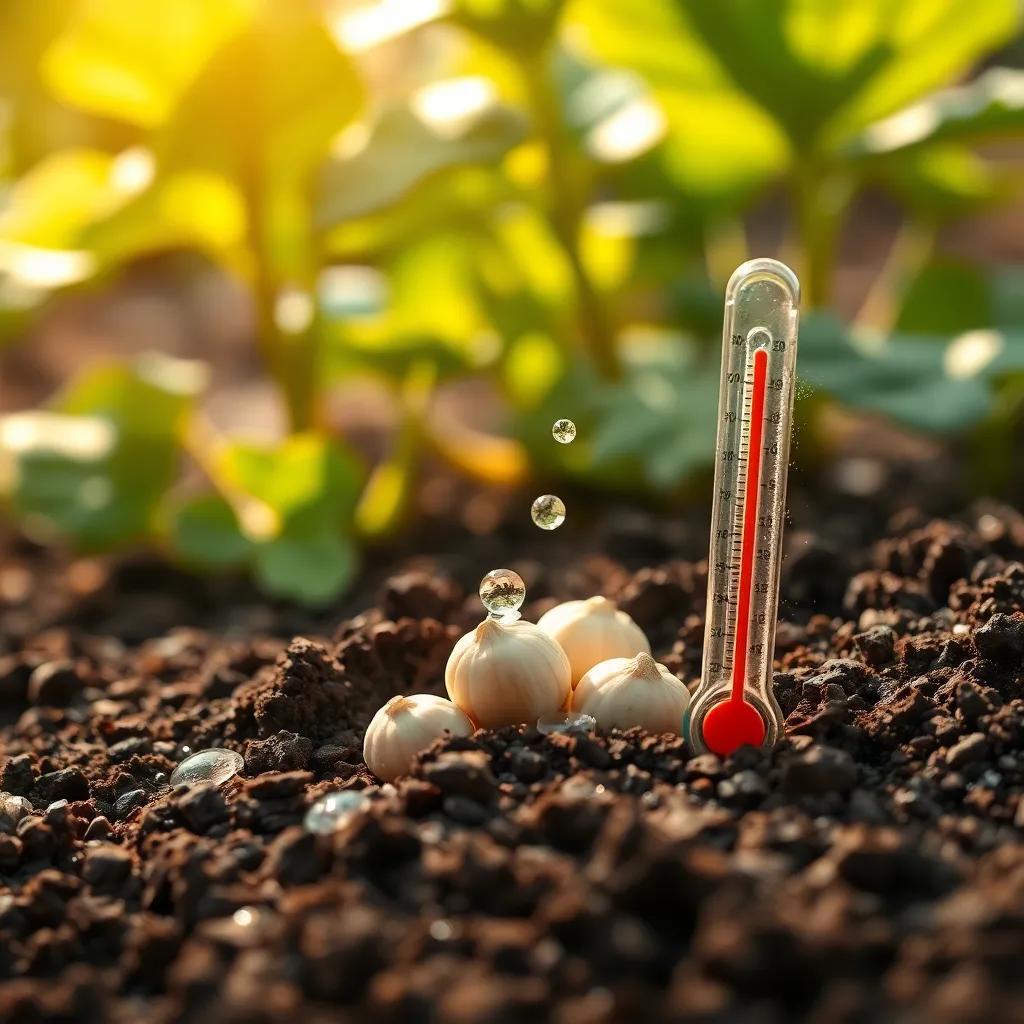
The temperature of the soil is a big deal. Pumpkin seeds love warmth! They sprout best when the soil is between 70°F and 95°F (21°C to 35°C). If the soil is too cold, the seeds might just sit there, contemplating life instead of sprouting. On the flip side, if it’s too hot, it can stress them out. So, keeping your soil cozy is key!
2. Moisture Levels
Next up is moisture. Pumpkin seeds need consistent moisture to get going. If the soil is too dry, the seeds can get thirsty and die of dehydration. But if you give them too much water, we risk drowning them! It’s like walking a tightrope; we need to keep things just right. Regularly checking the moisture is a great way to see how they’re doing.
3. Seed Quality
The quality of your pumpkin seeds is super important! Using fresh, high-quality seeds from a reputable supplier means they’re more likely to sprout quickly and produce healthy plants. Look for seeds that are plump and firm. If they look sad or have signs of damage, it might be time to toss them out!
4. Seed Viability
Lastly, let’s talk viability. Fresh seeds usually sprout faster. As time goes on, seeds lose their ability to germinate. So, using seeds that are within their recommended storage period is a good idea. It’s like using a fresh ingredient in cooking; it just makes everything better!
Understanding these factors is like having a cheat sheet for gardening! By creating the right conditions, we can help our pumpkin seeds sprout in no time!
Average Time for Pumpkin Seeds to Sprout
Now that we’ve covered what influences germination, let’s chat about the average time it takes for our pumpkin seeds to sprout. I know waiting can be tough, but it’s worth it! On average, pumpkin seeds take about 4 to 10 days to sprout. Yep, just a week to a little over a week! But remember, this is just a ballpark figure.
The actual sprouting time can be different based on the factors we discussed earlier. If your soil is warm and moist, you might see those little sprouts popping up closer to that 4-day mark. Yay! But if the conditions aren’t quite right, it could take up to 10 days or more.
Here’s a quick rundown of average sprouting times based on conditions:
- Ideal Conditions (Warm soil, consistent moisture): 4-6 days
- Average Conditions: 7-10 days
Some varieties of pumpkins may even sprout faster or slower, so it’s good to check the seed packet for specific information.
Once you’ve planted your seeds, you’ll want to keep an eye on them. The waiting game can feel long, but trust me, the excitement of seeing your seeds sprout is like waiting for a surprise party! Remember to be patient, give them the care they need, and soon enough, you’ll have little green plants popping up. What could be more exciting? Your pumpkin journey is just beginning! 🌱🎃
Understanding the Germination Process of Pumpkin Seeds
Understanding how pumpkin seeds germinate is like unlocking a little secret of nature! The germination process is fascinating, and when we know what happens, we can help our seeds grow strong and healthy.
The journey begins when we plant the seeds in the soil. Here’s what happens during germination:
- Water Absorption: When the seeds first touch the moisture in the soil, they drink it up like they’re having a refreshing smoothie! This water helps soften their hard outer shell, which is essential for what comes next.
- Enzyme Activation: After soaking up the water, something magical happens. Enzymes inside the seeds wake up and get to work! They break down stored nutrients, like starches, into simpler forms that the tiny plant can use for energy. It’s like the seed is fueling up for a big race!
- Root Development: Soon, the first root, called the radicle, pops out. It grows downward, anchoring the seed in the soil while searching for water and nutrients. This is when the seed starts to feel secure and ready to grow!
- Leaf Emergence: After the roots are set, the seedling aims for the sky! The first leaves, called cotyledons, push through the soil. These leaves provide the initial food supply, helping the young plant gather energy from sunlight.
- Growth and Development: With roots and leaves established, the seedling continues to grow. It develops true leaves and becomes a full-fledged pumpkin plant!
Knowing this process makes me excited to see my pumpkins sprout. With the right conditions, we can witness this miracle unfold in our gardens!
Tips to Accelerate Pumpkin Seed Sprouting
If you’re like me, you might want to speed up the process of growing pumpkins! Fortunately, there are several tips you can use to help your seeds sprout faster and grow stronger. Let’s dive into some great strategies!
- Pre-Soaking: Start by soaking your pumpkin seeds in water for about 8 to 12 hours before planting. This softens their tough outer shell, making it easier for them to germinate. Plus, it helps them wake up and get ready to grow!
- Warm Soil: Remember, pumpkin seeds thrive in warmth! You can use a seedling heat mat or simply place your pots in a sunny spot where the soil warms up nicely. Keeping the soil temperature around 70°F to 95°F will encourage sprouting.
- Moisture Control: Keep that soil moist, but don’t drown the seeds! Make sure the soil is damp but not soaked. I often mist the surface gently to keep things just right.
- Seed Orientation: When planting the seeds, place them horizontally in the soil. This helps the roots grow down more easily and can lead to quicker sprouting.
- Provide Adequate Light: Once your seedlings pop up, they’ll need light! Provide them with about 6 to 8 hours of sunlight a day. If natural light is limited, think about using grow lights for extra support.
- Thin Out Seedlings: If you see multiple seedlings in one spot, thin them out! This allows the strongest seedlings to get all the nutrients they need to thrive without competing for resources.
- Protect from Cold: If you’re starting seeds early, keep them warm! Use row covers or a cold frame to shield your young plants from chilly temps.
By following these tips, you’ll be on your way to sprouting pumpkin seeds faster than ever! It’s like giving them a little extra love and care to help them grow strong and healthy!
Best Practices for Care After Sprouting Pumpkin Seeds
Watching your pumpkin seeds sprout is such an exciting moment! Once those tiny green seedlings appear, it’s time to give them the care they need to grow into strong plants. Here are my best practices for keeping your pumpkin plants happy!
- Watering: Maintaining the right moisture level is crucial. I water my seedlings every few days, checking the soil to ensure it’s neither too dry nor soggy. They need consistent moisture, especially while they’re young. If you see the leaves wilting, it’s a sign they need water!
- Sunlight: Sunlight is super important for healthy growth! These little plants thrive on 6 to 8 hours of sunlight each day. If they don’t get enough light, they might become leggy or weak. I always rotate my pots to ensure they receive even sunlight from all sides!
- Fertilizing: After a couple of weeks, consider using a gentle, water-soluble fertilizer. This gives the plants extra nutrients to help them grow. Just remember to read the instructions so you don’t accidentally over-fertilize; it’s like giving them too much sugar!
- Pest Control: Keep an eye out for pests and diseases. Aphids and spider mites love young seedlings! I like to spray a gentle mixture of water and soap to keep those pesky bugs away, but always check for any issues first.
- Thinning: As the seedlings grow, if they’re too crowded, it’s best to thin them out. This means removing some seedlings so the stronger ones can thrive. Use scissors to snip off the weakest plants at the soil level; this minimizes root disruption.
- Transplanting: If you’ve started your seeds indoors, be ready to transplant them when they’re about 2 to 3 inches tall and have several true leaves. Acclimate them to the outdoors by placing them outside for a few hours each day before permanently moving them to their garden spot. This is called “hardening off,” and it helps them adjust!
By following these best practices, I’ve seen my pumpkin plants thrive and produce beautiful, big pumpkins! It’s all about giving them the right care and attention. Happy gardening! 🌱🍂