Are you ready to grow some amazing red clover? This delightful plant not only adds beauty to your garden but also helps improve soil health! Join me as we explore the secrets to successful germination, from ideal soil conditions to handy tips for nurturing your seedlings. Let’s dig in and get those gardens flourishing!
Ideal Soil Conditions for Red Clover Germination
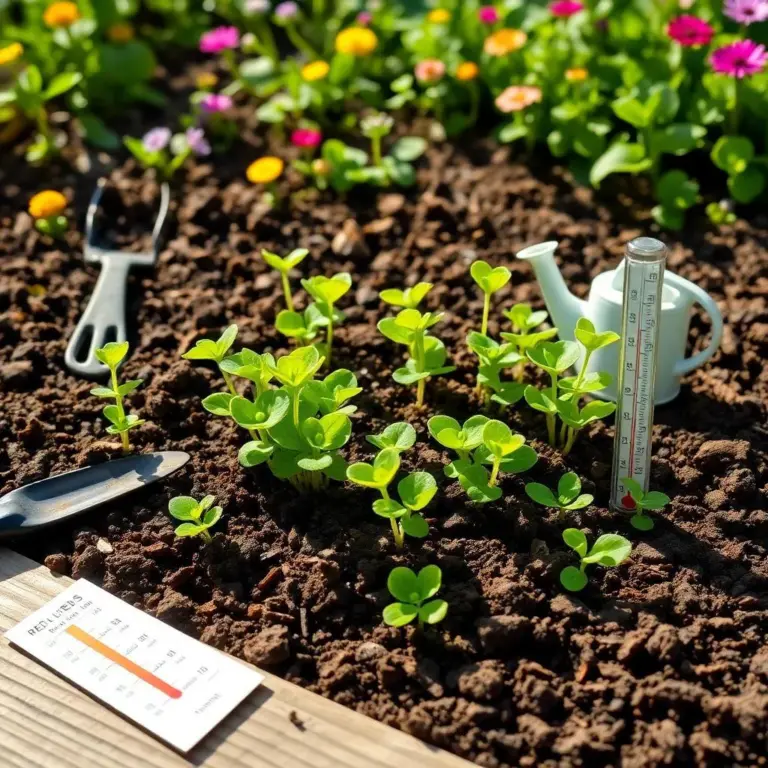
Creating the perfect soil environment is key to helping your red clover thrive! I’ve learned that red clover loves specific soil conditions, and getting them right can make a world of difference in how quickly and successfully your seeds germinate. Let’s dig into what this means for us!
1. Well-Drained Soil
Red clover doesn’t like to have its feet wet! Waterlogged soil can drown the seeds, leading to rotting. So, how do we keep it well-drained? You can mix in some organic matter, like compost, to let the water flow freely. This keeps those little seeds happy and healthy.
2. Soil pH
The pH level of the soil is super important. Red clover shines brightest in slightly acidic to neutral soil, with a pH range between 6.0 and 7.0. You can grab a simple soil test kit at your local store to check this out. If it’s not in that range, don’t worry! You can add lime to raise the pH or sulfur to lower it. Easy peasy!
3. Nutrient-Rich Soil
Just like us, plants need plenty of nutrients to grow strong! Red clover loves phosphorus and potassium, so consider giving your soil a nutrient boost before planting. A quick soil test can tell you what’s missing. If you find any gaps, adding some organic fertilizers or compost can really help.
4. Organic Matter
Adding organic matter improves soil structure and moisture retention. Think of it as giving your soil a healthy snack! Adding compost or well-rotted manure is a fantastic way to do this. It’s a win-win for plant growth and soil health!
By keeping these ideal conditions in mind, you’re setting your red clover up for success. Happy gardening!
Optimal Temperature and Light Requirements
Temperature and light can really shape our gardening results. Red clover has its preferences, and knowing them can help us create the best environment for germination. Are you ready to keep those little seeds cozy? Let’s talk about it!
1. Temperature Range
Red clover is kind of like Goldilocks—it likes temperatures that are just right! The ideal temperature for germination is between 15 to 20 degrees Celsius (that’s 59 to 68 degrees Fahrenheit). When the weather is cool but not too cold, red clover is much happier to sprout!
2. Monitoring Temperature
Keeping an eye on the temperature can mean the difference between thriving seedlings and disappointed gardeners. If it’s too hot or too cold, germination can slow down or even stop. I often check the weather forecast to choose the perfect time for planting. We wouldn’t want our little seeds stuck in the wrong temperature!
3. Light Needs
Here’s an important nugget of wisdom: red clover seeds don’t need light to germinate but will definitely need it once they sprout! This means it’s super important to plant seeds at the right depth—approximately 0.6 to 1.3 centimeters (that’s about 1/4 to 1/2 inch). If we plant them too deep, they might struggle to reach the sunlight when they pop through the soil!
4. Providing Sunlight
Once those seedlings emerge, they’ll soak up all the sunshine they can get. So, make sure to choose a sunny spot in your garden to help them thrive. If your red clover is planted in a well-lit area, it will establish itself much better.
By keeping a watch on temperature and light, you’re creating a cozy home for your red clover. Just like us, they’ll appreciate the right environment for growth! Happy planting!
Sowing Techniques and Best Practices
When it comes to planting red clover seeds, I’ve picked up some great techniques that really work wonders! A successful sowing method can make a huge difference in how well those little seeds germinate and grow. Let’s get our hands dirty and explore some friendly tips!
1. Preparing the Soil
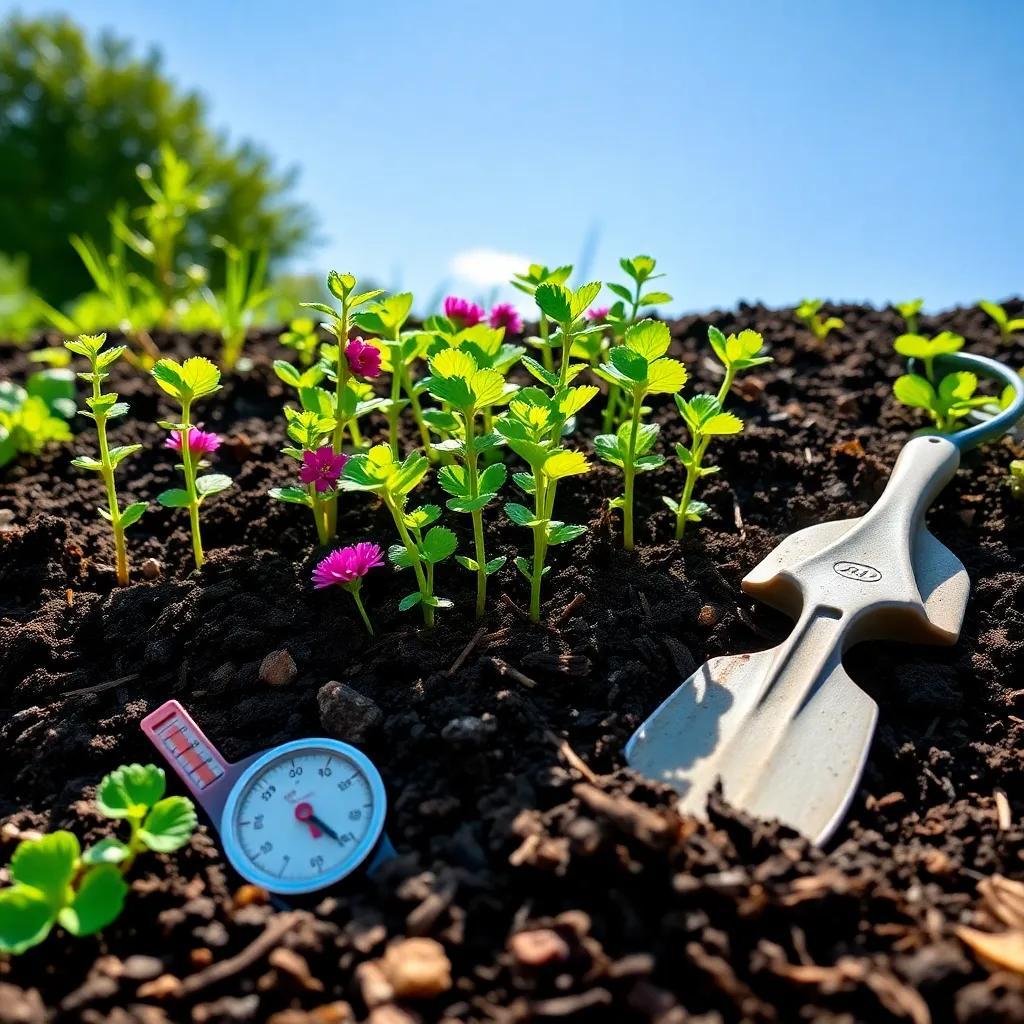
Before tossing those seeds into the ground, we need to prepare the planting area. Clear away any pesky weeds or debris that might interfere with growth. Then, grab a garden fork or tiller and loosen up the soil. This helps create a nice, crumbly texture that allows the seeds to settle in comfortably. Think of it as giving your seeds a cozy bed!
2. Timing Is Everything
Timing can make or break our planting efforts! Red clover grows best when it’s sown in early spring or late summer. During these times, temperatures are just perfect for germination. If you’re wondering when exactly to plant, I always recommend checking your local climate. Knowing your area can help you hit that sweet spot!
3. Choosing Your Sowing Method
There are a couple of ways to plant those seeds. You can either broadcast (which just means spreading them by hand) or use a seed drill for more precision. If you’re going for a small patch, broadcasting works like a charm! For larger areas, a seed drill will help ensure even seed placement. It’s like giving your seeds VIP treatment!
4. Depth Matters
Make sure to plant your red clover seeds at the recommended depth of about 0.6 to 1.3 centimeters (that’s about 1/4 to 1/2 inch). This depth strikes the balance; too shallow, and they may not germinate properly; too deep, and they might struggle to reach the light!
5. Watering and Mulching
After sowing, give the area a good drink of water to keep it moist but not soggy. And here’s a little trick: adding a layer of organic mulch can help retain moisture and keep weeds at bay.
With these techniques, you’ll be well on your way to successful red clover sowing! Happy planting!
Common Germination Challenges and Solutions
Even the best plans can hit a few bumps along the way! I’ve had my fair share of germination challenges with red clover, but knowing how to troubleshoot can save the day. Let’s dive into some common issues and how to tackle them.
1. Low Germination Rates
If your seeds aren’t sprouting like they should, it could be due to poor seed quality. Always choose fresh, high-quality seeds from a reputable supplier. Check the packaging for a germination rate label! If the seeds are old or have been improperly stored, their chance of sprouting can diminish.
2. Uneven Sprouting
Have you ever noticed some seeds sprout while others just sit there? This can happen if seeds are planted at different depths. Remember, consistency is key! Make sure you’re planting each seed at the same depth to promote even germination.
3. Too Much Moisture
While red clover loves moisture, too much of it can create a soggy mess. When the soil becomes waterlogged, seeds can rot. Monitor your watering carefully! You want the soil to stay consistently moist, not saturated. If it rains heavily, check the drainage to prevent any problems!
4. Pests and Diseases
Keep an eye out for pesky insects or diseases that might target your young seedlings. If you spot any problems, act quickly! You can use natural solutions, like neem oil, for pest control or improve air circulation to prevent fungal issues.
5. Weeds Competing for Resources
Weeds can be a real pain! They compete with red clover for sunlight, nutrients, and water. Keep the planting area free from weeds by regularly checking and using mulch to suppress their growth. This gives your red clover the best chance to thrive!
By being aware of these common challenges, you’ll be better prepared to tackle any issues that crop up. Happy gardening, and may your red clover flourish!
Tips for Monitoring and Enhancing Germination
Once you’ve sown your red clover seeds, the fun isn’t over yet! Monitoring the growth and enhancing the germination process is like giving your plants a little extra love. Here are some tips I’ve found super helpful!
1. Check Soil Moisture
Keeping an eye on soil moisture is vital. After planting, I like to stick my finger into the soil about an inch deep to see if it feels damp. If it’s dry, it’s time to water! Remember, consistency is key; too little water and your seeds might dry out, but too much can lead to rot.
2. Temperature Monitoring
I can’t stress enough how important temperature is! If it’s too cold or too hot, your seeds might not germinate properly. Use a simple thermometer to keep track of the soil temperature. If you notice the temperature straying from the ideal range (15 to 20 degrees Celsius), you might want to delay or adjust your planting schedule.
3. Provide Adequate Sunlight
After your red clover seeds germinate, they will need plenty of sunlight. I always make sure they’re in a spot that gets full sun for the best results. If they’re not getting enough light, consider transplanting them to a sunnier location or trimming back any nearby plants that might be blocking the sun.
4. Fertilization Tips
Consider applying a light fertilizer once your seedlings are established. A balanced organic fertilizer can provide extra nutrients to encourage healthy growth. Just be careful not to over-fertilize, as this can harm your red clover!
5. Record Progress
Keeping a simple journal of your gardening progress can be super fun! I like to jot down notes about when I sowed the seeds, the weather conditions, and any challenges I faced. This way, I can reflect on what worked and what didn’t, and improve my gardening game in the future.
By monitoring and enhancing the growth of your red clover, you’re giving those little plants the best chance to thrive! Happy gardening, my friend!