Are you ready to grow your own delicious sage? I’m here to share everything I’ve learned about how long it takes sage seeds to germinate and what you can do to help them thrive! Whether you’re a newbie gardener or a seasoned pro, this guide is packed with tips and tricks that will have you enjoying fresh sage from your garden in no time! Let’s dig in! 🌱
Factors Influencing Germination Time for Sage Seeds
When it comes to growing sage from seeds, I’ve learned that germination time can be a bit of a rollercoaster ride! Generally, sage seeds can sprout anywhere from 10 to 21 days, but several factors play a big role in how quickly that happens. Let’s break it down!
- Temperature: This is like the cozy blanket for your seeds! Sage seeds love warmth but not too hot, please. The ideal range is between 60 to 70 degrees Fahrenheit (or 15 to 21 degrees Celsius). If the temperature dips or rises too much, your seeds might just decide to take a nap instead of sprouting!
- Moisture Level: Think of this as giving your seeds a refreshing drink! Keeping the soil moist but not soggy is key. Too much water can drown them, while too little will leave them thirsty and unmotivated to grow. I like to check daily and give them a spritz if they seem dry.
- Light Exposure: Unlike some seeds, sage seeds prefer to keep things dark while they germinate. Cover them with about 1/4 inch of soil to help keep the light out. Too much sunlight might just scare them back into their seed coats!
- Seed Quality: Here’s where you want to get picky! Fresh, high-quality seeds from trusted sources will germinate better than old or damaged ones. Remember, healthy seeds lead to healthy plants!
- Soil Quality: Good soil is like a buffet for your seeds! It should be well-draining and rich in organic matter. A pH level between 6.0 and 7.0 is just right. If your soil is heavy and compact, consider mixing in some sand or compost to spice things up!
By keeping these factors in check, you can help speed up the germination of your sage seeds. Remember, a little patience goes a long way in this gardening game!
Optimal Conditions for Sage Seed Germination
Creating the right environment for sage seed germination feels like preparing a mini spa day for your seeds! They’ll flourish with the right care and conditions. Let’s make sure these little seeds feel right at home!
- Temperature Control: Aim to keep your seeds in that sweet spot of 60 to 70 degrees Fahrenheit. If you’re starting indoors, a heat mat can be a great friend during those cooler months.
- Moisture Management: I can’t stress enough how important it is to maintain that perfect moisture level! Before planting, soak the soil but not until it’s a muddy mess. Just enough to feel damp when you touch it. Keep an eye on the moisture levels even after planting!
- Darkness is Key: As I mentioned earlier, sage seeds enjoy their darkness. When planting, bury them lightly and avoid placing them in direct sunlight until they sprout. Think of it as tucking them in for a cozy, rejuvenating sleep!
- Well-Draining Soil: Did I mention that soil matters? Use seedling mix or amend garden soil with some sand or perlite. This helps prevent water from pooling around the seeds, reducing the chance of rot.
- Air Circulation: You want your seeds to breathe too! If you’re using a dome or cover, make sure it has some ventilation. Good airflow will help prevent mold and mildew.
By putting these conditions in place, I promise your sage seeds will be on their way to sprouting in no time! It’s all about creating the cozy, safe environment they need to germinate and thrive! Happy planting! 🌱
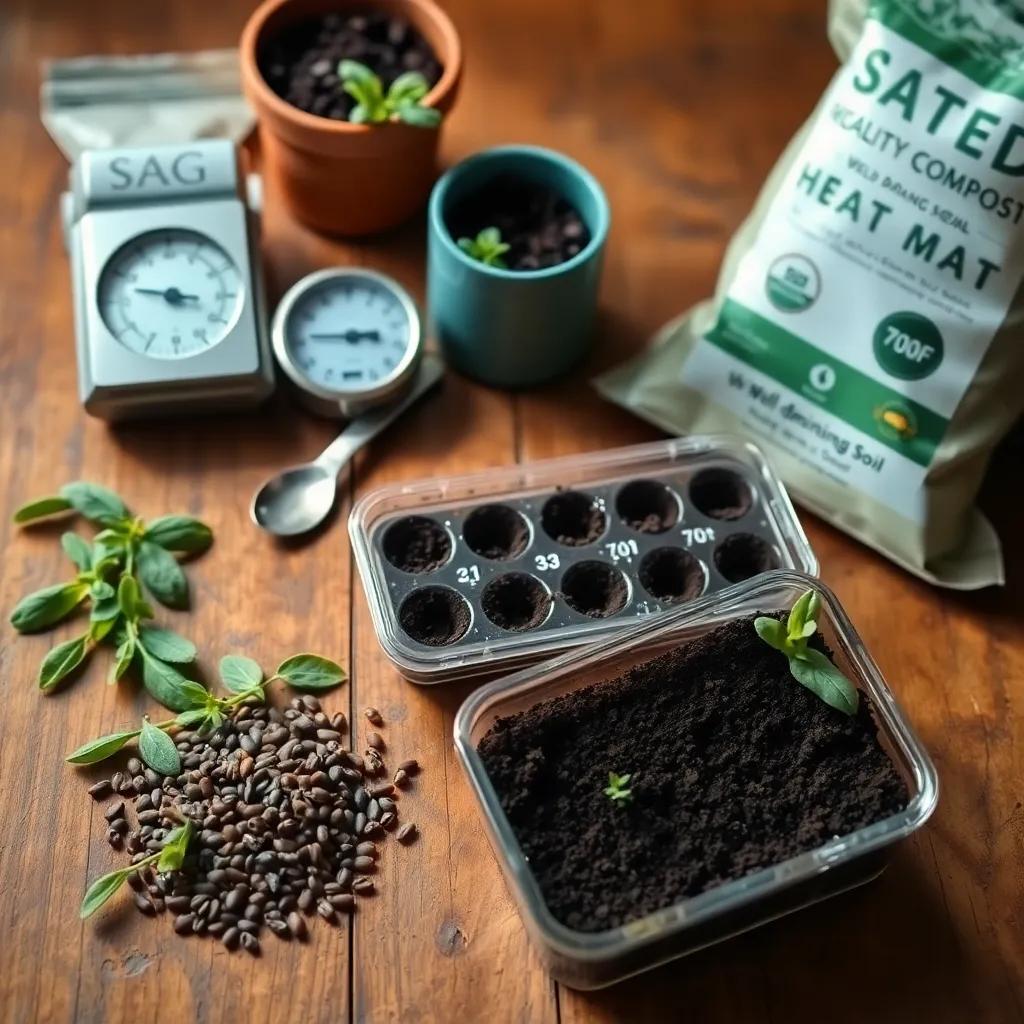
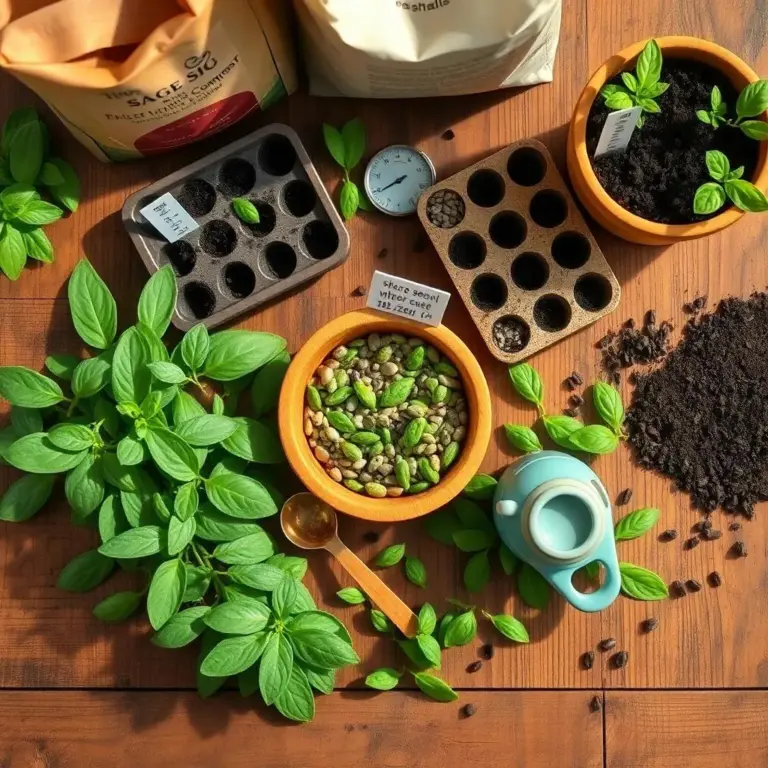
Step-by-Step Guide for Preparing Sage Seeds
Getting your sage seeds ready for planting is like prepping your favorite dish; it’s all about the right ingredients and steps! Here’s a simple guide to help you prepare your sage seeds like a pro!
- Choose High-Quality Seeds: The first step is finding the best seeds. I always look for plump, firm seeds from trusted suppliers. Fresh seeds are key to a successful germination!
- Clean the Seeds: Before planting, give those seeds a gentle rinse to remove any debris or dirt. I like to use lukewarm water for this task. Just a light rinse is enough to help them breathe!
- Soak the Seeds: Soaking can help kick-start the germination process. Put your clean seeds in a bowl of water for about 2 to 4 hours. Just don’t leave them too long, or they might get waterlogged!
- Stratification: This step is optional but can be very helpful. Place your soaked seeds in a sealed plastic bag and refrigerate them for 2 to 4 weeks. This mimics winter conditions, which can break seed dormancy!
- Scarification: For those extra stubborn seeds, a little scarification can do wonders! Gently rub the seeds against fine sandpaper or soak them in slightly warm water for a few minutes. This will help moisture get into the seed easier.
- Label Your Seeds: It’s always a good idea to keep track of what you’ve planted! Use small markers to label each variety and date when you planted them. It makes gardening so much easier!
By following these steps, you’re giving your sage seeds the best chance to sprout and grow! Just like that secret family recipe, preparation is key!
Effective Germination Methods for Sage Seeds
Now that we’ve prepped those seeds, it’s time to talk about how to get them germinating! There are several methods to choose from, and I’ll share my favorites with you. Let’s find the one that suits you best!
- Direct Sowing: This is the easiest option! Find a sunny spot in your garden and prepare your soil well. Dig small holes about 1/4 inch deep and drop in one or two seeds per hole. Cover them lightly with soil and give them a gentle watering. Keep the soil consistently moist, and wait for those little sprouts to pop up!
- Seed Trays or Pots: If you prefer starting indoors, seed trays are a fantastic choice! Fill them with a seed-starting mix, and sprinkle your seeds on top. Lightly press them into the soil, then cover them with a thin layer. Place the trays in a warm area with indirect light, keeping the soil evenly moist. Once the seedlings have a few true leaves, they can be transplanted outdoors!
- Germination Paper or Towels: For a close-up view of the germination process, try using damp paper towels. Place the seeds on a moist towel in a shallow container, cover them, and mist it regularly to keep it damp. Once the seeds sprout, you can carefully transfer them to pots.
- Seed Germination Chambers: If you have access to seed germination chambers, this is a fantastic method! These chambers offer controlled temperature and humidity, which is perfect for germinating seeds. Just follow the manufacturer’s instructions and keep a watchful eye!
- Hydroponics: For the adventurous gardener, try hydroponics! Prepare a hydroponic tray with a nutrient solution. Plant the seeds in a growing medium and watch them thrive with the right care!
No matter which method you choose, keep an eye on moisture levels and light conditions. You’ll be amazed at how quickly those sage seeds will sprout!
Common Mistakes to Avoid When Germinating Sage
As exciting as growing sage can be, there are a few common mistakes that can trip us up along the way. Let’s avoid these blunders so we can enjoy a thriving sage garden!
- Overwatering: This is the classic error! While sage seeds need moisture, too much can drown them. Keep the soil damp, but never soggy. I like to stick my finger in the soil; if it feels wet, hold off on watering!
- Planting Too Deep: Remember, these little seeds don’t need a deep burial! Cover them with about 1/4 inch of soil. If planted too deep, they might struggle to push through, leaving you with no sprouts!
- Using Poor Quality Seeds: Always choose high-quality seeds! Old or damaged seeds can lead to disappointing results. Fresh seeds from reliable suppliers will yield much better results!
- Ignoring Temperature and Light Needs: Don’t overlook the importance of temperature and light! Keep those seeds cozy at the right temperature and provide darkness until they sprout. This will give them the best shot at germination.
- Skipping the Preparation Steps: Properly prepping your seeds is essential! Skipping steps like soaking or stratifying can hurt germination rates. Take the time to do it right, and you’ll reap the rewards!
By steering clear of these common mistakes, you’ll be setting yourself up for sage-growing success! Every misstep is a chance to learn, but let’s make it easier on ourselves and follow these tips! Happy gardening! 🌱