Are you ready to transform your yard into a lush paradise? Growing Scotts grass seed can be a fun and rewarding adventure, but it helps to know a few secrets along the way! From understanding the germination process to creating the perfect conditions, I’m here to guide you through every step of making your lawn the envy of the neighborhood! Let’s dig in!
Factors Influencing Scotts Grass Seed Growth
Growing Scotts grass seed successfully depends on a few important factors! Just like baking a cake, if you miss out on some ingredients, the final result won’t be what you expect. Let’s look at what can really make or break your grass-growing adventure!
- Seed Quality: The better the grass seed, the better your lawn will grow! It’s like choosing ripe berries for a smoothie; the quality matters! Go for trusted brands like Scotts that are known for their superior seeds.
- Soil Conditions: Have you checked your soil lately? Healthy soil is like a cozy blanket for your seeds. It should be rich in organic matter and have a balanced pH of about 6 to 7. If your soil is too compacted or dry, the seeds may struggle. Loosen it up to give those roots a fighting chance!
- Moisture: Just as I need my morning coffee, seeds need moisture to kickstart their growth! Keeping the soil consistently moist, especially during germination, is vital. But watch out—too much water can lead to problems like fungal diseases!
- Temperature: Grass seeds are like Goldilocks; they want things just right! Cool-season grasses love temperatures between 60°F to 75°F, while warm-season types thrive in the 75°F to 90°F range. Make sure your seeds are planted when the weather fits their preferences!
- Light Exposure: Light is the magic ingredient for photosynthesis! Most grass seeds need at least 6 to 8 hours of sunlight each day. But don’t bake them in direct sun right after planting—just a little bit of light is all they need to get started!
Keeping these factors in mind can help you grow a lush, green lawn that will be the envy of the neighborhood! So, are you ready to dig in?
Understanding the Germination Process for Grass Seeds
Ah, the moment we’ve all been waiting for—germination! It’s like the moment a chick breaks free from its shell. But how long does it actually take for Scotts grass seed to do its thing? Generally, you’re looking at a germination period of about 7 to 14 days. That might feel like forever, but patience is key!
Here’s what happens during those 7 to 14 days:
- Water Absorption: Once you plant the seeds, they start soaking up moisture. This is when they get ready to sprout. It’s like they’re having a little spa day!
- Breaking Dormancy: After drinking up, the seeds break their dormancy. They go from being sleepy seeds to lively seedlings!
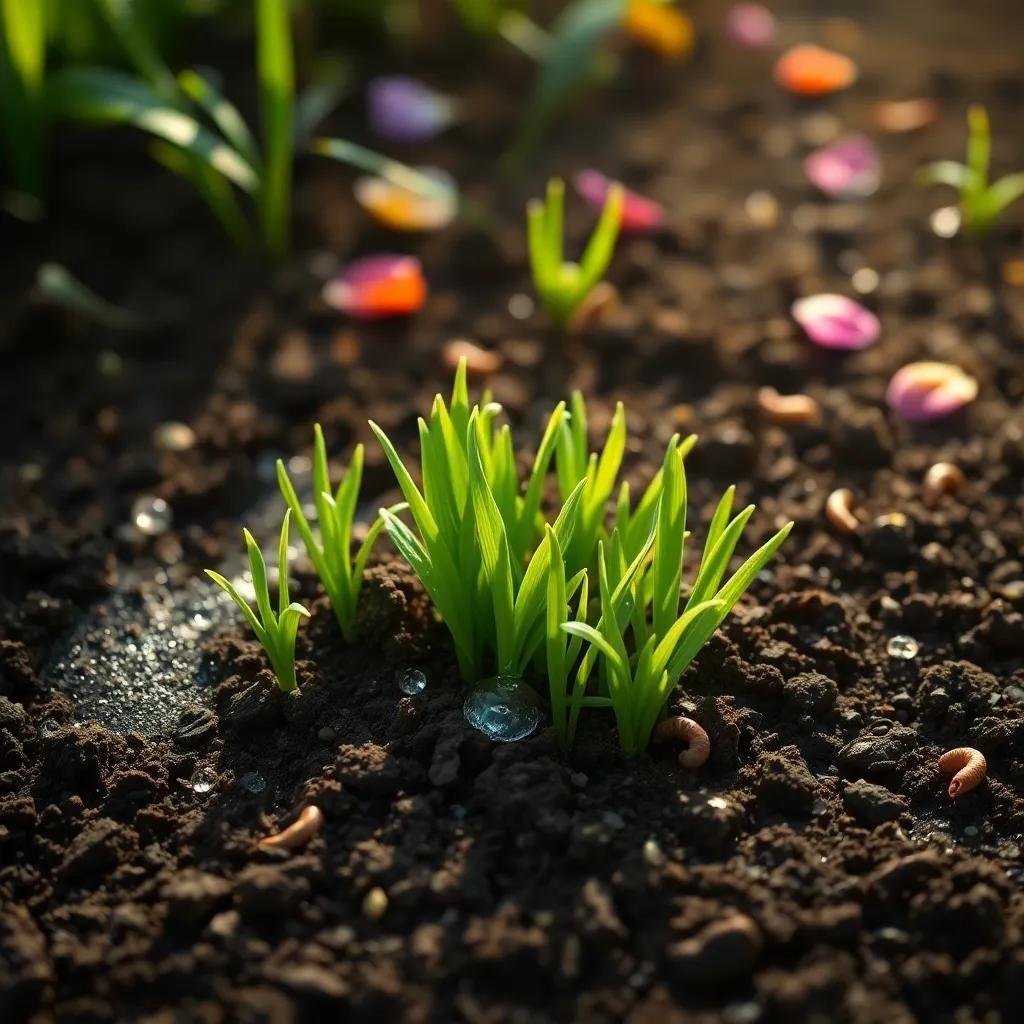
- Sprouting: Finally, the seeds will start to sprout. You might see tiny green shoots poking through the soil, which is super exciting!
Now, here are a few tips to help during the germination period:
- Keep Soil Moist: Watering lightly but often—about 2 to 3 times a day—helps keep the soil damp. But remember, don’t drown them!
- Avoid Traffic: Try to keep foot traffic off the newly planted area. You don’t want to squish those delicate sprouts!
- Be Patient: Not all seeds will germinate at the same time. It’s completely normal if some sprout early and others take a bit longer!
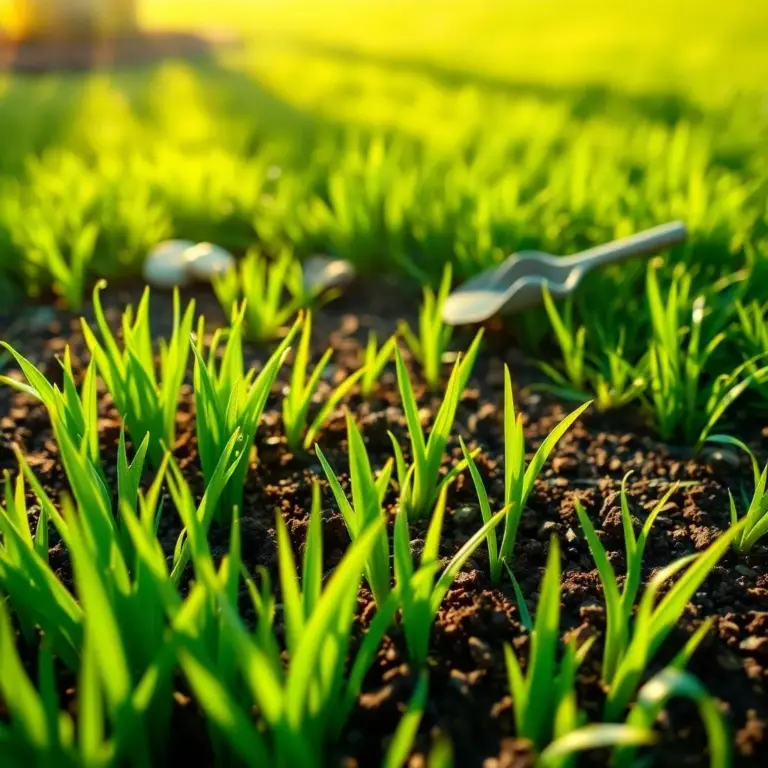
Once you provide the right moisture and conditions, just sit back and watch the magic happen! Before you know it, you’ll have adorable little blades of grass filling your lawn, ready to thrive! Isn’t gardening fun?

Creating Ideal Conditions for Grass Seed Success
Creating the perfect home for your Scotts grass seed is like preparing a cozy nest for a bird—it needs just the right touch! Let’s look at how to give your seeds the best chance to thrive and grow into a beautiful lawn.
- Soil Preparation: Start by getting your soil ready! Remove rocks, old roots, and any debris. It’s like cleaning your room before putting up new decorations. Loosen the soil to about 4 to 6 inches deep. Adding some organic compost can work wonders by boosting nutrients!
- Moisture Management: Water is your best friend! After sowing the seeds, keep the soil consistently moist but not soggy. Water lightly and frequently—just a couple of times a day! As the grass starts to grow, switch to deeper, less frequent watering. This helps encourage strong roots.
- Temperature Control: Timing is everything! Plant your grass seed when temperatures are right. For cool-season grasses, aim for 60°F to 75°F, and for warm-season grasses, look for 75°F to 90°F.
- Sunlight Exposure: Most grasses thrive in full sun, soaking up those golden rays! Aim for at least 6 to 8 hours of direct sunlight each day. If your lawn has shady areas, choose grass varieties that can handle the shade.
- Protection from Foot Traffic: Patience is key as your seeds grow. Keep off the freshly sown area! Foot traffic can disrupt their delicate beginnings.
By crafting these ideal conditions, you’ll be on your way to a lush, green lawn that makes you smile every time you step outside!
Tips to Accelerate Scotts Grass Seed Growth
If you’re anything like me, you want to fast-track that luscious lawn! While patience is essential, there are some nifty tricks that can help speed up the growth of your Scotts grass seed. Here’s my personal list of tips to get those blades of grass popping up faster than popcorn!
- Overseeding: If you already have an existing lawn, consider overseeding! Spread some new grass seed over the old grass. This helps fill in bare patches and promotes thicker growth. Think of it as giving your lawn a little hair makeover!
- Weed Control: Weeds are like uninvited guests at a party—they can really mess things up! Use pre-emergent herbicides before your seeds go down to keep those pesky weeds at bay. Trust me, it’s better to prevent weed problems than to deal with them later!
- Proper Watering: Watering is an art! Don’t just sprinkle a little. Water deeply and infrequently once the grass starts to grow, encouraging those roots to dig deeper for moisture. It’s like sending them on a little adventure underground!
- Fertilization: Applying a starter fertilizer can give your new grass a boost. Look for fertilizers high in phosphorus, as this nutrient is fantastic for root development. Just follow the instructions to avoid overdoing it!
- Mulching: If it’s super sunny, consider applying a thin layer of mulch, like straw or compost, to the seeded area. This helps retain moisture and keeps the soil temperature steady, kind of like putting on a cozy blanket.
With these simple tips, your Scotts grass seed will be well on its way to growing strong and beautiful. Now, let’s tackle some of the common challenges that may pop up along the way!
Common Challenges in Growing Scotts Grass Seed
Growing grass is fun, but it can come with a few bumps in the road! Just like baking a cake, sometimes things don’t go according to plan. Here are some common challenges I’ve encountered, along with handy troubleshooting tips so you can keep your lawn looking its best!
- Poor Germination: Have you noticed patches of bare soil? This might mean your seeds aren’t making good contact with the soil. Always make sure to lightly rake the soil after sowing the seeds to help them sink in. Remember to keep it consistently moist!
- Weed Problems: Weeds can be sneaky! If you see unwanted growth, act fast! Use safe herbicides or get your hands dirty by pulling them out manually. The sooner, the better!
- Soil Compaction: Compacted soil can choke your grass roots. If your soil feels hard and dry, consider aerating it before planting. This will allow air, water, and nutrients to reach the roots more easily!
- Pests and Diseases: Keep an eye out for any signs of trouble! If you see discolored patches or chewed-up leaves, you may have some pests or diseases lurking. Don’t hesitate to consult a local garden center for the best solutions.
- Nutrient Deficiency: If your grass is growing slowly, it might need a nutrient boost. Test the soil first, then use a balanced fertilizer to get things back on track. Just don’t go overboard; moderation is key!
Each lawn has its quirks, but with these tips, you’ll be ready to tackle any challenge that comes your way! Happy gardening!

