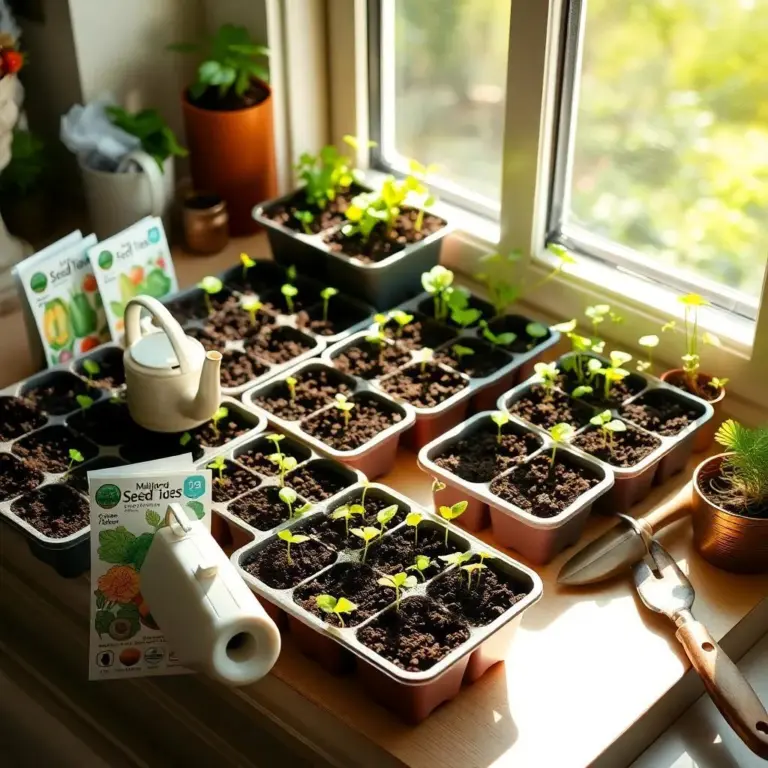
Are you ready to turn your home into a mini indoor garden? Growing seeds indoors can be a delightful adventure, bringing a splash of green right into your living space! Let’s explore everything you need to know about sprouting seeds, from what factors help them thrive to troubleshooting pesky problems. Get your gardening gloves on, and let’s get started!
Factors Affecting Seed Germination Indoors
When it comes to germinating seeds indoors, a few important factors can make all the difference in how successful you are. Think of these elements as the best buddies your seeds need for a fun and happy sprouting time! Let’s break them down:
- Temperature: Seeds are a bit like Goldilocks; they want it “just right.” Most seeds enjoy a cozy temperature between 60-85°F (15-29°C). Too cold? They’ll just sit there, snoozing! Too hot? They might give up! Using a thermometer can help you keep track of their ideal temperature.
- Moisture: Seeds love to drink, but not too much! They need adequate moisture to wake up and grow. If the soil is too dry, they’ll get cranky and refuse to grow. But if it’s soggy, oh boy, they could drown or get sick from mold! Finding a balance is key. Keep that soil moist but not waterlogged—think of it like giving your seeds a nice bath, not a splash party!
- Light: Light is another big deal for seeds. Some seeds are like sunbathers and need light to germinate, while others prefer to get cozy in the dark. If your seeds are light lovers, make sure to sprinkle them on top of the soil, but if they like it dark, cover them up nicely!
- Oxygen: Just like you and me, seeds can’t grow without a little air! That’s right—seeds need oxygen to breathe and grow. Make sure not to compact the soil too tightly. It should feel loose and airy, just like a fluffy cake!
By understanding these factors, you can create the perfect little haven for your seeds to sprout and thrive. Now, let’s move on to choosing just the right seeds for our indoor garden adventure!
Choosing the Right Seeds for Indoor Sprouting
Now that we know the secrets to give our seeds a great start indoors, let’s talk about how to choose the right seeds! Not all seeds are made equal, and it’s super important to pick the ones that will thrive indoors. Here’s what to think about when searching for the perfect seeds:
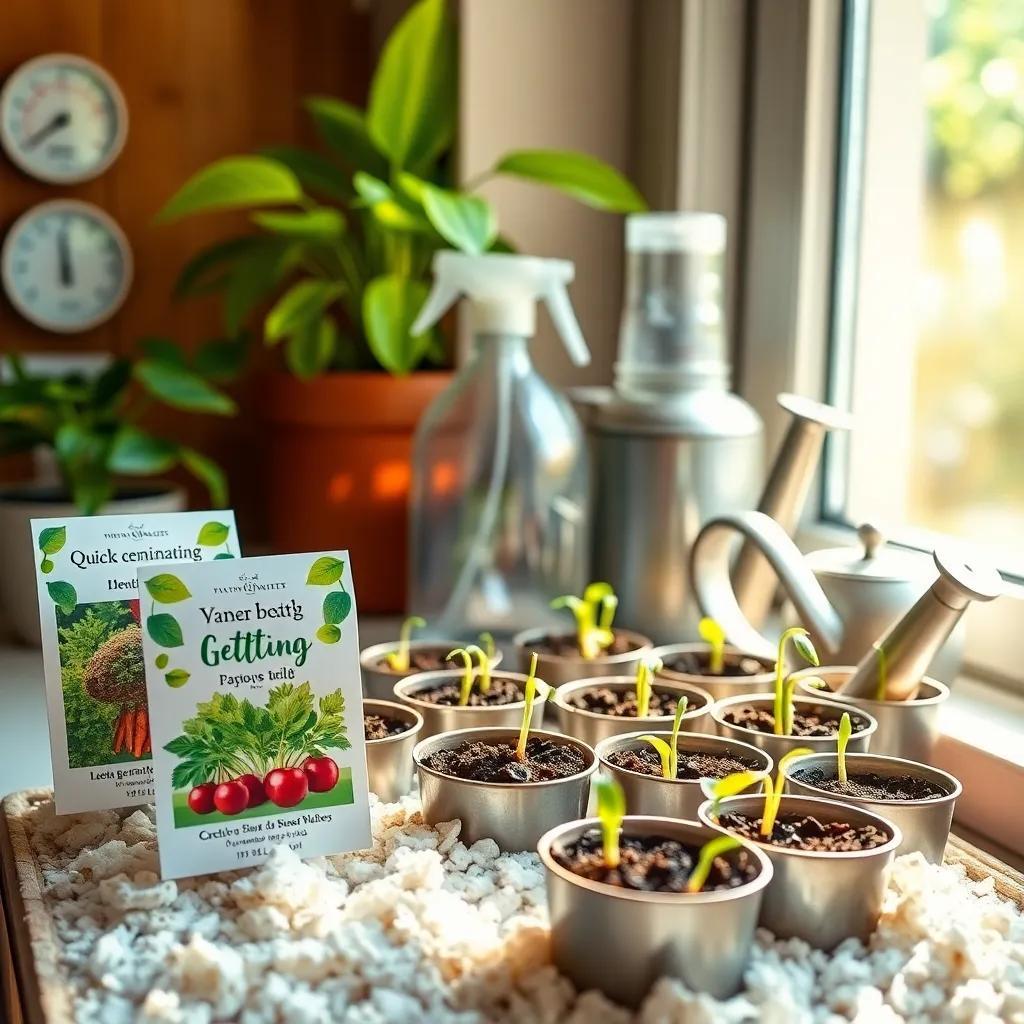
- Quick Germination: Who wants to wait forever? I know I don’t! Look for seeds that germinate quickly, like lettuce, radishes, or herbs like basil and cilantro. These speedy sprouters will have you cheering in no time!
- Compact Growth: Space is often limited indoors. That’s why I love seeds that grow into compact plants! Varieties labeled as “bush” or “dwarf” are perfect for small spaces. They can fit right on my kitchen counter or window sill without taking over the whole place!
- Edible Greens: If you want to grow something to munch on, focus on edible greens! Think of delicious lettuce, nutritious spinach, or trendy microgreens. These grow quickly and can be harvested in just a few weeks. Nothing beats the taste of fresh food from your own little garden!
- Indoor-Specific Varieties: Some seeds are specially designed for indoor growing. These fabulous seeds can handle the unique challenges of life inside, like lower light levels and cooler temperatures. Check with your local garden center or seed catalog for these special picks!
- Personal Preferences: Finally, choose seeds you actually like! Whether it’s vibrant flowers or fresh herbs, picking something you enjoy will keep you excited. Gardening should feel like a fun hobby, not a chore!
With the right seeds in hand, you’ll be ready to take on the world of indoor sprouting! Let’s get our seeds ready for their big moment!
Preparing Seeds for Optimal Germination
Getting your seeds ready for indoor sprouting is like prepping for a big party—proper planning leads to a fantastic outcome! Here’s how I prepare my seeds to give them the best chance at sprouting.
- Seed Selection: Always choose high-quality seeds from trusted sources! Freshness is key! Check the packet for the expiration date; seeds that are too old might not sprout. I love grabbing seeds that come from reputable suppliers—it just gives me peace of mind!
- Seed Cleaning: Sometimes, seeds can be a bit messy. If you see any dust or debris, gently clean them by rubbing them between your fingers or giving them a light rinse. This helps remove anything that could block moisture and restrict growth.
- Seed Soaking (Optional): Soaking seeds for about 24 hours can jumpstart their growth. Just place them in a bowl of water! But remember, not all seeds need this step, so check what’s best for your specific seeds first.
- Scarification (Optional): Some seeds have tough outer coats that need a little help to soak up water. This is where scarification comes in! You can gently nick the surface with a nail file or sandpaper to help them drink up moisture more easily.
- Stratification (Optional): For seeds that like a cooler start, a process called stratification can come in handy. This involves storing seeds in a moist medium, like peat moss, in your fridge for a few weeks. This mimics winter conditions and can help seeds wake up when they’re exposed to warmth later.
- Labeling: Don’t forget to label your seeds! I often use waterproof markers to write the seed type and date of preparation on small tags. This way, I can keep track of everything without confusion.
- Proper Storage: Until you’re ready to plant, store your prepared seeds in a cool, dry place. Airtight containers or resealable bags work great to keep them fresh!
With my seeds prepped and ready, I feel excited to move on to the next stage of our gardening adventure—creating the ideal conditions for sprouting! Let’s prepare that perfect environment!
Creating Ideal Conditions for Seed Sprouting
Creating the right home for your seeds is like setting up a cozy little nest for them to thrive. Here’s how I make my indoor space welcoming for sprouting!
- Temperature: Keep a steady temperature between 65-75°F (18-24°C). Most seeds love a warm hug! I use a thermometer to check the temperature regularly. If it gets too chilly, a heating mat can help maintain that cozy warmth.
- Light: Seeds need light to grow, but it’s all about getting the right amount. Placing your containers near a bright window is great! If sunshine is limited, I turn to grow lights. Just remember to keep them 6-12 inches above the seedlings to prevent scorching.
- Humidity: Seeds enjoy a bit of humidity. I like to mist the soil lightly with a spray bottle or cover it with a humidity dome. This keeps the moisture level just right! But be careful—too much humidity can lead to mold!
- Air Circulation: Proper airflow is super important! I often use a small fan placed on the lowest setting to maintain gentle circulation. This helps prevent mold and gives my seedlings the oxygen they need. Just don’t blast them with a hurricane!
- Watering: Watering can be tricky. I use a spray bottle to lightly moisten the soil when it feels dry. Avoid overwatering, as this can lead to root rot, which is a total bummer!
- Time and Patience: Different seeds have different sprouting times—ranging from just a few days to a couple of weeks. I’ve learned to keep a calendar handy to track each seed’s progress. It’s like waiting for a surprise party—exciting!
With these ideal conditions set up, I’m feeling ready for the fun part—watching those seeds sprout and grow! If any bumps come along, we can troubleshoot together in the next section.
Troubleshooting Common Seed Germination Issues
Sometimes, things don’t go as planned when sprouting seeds, but don’t worry! I’ve faced my fair share of hiccups, and I’m here to help you troubleshoot the most common issues.
- Poor Germination: If your seeds aren’t sprouting, it might be because of low seed viability or improper conditions. Double-check your temperature, moisture, and that you’re using fresh seeds. If nothing’s happening, consider trying a different batch!
- Mold or Fungal Growth: Yikes! If you see mold, it’s often due to too much moisture or poor air circulation. To tackle this, I allow the top layer of soil to dry out slightly between watering. I also sprinkle a little cinnamon on the soil. It acts as a natural fungicide!
- Damping Off: This nasty issue occurs when seedlings suddenly collapse due to soil-borne pathogens. To fight it, I use sterile soil and make sure my seedlings aren’t too crowded. Watering from below rather than above also helps prevent damp conditions.
- Leggy Seedlings: If your seedlings are stretching and looking spindly, they might be craving more light! I make sure to move them closer to a light source or use brighter grow lights. Sometimes rotating them helps too, so they get even light exposure.
- Insufficient or Uneven Watering: Avoiding dry spots is important! I water gently but consistently, keeping an eye on the soil’s moisture level. A watering can with a fine spout works wonders to avoid overwatering or disturbing the seeds.
- Pest Infestation: Even indoors, pests can sneak in! Fungus gnats and aphids are common culprits. I check my plants regularly and use organic pest control methods, like insecticidal soap or sticky traps, to keep them at bay.
By staying observant and making a few changes if needed, I can keep my seedlings healthy and thriving. With these tips in hand, you’ll be ready for a successful indoor sprouting experience! Happy gardening!