Have you ever thought about growing your own delicious kiwi fruits? It’s a fun and rewarding adventure that I can’t wait to share with you! From selecting the best seeds to nurturing them into fruitful vines, this guide will take you through each step, so you can enjoy sweet, homegrown kiwis right from your garden! Let’s dig in!
Selecting the Right Kiwi Seeds for Successful Growth
Choosing the right kiwi seeds is the first step in your exciting gardening journey! I always say, it’s like picking the best ingredients for a delicious recipe. If you want to grow yummy kiwis, you need to start with good seeds! Here are some tips to help you pick the right ones:
- Look for Ripe Fruits: When you’re out shopping or maybe raiding your fridge, grab some ripe kiwi fruits. You want those that are fuzzy, brown, and give a little when you squeeze them. Overripe or damaged fruits? Skip them like a bad movie!
- Source Seeds Wisely: You can buy seeds from gardening stores or online suppliers, but here’s a little secret: go for reputable sources! If you can, snag seeds straight from the best, ripest fruits. It’s like getting the freshest ingredients right from the farmer!
- Be Mindful of Gender: Kiwi plants are dioecious, which means some are male and some are female. A male plant produces pollen, while a female plant produces the fruit. You want to have both for that sweet harvest! If you’re unsure of the seeds’ gender, plant a few extra. It’s like casting a bigger net in a fishing expedition.
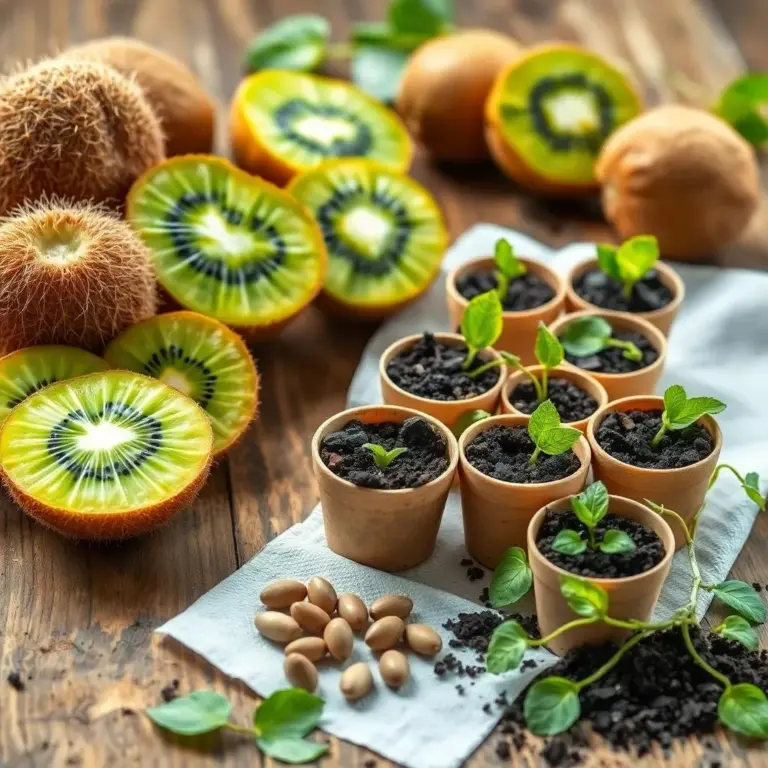
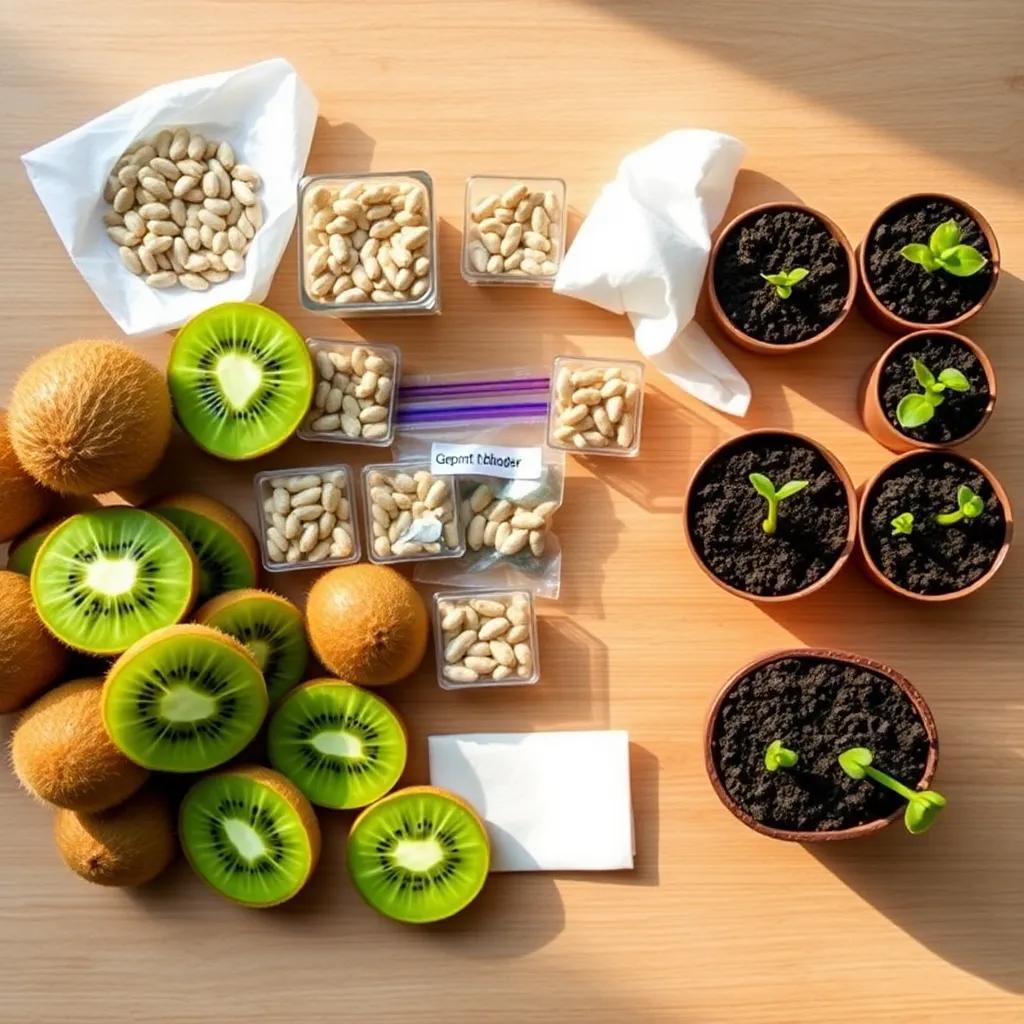
- Cleaning and Storing Seeds: After you scoop out the seeds from your chosen fruits, rinse them to remove any pulp. Then, air-dry those little guys before storing them in a cool, dry place. Think of it as giving them a cozy vacation before they start their big adventure!
With these pointers, you’re already on your way to a fruitful kiwi journey! The right seeds can make all the difference, and I can’t wait for you to see how they grow!
Germination Techniques for Kiwi Seeds
Now that you have your seeds ready, it’s time to learn how to germinate them! This is where the magic starts, and it can be super fun. Think of it as making a cake—mixing, waiting, and then watching it rise!
Here’s how to get those seeds sprouting:
- The Paper Towel Method: This is my favorite way! Take a damp paper towel and lay it out flat. Space your seeds on one half, and then fold the other half over them like a snug blanket. It’s like tucking them in for a good night’s sleep!
- Create a Germination Chamber: Once you’ve got your seeds all cozy, place the towel in a seal-able plastic bag or container. This little home helps keep the moisture in. Don’t forget to label it with the date—after all, it’s a big milestone!
- The Right Environment: Place your bag in a warm, dark spot—think of it like a comfy, quiet corner. Ideal temperatures are around 70-75°F (21-24°C). Check in on your seeds regularly, and if the towel is drying out, give it a little mist with water. Patience is key; germination can take anywhere from 2 to 6 weeks.
- Transplanting Sprouted Seeds: Once you see tiny roots, it’s time to get them into pots! Gently plant each seed about ¼ inch deep in biodegradable pots filled with well-draining soil. Keep them in a bright spot where they can soak up some sunshine!
With a bit of care and a sprinkle of patience, you’ll watch those little seeds grow into strong, healthy seedlings. Before you know it, you’ll be one step closer to your own kiwi vines! Happy planting!
Transplanting Kiwi Seedlings: Best Practices
Once your kiwi seedlings have developed their first set of true leaves, it’s time for the big move! Transplanting them is like giving them a new home where they can stretch out and grow. Here’s how to do it properly so they can thrive in their new environment.
- Choose the Right Location: First things first, find a spot with plenty of sunlight. Kiwi plants love the sun, so aim for a place that gets 6 to 8 hours of direct sunlight each day. Whether you choose pots or the ground, make sure it’s a well-draining area to keep those roots happy!
- Potting Up: If you’re transplanting into pots, pick containers that are at least 10-12 inches deep. Fill them with a well-draining potting mix, and be sure there are drainage holes at the bottom. This is like giving your seedlings a cozy apartment!
- Careful Removal: Gently remove each seedling from its previous pot or germination area. Be extra careful with those delicate roots—think of them as tiny hairs that need gentle handling. Place the seedling in the new pot, making sure it’s at the same level as before. Fill in any gaps with more soil and lightly press it down to keep it secure.
- The Ground Option: If you’re planting directly in the ground, loosen the soil and mix in some organic matter like compost. Dig a hole big enough for the seedling’s root ball, place the seedling in, and backfill with soil. Water thoroughly after planting!
- Spacing Matters: Kiwi plants can spread out quite a bit, so don’t plant them too close together. Aim for about 10-15 feet apart to allow for airflow and growth.
After transplanting, keep an eye on your seedlings! They may experience some shock, but with regular watering and love, they’ll bounce back and thrive in their new digs. Happy gardening!
Essential Care and Maintenance for Kiwi Plants
Now that your kiwi seedlings are snug in their new homes, it’s time to talk about how to keep them happy and healthy! Just like us, plants need a little TLC to thrive, and kiwi plants are no different. Here’s how to provide stellar care:
- Watering: Regular watering is a must, especially during hot months. I always check the soil to make sure it’s consistently moist, but I avoid making it soggy. Overwatering can lead to root rot, which is no fun for anyone! A good layer of mulch around the base can help keep the moisture in and weeds out.
- Fertilization: Kiwi plants love a good feed! In spring, use a balanced fertilizer that has more nitrogen to help the plants grow lush foliage. By summer, switch to a fertilizer with higher phosphorus and potassium to promote fruit development. Think of it as treating your plants to their favorite meal!
- Pruning: Pruning may sound scary, but it’s really just giving your plants a stylish haircut! In late winter or early spring, when the plants are still asleep, remove any dead or crossing branches. This helps improve airflow and sunlight penetration, encouraging healthy growth.
- Support Structures: Kiwi plants are climbers by nature. Providing a sturdy trellis or support structure allows them to grow up instead of sprawling on the ground. It’s like giving them a climbing gym! I love to train the stems along the support for a neat, organized look.
- Pest Control: Keep an eye out for pesky bugs like aphids and spider mites. Regularly check your plants and use organic pest control options if needed. It’s best to catch any problems early, so your plants stay strong and healthy!
By following these simple steps, you’ll set your kiwi plants up for a beautiful and fruitful future!
Understanding the Timeframe for Kiwi Fruit Production
Alright, let’s get real! Growing kiwi from seed is a waiting game. While it’s totally worth it, we’ve got to be patient! Kiwi plants take their time to mature before they reward us with delicious fruits. Here’s what you need to know about the timeframe.
- Juvenile Period: Kiwi plants usually go through a long juvenile stage. It can take 3 to 7 years before they start bearing fruit. Yes, you read that right! It’s like waiting for your favorite TV show to release a new season—sometimes it just takes a while!
- Factors Affecting Growth: The exact time can vary based on several factors like the variety of kiwi, the care you provide, and the growing conditions. Fruits may show up sooner if your plants are well taken care of and thrive in good sunlight and soil.
- Signs of Maturity: As your plants grow, keep an eye out for flower buds! Once your kiwi vines start developing these beautiful, fragrant flowers, you’ll know they’re getting ready for pollination and fruiting. Those flowers are a sign that your plants are moving towards producing fruit!
- Pollination Needs: Remember, having both male and female kiwi plants is important for fruit production. Male plants provide pollen, while females need it to produce those scrumptious fruits. If you have both, that’s fantastic! If not, don’t worry—some kiwi varieties can self-pollinate!
- Harvest Time: Once pollination happens, the tiny fruits will start to grow. They typically ripen in late summer or early fall. Be patient, and soon you’ll be rewarded with sweet, juicy kiwis from your very own garden!
Growing kiwis is a journey, and I’m excited for you to experience all the beautiful stages—from seedlings to fruits! Happy growing!