Hey there, fellow garden lover! If you’re excited about brightening up your space with cheerful marigolds, you’re in the right place! I’m here to share all my tips and tricks for growing these stunning flowers from seed, from prepping the soil to nurturing your little seedlings. Let’s dig in and watch our gardens flourish together!
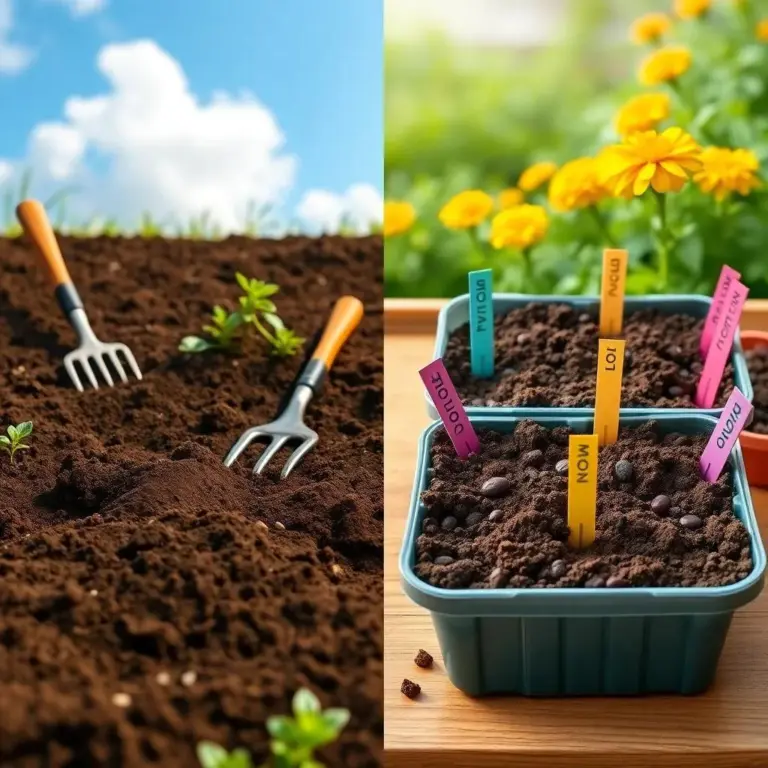
Preparing the Soil for Marigold Seeds
Getting your soil ready for marigolds is one of the most fun parts of gardening! Trust me, it sets the stage for those vibrant blooms we all adore! Here’s how I like to prepare the soil before planting my marigold seeds!
- Choose the Right Spot: First, you need to find a sunny area in your garden. Marigolds love the sun! A location that gets at least 6 hours of sunlight each day will make your marigolds happy. Whether you’re planting in a garden bed or a pot, bright light is key!
- Clear the Area: Next, clear out the space where you want to plant. Grab your gardening gloves and remove any weeds, rocks, or debris. It’s like giving your marigolds a clean slate to grow on! Nobody likes to compete with weeds for nutrients, right?
- Loosen the Soil: Grab a garden fork or tiller, and get to work! Loosen that soil to a depth of about 6-8 inches. This helps the water drain well and gives those marigold roots plenty of room to spread out. It’s like making a comfy bed for your plants!
- Amend the Soil: If your soil looks a little sad (like it needs a snack), it might be time to add some compost or well-rotted manure. Spread a nice layer over the soil and mix it in. This will give your marigolds the nutrients they need to grow strong and healthy!
- Level the Soil: Finally, grab a rake and level the soil. You want a smooth surface for planting. Think of it as preparing a canvas for a beautiful painting—your marigolds are the stars!
With these steps, your soil will be fabulous and ready for marigold seeds! Now that we’ve got the soil prepped, it’s time to move on to the fun part—sowing those seeds!
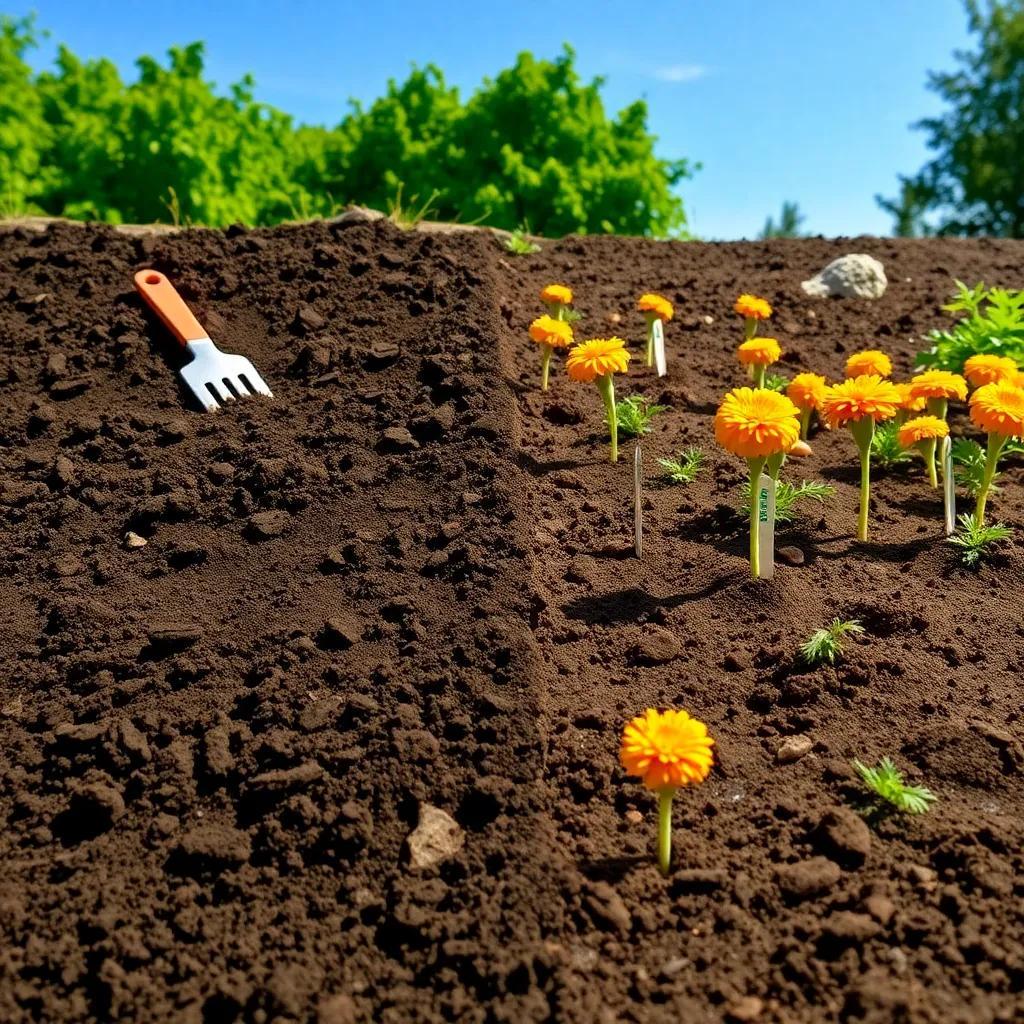
Sowing Marigold Seeds: Step-by-Step Guide
Now that your soil is all set up and ready to go, it’s time for the exciting part: sowing the marigold seeds! This is where the magic starts to happen! Here’s my step-by-step guide to get those seeds in the ground.
- Moisten the Soil: Before you start planting, give that lovely soil a light sprinkle of water. It should be damp, but not puddled. Think of it as giving your seeds a nice drink before their big adventure!
- Plant the Seeds: Depending on your container size, use your finger or a dibble to create small holes in the soil—about 1-2 inches apart. Drop one or two marigold seeds into each hole. Cover them gently with a thin layer of soil. You’re tucking them in for a cozy nap!
- Label Your Containers: If you’re planting different varieties or colors, grab some labels or markers! Trust me, you’ll thank yourself later when you want to show off your marigold rainbow!
- Mist the Soil: After planting, give the topsoil a gentle mist. This helps settle the seeds without disturbing them. Just a light spray will do—let’s not go soaking them!
- Cover the Containers: If you’re starting your marigolds indoors, it’s time for a mini greenhouse! Cover your containers with plastic wrap or a clear dome. This will help keep moisture in and give your seeds a warm hug while they germinate.
Now, just sit back and watch! Within about 5-7 days, you’ll start to see those little sprouts peeking up from the soil. How exciting is that? It’s like waiting for a surprise gift to unwrap! Keep the soil moist, and soon you’ll have beautiful marigold plants flourishing in your garden!
Watering Tips for Healthy Marigold Growth
Now that your marigolds are planted and starting to sprout, it’s time to talk about one of the most important parts of keeping them happy: watering! I’ve learned a few helpful tips along the way, and I’m excited to share them with you!
- Keep the Soil Moist: After planting those seeds, you want to keep the soil consistently moist. Checking daily is a good habit. Just gently touch the top layer of soil with your finger. If it feels dry, it’s time for a drink! But remember, we don’t want to drown them—too much water can lead to sad, soggy roots!
- Water Gently from Below: A fantastic way to water your marigolds is from below. Place your pots in a tray of water, and let the soil absorb it from the bottom up. This method is gentle, and it prevents disturbing your little seedlings. Plus, it helps avoid that pesky damping-off disease!
- Avoid Splashing Water: When you do water, aim for the base of the plants. Splashing water on the leaves can sometimes lead to fungal issues, and no one wants that. Keep those leaves dry!
- Adjust for Growth: As your marigold plants grow taller and heartier, they may need more water. Watch for signs like wilting leaves or dry soil, and adjust your watering schedule to keep your plants thriving.
- Monitor Weather Conditions: Hot, sunny days can dry out soil quickly. During these times, you may need to water more frequently. Just keep an eye on the weather, and your marigolds will thank you with beautiful blooms!
With proper watering, your marigolds will flourish, setting the stage for a colorful garden. Now, let’s take a look at how we can help them grow strong by maintaining the right conditions!
Maintaining Optimal Temperature and Light Conditions
Marigolds are like little sun worshippers! They adore warmth and light, so it’s my job to make sure they are comfortable and thriving. Here’s how to maintain the right temperature and light for your beautiful blooms.
- Ideal Temperature: Marigolds thrive in temperatures between 70-85°F (21-29°C). If you’re growing them indoors, keep the room at a steady temperature. Too hot or too cold can be a serious bummer for their growth. Avoid placing them near cold drafts or heat sources like heaters.
- Sunlight is Key: Aim for at least 6 hours of direct sunlight each day. If you’re planting outdoors, find a spot that gets full sun. If you’re starting them inside, you might need to rotate your pots to make sure every side gets a little sunshine.
- Using Supplemental Lighting: If natural light is limited, consider using some LED grow lights or fluorescent lights. Position them about 6-12 inches above the plants. Trust me, they’ll soak up that extra light like a sponge! A good rule of thumb is to provide about 12-14 hours of light a day.
- Temperature Fluctuations: Keep an eye on those temperature changes, especially during the germination stage. I like to use a thermometer to check the temperature and make adjustments if needed. A consistent environment helps your marigolds germinate faster.
Maintaining the right temperature and light conditions will promote healthy growth. You’ll be amazed at how quickly your marigolds respond! Now that they are happy, let’s chat about how to give them a little more room to grow with the next step: transplanting!
Transplanting Seedlings and Ongoing Care
Transplanting marigold seedlings is an exciting step that helps them stretch their roots and grow even bigger! If you’ve chosen to plant yours in small containers, here’s how to successfully move them and keep them thriving.
- Timing Matters: Transplant your seedlings when they are about 3-4 inches tall and have developed a few sets of true leaves. This shows that they are strong enough to handle the move!
- Choose a New Home: Pick a sunny area in your garden with well-draining soil. Prepare the holes in advance, making sure they are deep enough for the root ball of your marigold.
- Water Before Transplanting: Give your seedlings a good drink before lifting them from their containers. This helps keep the soil moist and makes it easier to remove the seedlings without damaging the roots.
- Gently Remove the Seedlings: Carefully take each seedling out of its container, holding it near the stem. Be gentle! You don’t want to tug too hard and break it. It’s like carrying a delicate treasure!
- Plant and Space Them: Place the seedling into the prepared hole, making sure the top of the root ball is even with the soil surface. Then, backfill the hole with soil and give them a little water to help them settle in. If you’re transplanting multiple seedlings, remember to space them out according to their specific variety for good air circulation.
- Continue Caring for Your Marigolds: After transplanting, keep up with regular watering and monitor their health. Look out for any signs of transplant shock, like wilting leaves. With some extra love and care, they’ll bounce back!
By transplanting your marigold seedlings, you’re giving them more space to grow and flourish! With ongoing attention, you’ll be rewarded with stunning blooms that light up your garden. Happy gardening!