Growing mint from seed is one of the most rewarding gardening adventures I’ve had! With its vibrant leaves and refreshing aroma, mint is not just a culinary delight but also a fun plant to nurture. Are you ready to dig in and discover how to create your own mint haven? Let’s get started!
Materials Needed for Growing Mint from Seed
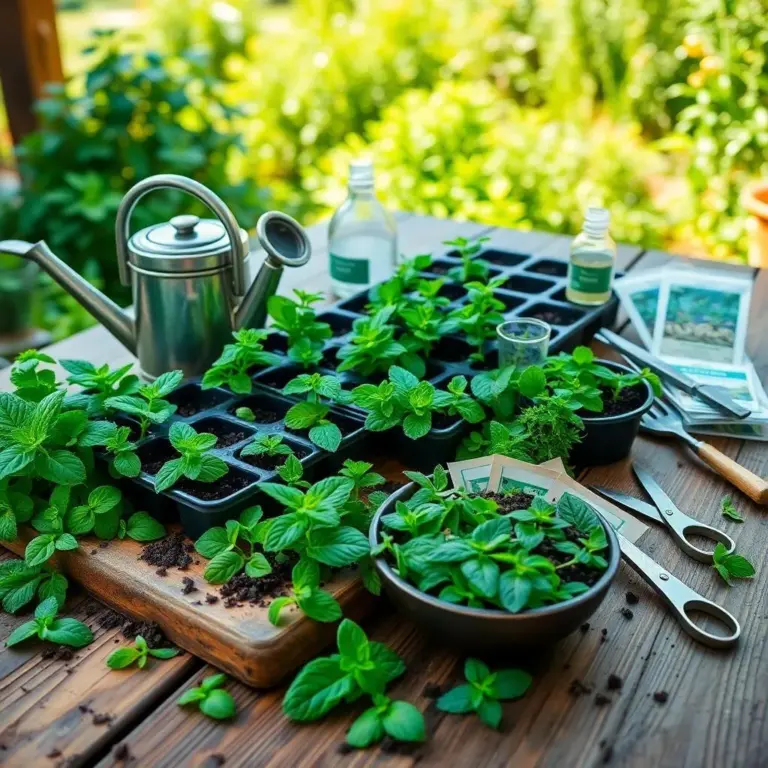
Getting ready to grow mint is super exciting! Before you get your hands dirty, it’s important to have all the right materials on hand. Having everything prepped will make the whole process smoother and more enjoyable. So, let’s gather our supplies!
Here’s what you’ll need:
- Mint seeds: Choose high-quality seeds from a trusted source. You can pick from different types of mint, like peppermint, spearmint, or even chocolate mint—yum!
- Seed starting trays or small pots: Look for containers that have drainage holes! This is super important to let excess water escape.
- Seed starting mix or well-draining soil: A good mix helps seeds germinate easily. You can create your own by combining peat moss, vermiculite, and perlite.
- Watering can or spray bottle: A fine nozzle is perfect for gently watering without disturbing the seeds.
- Plastic wrap or propagation dome: These will create a cozy, greenhouse-like environment for your seeds to sprout.
- Grow lights or a sunny spot: Mint needs plenty of light! If you don’t have natural sunlight, those grow lights will be a lifesaver.
- Water source: Keep room-temperature water handy—it’s nice for your little seedlings!
- Fertilizer (optional): If you feel fancy, a balanced liquid fertilizer will give your mint an extra boost.
- Plant labels: Don’t forget to label your trays or pots with the mint variety and the sowing date. It helps keep things organized!
With this list, you’re all set to start your mint adventure. Gather your materials, put on some gardening gloves, and let’s get planting! Mint is going to love its new home!
Planting Mint Seeds: Step-by-Step Guide
Planting mint seeds is a fun process—let’s not complicate it! Just remember to keep it simple. Follow these easy steps, and pretty soon, you’ll see those tiny green seedlings!
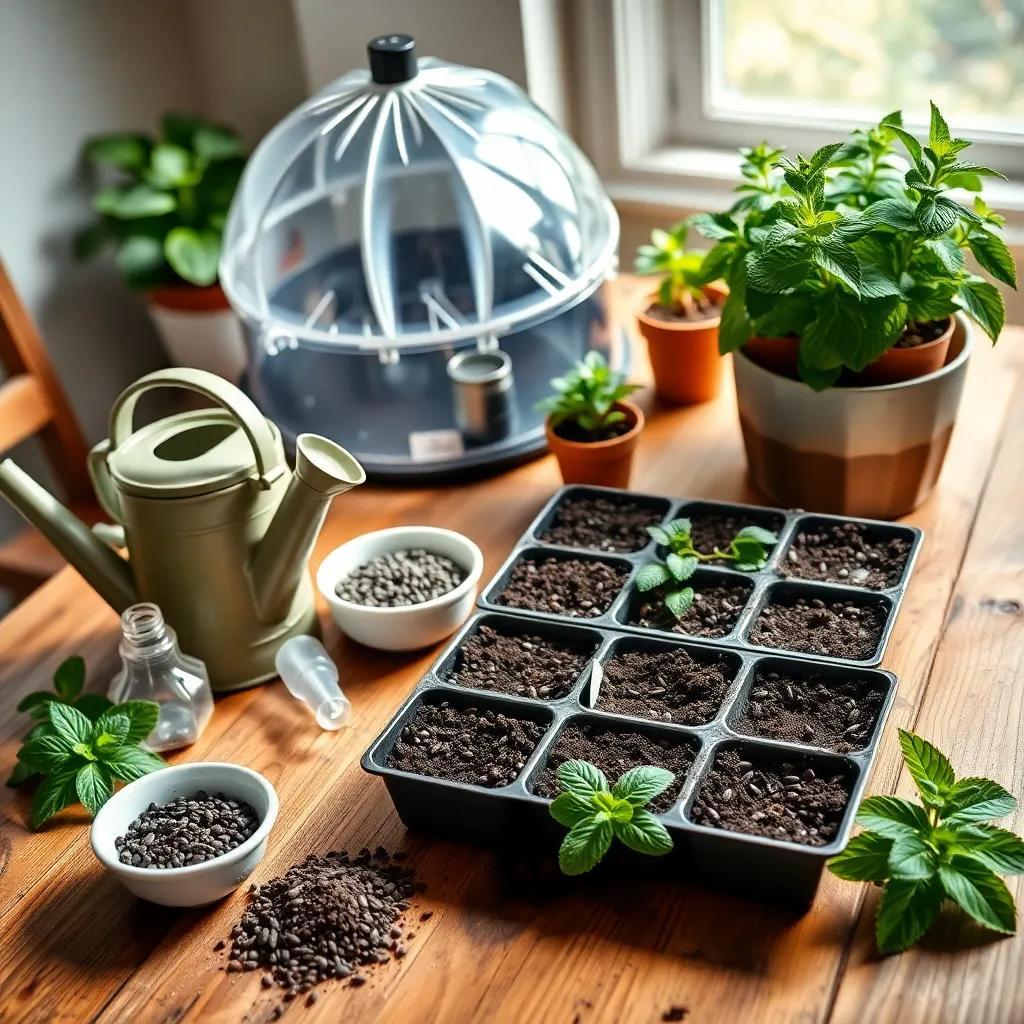
- Prepare your containers: Fill your seed starting trays or pots with your seed starting mix or well-draining soil. Make sure they have drainage holes for happy roots!
- Moisten the soil: Using your watering can or spray bottle, give that soil a nice drink. It should be damp but not drenched—nobody likes soggy soil!
- Sow the seeds: Sprinkle your mint seeds on the surface of the soil, spacing them about 1 inch apart. Lightly press them into the soil, but don’t bury them too deep. Mint seeds need light to sprout!
- Lightly water: Give the surface a gentle mist with your spray bottle. Remember, we want a light touch so we don’t end up with a muddy mess.
- Create a cozy environment: Cover your trays or pots with plastic wrap or a propagation dome. This keeps the moisture in and helps create the perfect little greenhouse!
- Temperature and light: Place your containers in a warm spot (around 65 to 75°F or 18 to 24°C) with indirect sunlight. If you’re using grow lights, set them up so your mint gets plenty of light.
- Maintain moisture: Check the soil regularly, and mist it as needed. We want it to stay damp, but not swampy.
- Germination: In about 1 to 2 weeks, you should start to see those little mint seedlings poking through the soil!
And voilà! Your mint is on its way to growing strong and flavorful! Just remember, mint can spread like crazy, so keep an eye on it! Enjoy the journey of watching your mint grow!
Watering and Care: Keeping Your Mint Healthy
Keeping my mint plants happy and healthy is my number one priority! Mint loves moisture, but I’ve learned the hard way that it doesn’t enjoy being overly wet. Here are some fun and easy tips to keep my mint thriving!
- Water regularly: Mint likes to have consistent moisture. I water mine whenever the top inch of the soil feels dry. If it feels parched, it’s time for a drink! Just remember not to let the soil dry out completely, or my mint might sulk.
- Watering technique: I like to water from the bottom! I pour water slowly at the base of the plants so it soaks in nicely. This way, I avoid getting the leaves wet, which can lead to pesky fungal diseases.
- Drainage matters: Good drainage is a must! Whether I’m growing mint in pots or the ground, I always check to make sure the area drains well. If I notice water pooling, I know I need to move my mint to a better spot.
- Airflow: Mint needs room to breathe! I keep an eye on spacing, making sure my plants aren’t overcrowded. It promotes good air circulation and reduces the risk of disease.
- Light and nutrients: My mint loves sunlight! I give it a spot where it gets plenty of light, either from a window or under grow lights. Sometimes, I indulge it with a balanced liquid fertilizer every few weeks during its growing season.
By giving my mint the right care, I get to enjoy a bountiful, fragrant harvest all summer long! The more I care for my plants, the more they’ll reward me with delicious leaves!
Harvesting Mint: Tips for Maximum Flavor
Harvesting mint is not just fun—it’s also a way to enjoy the fruits (or should I say leaves?) of my labor! Mint grows quickly and abundantly, so knowing when and how to harvest is key to getting the best flavor. Here’s how I do it!
- Timing is everything: I wait until my mint plants reach 8-12 inches tall before I start snipping. At this height, they’ve established a strong root system and have plenty of leaves to spare.
- Best time of day: The morning is my favorite time to harvest mint! I pick the leaves after the dew has dried, as that’s when the oils are at their peak. The aroma is simply delightful!
- Harvesting method: I grab my trusty pair of clean scissors or pruning shears. I like to cut just above a set of leaves, about halfway down the stem. This encourages bushier growth and helps my mint plant stay healthy!
- Keep it fresh: As soon as I harvest my mint, I try to use it right away. But if I have extra leaves, I wrap them in a damp paper towel and place them in a plastic bag in the fridge. This keeps them fresh for a few days!
- Continual harvesting: The more I harvest, the more my mint produces! Regularly cutting back the leaves encourages new growth, giving me a continuous supply of fresh mint to enjoy.
With these tips in hand, I feel confident getting the most out of my mint plants! They truly add a refreshing touch to my dishes and drinks!
Common Problems and Solutions When Growing Mint
While growing mint is usually a breeze, there are a few bumps along the way. Don’t worry—I’ve faced them too! Here’s a friendly little guide to the common problems I’ve encountered and how I handled them.
- Root rot: If I overwater my mint or my soil doesn’t drain well, root rot can sneak in. I’ve learned to keep an eye on my watering habits. To rescue a plant that’s already struggling, I carefully remove it from the soil and trim away any mushy roots. Then, I repot it in fresh, dry soil!
- Fungal diseases: Mint can occasionally develop fungal issues, especially in humid conditions. To keep this at bay, I’ve made sure to space my plants well and avoid getting the leaves wet when I water them.
- Pests: I watch out for pests like aphids and spider mites. If I notice any unwelcome visitors, I act quickly! A spritz of neem oil or insecticidal soap works wonders and is safe for my plants.
- Mint rust: This pesky fungal disease leaves orange-brown spots on the leaves. If I see it, I promptly remove the affected leaves and make sure to improve air circulation around the plants.
- Invasive growth: Mint can be a bit too enthusiastic in the garden! To keep it from taking over, I either grow mint in pots or regularly prune it back to control its spread.
By being proactive and attentive to these common problems, I enjoy a beautiful and healthy mint garden! Mint can be a resilient plant, and with a little care, it will bring joy to my culinary adventures for years to come!