
Growing chrysanthemums from seeds is like starting a colorful adventure in your garden! With their stunning blooms and cheerful colors, these flowers can bring joy and beauty to any space. Are you ready to learn how to nurture these lovely plants from tiny seeds to glorious flowers? Let’s dig in and explore the exciting process together!
Understanding Chrysanthemum Seeds and Varieties
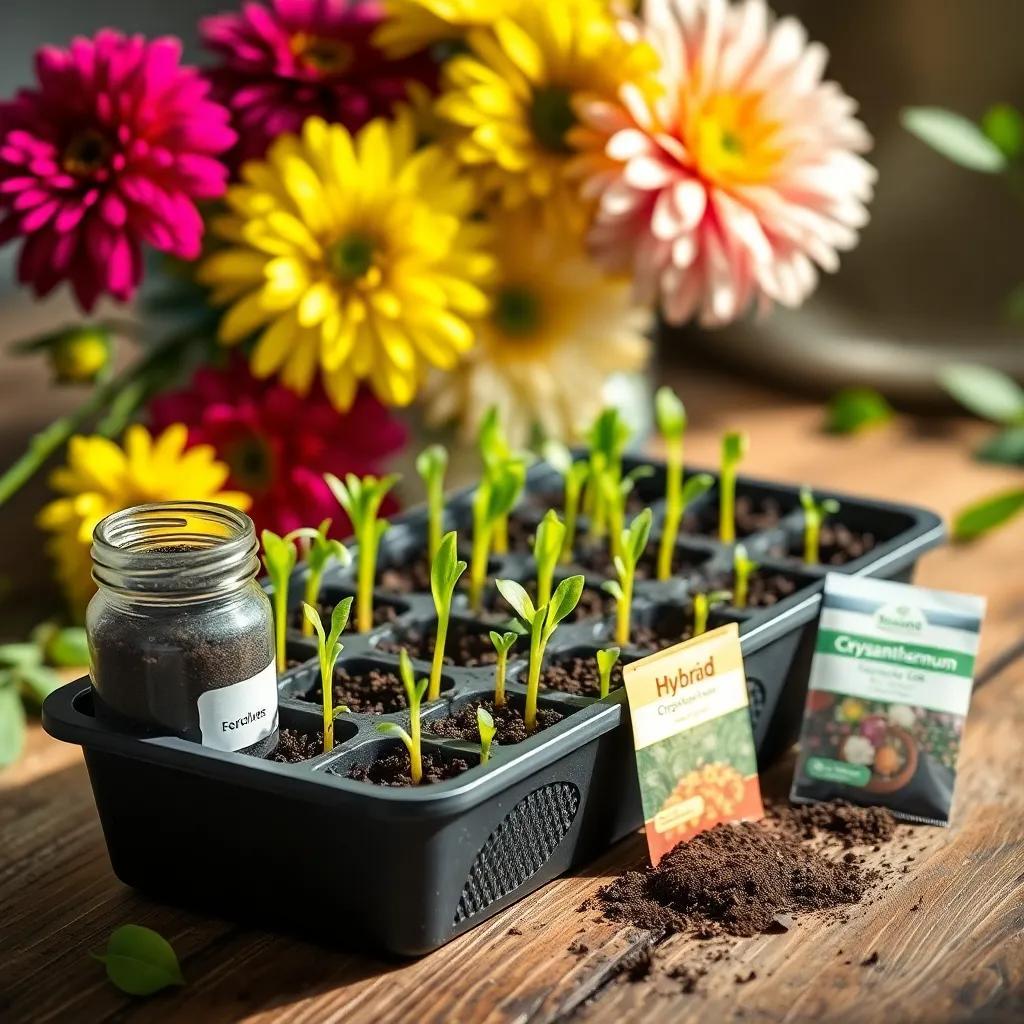
When I decided to grow chrysanthemums, the first thing I learned was how important the right seeds are! There are two main types of chrysanthemum seeds: open-pollinated and hybrid. Each has its own benefits that can really make a difference in your garden!
Open-Pollinated Seeds
- Sustainability: Open-pollinated seeds can be saved and replanted year after year. This means you can keep the same beautiful blooms coming back each season!
- Consistency: You’ll find that these seeds often produce plants with a consistent appearance. If you like a certain color or shape, you’ll likely see that again.
Hybrid Seeds
- Disease Resistance: Hybrid seeds are specially bred to resist diseases. This can lead to healthier plants overall!
- Vibrant Colors: If you’re after flowers that pop with color, hybrids might be your best bet. They come in a range of stunning shades and patterns.
- Note: Just remember, if you save seeds from hybrids, the next generation might not look like the parent plants! It’s a bit like a surprise party—sometimes you get surprises that you didn’t expect!
Before I started planting, I made sure to do a germination test. It’s super simple! Just place a few seeds between moist paper towels and keep them warm. If they sprout, your gardening adventure is ready to go!
Whether you choose open-pollinated or hybrid seeds, both have their perks. Honestly, the choice depends on what you’re looking for in your garden. Armed with this knowledge about chrysanthemum seeds, let’s get into how to make them sprout successfully!
Germination Steps for Successful Chrysanthemum Growth
Alright, let’s roll up our sleeves and start the germination process! This is such an exciting part of growing chrysanthemums because it means those cute little seeds are on the verge of becoming beautiful plants!
Step 1: Gather Your Supplies
To kick things off, you’ll need:
- Seed tray or small pots: Make sure they have drainage holes!
- Seed starting mix: This helps with good drainage and moisture.
- Water: Not too much, not too little—just right!
Step 2: Prepare the Soil
Before planting, moisten the seed starting mix. It should be damp but not soggy. No one likes a mud bath!
Step 3: Planting the Seeds
- Sprinkle the seeds evenly over the soil surface.
- Don’t bury them! They need light to germinate. Just gently press them into the soil so they have good contact.
Step 4: Create a Mini Greenhouse
Cover the tray with a clear plastic lid or wrap. This helps them stay warm and cozy, like a blanket on a chilly night!
Step 5: Temperature and Light
Chrysanthemum seeds thrive in temperatures between 70-75°F (21-24°C). You might even want to use a seedling heat mat if your space is cooler. And remember, they need darkness to sprout, so keep that cover on for now!
Step 6: Watering and Patience
Keep the soil moist but not soaking wet. Check daily for any signs of life! In about 7 to 14 days, you should start to see tiny seedlings popping up. How cool is that?
There you have it! With the right steps, you’ll be well on your way to having a vibrant chrysanthemum garden. Just remember to care for them and keep an eye on their moisture levels. I can’t wait for us to watch those little sprouts grow into stunning blooms!
Essential Planting Requirements for Mums
Now that our chrysanthemum seedlings are all sprouted and ready to go, let’s talk about the planting requirements! Getting this part right is like laying the foundation for a beautiful house. A good start makes all the difference. Here are some key points to keep in mind!
1. Location, Location, Location!
- Sunlight: Chrysanthemums love sunshine! Choose a spot that gets full sun, at least 6 hours a day. If you’re in a hotter area, some shade can help keep them cool.
- Airflow: Good air circulation keeps plants healthy and helps avoid pesky fungal diseases. Avoid crowded spaces—give your mums room to breathe!
2. Soil Matters
- Soil Type: Mums prefer well-draining soil. A mix that leans slightly acidic to neutral (around pH 6.0-7.0) works best. You can improve your soil by adding organic matter like compost. It’s like giving your plants a nice, nutritious meal!
- Drainage: Chrysanthemums don’t like soggy feet! If the soil holds too much water, their roots can rot. If needed, consider raised beds or containers with good drainage.
3. Spacing is Key
- Room to Grow: When planting, space your mums about 18-24 inches apart. This gives them room to spread out and grow strong!
4. Watering Wisely
- Water Deeply: It’s better to water deeply and less frequently. This encourages the roots to grow deeper into the soil. Just make sure not to overwater—nobody likes a waterlogged garden!
By following these planting requirements, your chrysanthemums will have the best start! They’ll appreciate the effort, and you’ll be rewarded with vibrant blooms and lush greenery. Now, let’s move on to how to care for these lovely plants!
Care and Maintenance Tips for Healthy Chrysanthemums
Once your chrysanthemums are planted, it’s time for some care and maintenance! Think of it like pampering a pet—give them what they need, and they’ll thrive. Here’s how I keep my mums happy and healthy!
1. Watering Routine
- Consistency is Key: Keep the soil evenly moist, but not soaked. I like to stick my finger in the soil to check—if the top inch is dry, it’s time to water! Water deeply to encourage strong roots, but avoid getting the leaves wet. This helps prevent diseases!
2. Feeding Your Mums
- Fertilizer: These flowers love a good meal! I recommend using a balanced fertilizer every 4-6 weeks during the growing season. Pay attention to the package instructions, and don’t overdo it! Too much food can lead to more leaves and fewer flowers.
3. Deadheading
- Keep It Blooming: When flowers start to fade, don’t let them linger! I love to deadhead by pinching off dead blooms. This encourages the plant to produce more flowers and keeps it looking tidy.
4. Pest Patrol
- Watch for Pests: I always keep an eye out for little critters like aphids or spider mites. If I spot any, I use organic insecticides or insecticidal soaps to tackle them. Prevention is better than cure!
5. Pruning for Shape
- Trim for Growth: I like to pinch back the tips of young plants to encourage bushier growth. This keeps my mums looking full and beautiful!
Taking care of your chrysanthemums is a rewarding experience. With these care tips, you’ll be on your way to a stunning display of color! Ready to enjoy the fruits of your labor? Let’s talk about harvesting those gorgeous blooms next!
Harvesting and Enjoying Your Chrysanthemum Blooms
Ah, the moment we’ve all been waiting for: harvesting our beautiful chrysanthemums! It’s like the grand finale of a fireworks show—full of excitement! Here’s how to make sure you get the best blooms:
1. Timing is Everything
- When to Harvest: The best time to cut your flowers is when they’re fully open but not yet wilting. Early morning, after the dew has dried, is the perfect moment to gather them!
2. Cutting Techniques
- What You Need: Grab some clean, sharp pruners or scissors. When cutting, aim for a stem length of about 4-6 inches below the bloom. This gives you a nice bouquet and keeps the plant healthy!
3. Preparing for the Vase
- Water Right Away: After cutting, put those blooms in a bucket of lukewarm water. This helps them hydrate, ensuring they look beautiful longer! Trim any leaves that will go below the waterline to keep things tidy.
4. Enjoying the Blooms
- Vase Life: With proper care, your chrysanthemums can last up to two weeks in a vase! Change the water every few days and trim the stems again to keep them fresh.
5. Dried Arrangements
- Preserve the Beauty: If you want to keep your blooms around longer, consider drying them! Hang the flowers upside down in a dark, well-ventilated area. Once dried, they can be used in lovely arrangements or crafts.
Harvesting your chrysanthemums is such a rewarding experience! Whether you’re displaying them in your home or sharing them with friends, these beautiful blooms are bound to brighten anyone’s day. Happy harvesting!