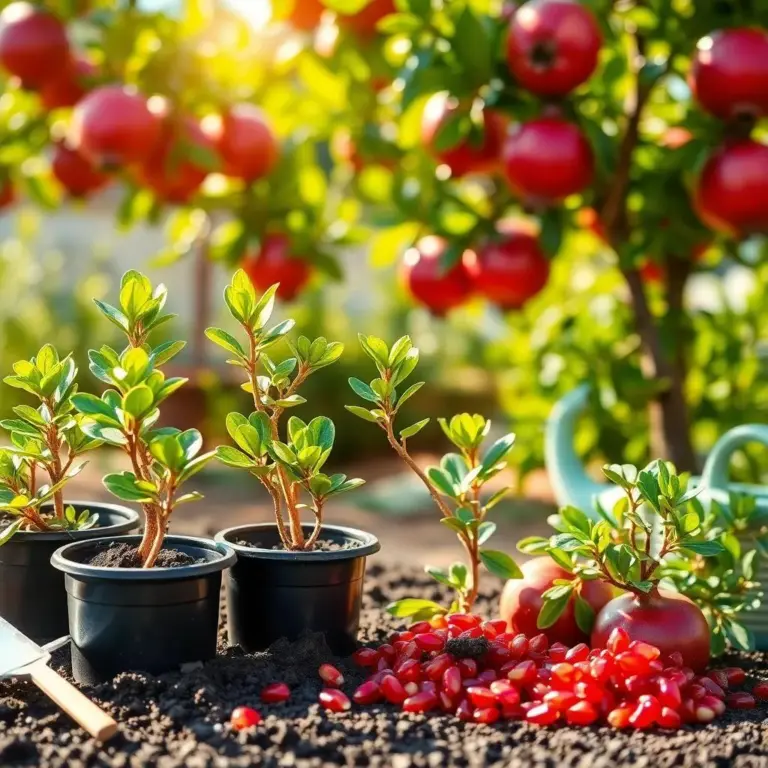
Have you ever wanted to grow your own pomegranates? Trust me, it’s a fun and rewarding journey! From planting seeds to harvesting those juicy fruits, I’m here to share my tips and tricks for nurturing your very own pomegranate tree. Get ready for a delicious adventure in your garden!
Germination Process for Pomegranate Seeds
Growing pomegranates from seeds is such a rewarding adventure! The germination process is the very first step, and trust me, it’s exciting to watch those tiny seeds come to life! Now, let’s get started.
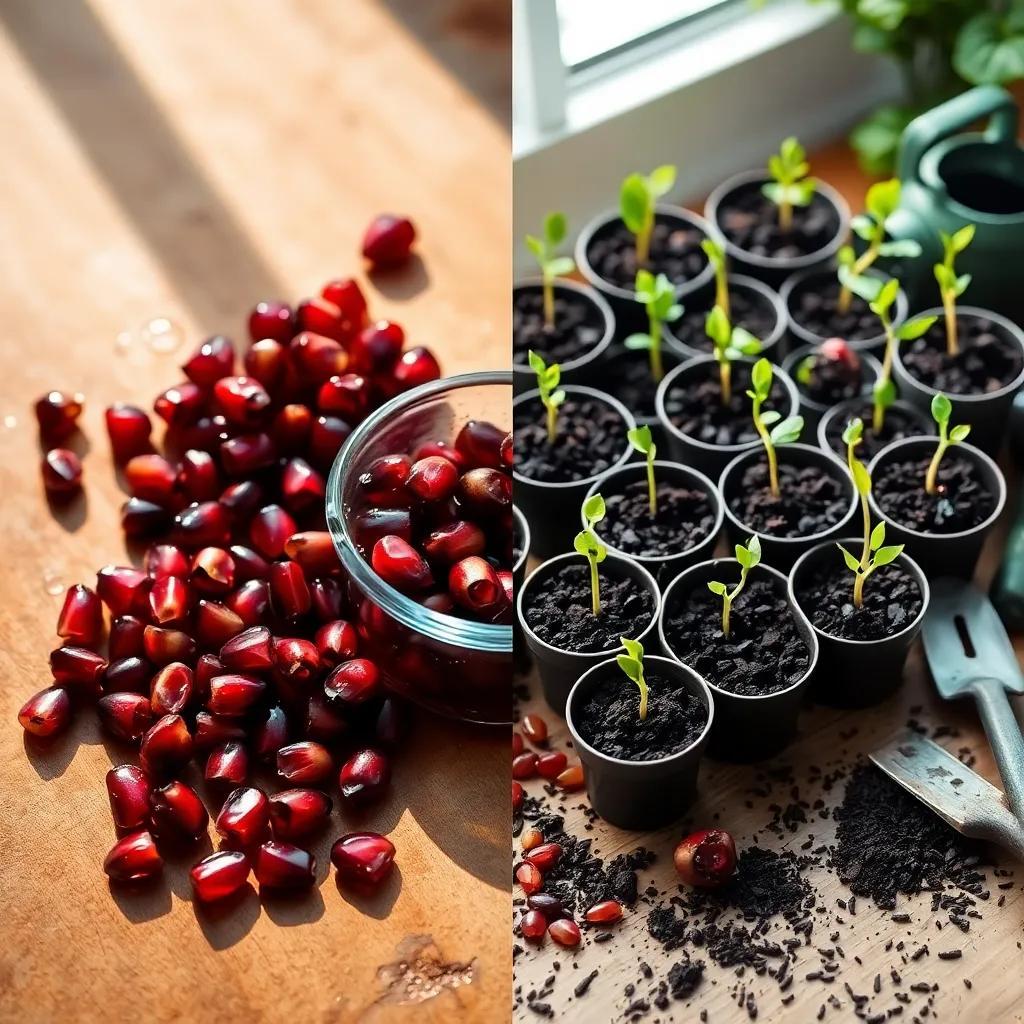
First, you need to select good seeds from a ripe pomegranate. Make sure you choose seeds that look healthy and plump. Once you’ve got your seeds, rinse them off to remove any fruit residue, and then let them dry for a day or two. It’s like giving them a mini spa treatment!
Next, it’s time to plant! Fill a small pot with well-draining potting soil. You want the soil to be airy, so it helps the seeds breathe. Imagine it as a cozy little bed for your seeds! Plant the seeds about half an inch deep and cover them with soil. Give them a gentle pat down to wake them up.
Now, here comes the tricky part: moisture! You want the soil to be damp but not soggy. A spray bottle works wonders here, as you can mist the soil without drowning your seeds. Keep your pots in a warm spot with plenty of sunlight. A windowsill works great!
The wait begins! Germination can take anywhere from two to three weeks. Keep checking the soil moisture and adjust as needed. You might see tiny shoots starting to peek through the soil—what an exciting moment!
Once the shoots emerge, you’ve successfully navigated the germination phase! Get ready to take the next step toward planting those germinated seeds. Your pomegranate-growing adventure is just heating up!
Planting Germinated Pomegranate Seeds
Yay, your seeds have sprouted! It’s like watching a miracle unfold, isn’t it? Now, let’s chat about how to plant those adorable little seedlings. This is the moment they’ve been waiting for!
First, you need to prepare your planting pots. I like to use small pots or seed trays. Fill them with a well-draining potting mix, just like before. Check that there are drainage holes—this is super important! We want happy roots, not soggy ones.
When your pots are ready, it’s time to make little homes for your sprouted seeds. Gently make a small hole in the soil for each seedling, just deep enough to cover the roots. Carefully lift the seedlings from their original pot. Be gentle and try not to tug too hard!
Position each seedling in its new hole, making sure that the little stem stays above the soil. It’s like tucking them in for a nap! Lightly press the soil around them to secure them in place and give them a big drink of water. This is their big move into the world!
Now, let’s talk about their new environment. Place your pots in a sunny spot where they can soak up at least 6 to 8 hours of sunlight each day. Think of it as their personal sunbath! Remember to keep the soil consistently moist, checking it regularly to make sure it never dries out.
As they grow, watch for those leaves to expand and flourish! Patience is key—before you know it, you’ll have vibrant seedlings ready for the next steps in their journey. Growing pomegranates is just as much fun as a garden party!

Caring for Young Pomegranate Seedlings
Congratulations on your little seedlings sprouting! Caring for young pomegranate seedlings is like nurturing a tiny plant friend who needs your love and attention. Let’s get started on how to keep them happy and healthy!
First up is watering. Pomegranate seedlings like their soil to be moist, but not soggy. I usually water deeply, letting the top inch of soil dry out between waterings. Think of it as giving them a refreshing drink when they need it! If you live in a hot climate, you might need to water a bit more often. Just keep an eye on them!
Next, let’s talk about fertilization. A balanced fertilizer works wonders for your seedlings’ growth. I like to use one with equal parts nitrogen, phosphorus, and potassium. This mix helps promote strong roots and lush leaves. Apply fertilizer every 4 to 6 weeks during the growing season, following the instructions on the package. But be careful—overdoing it can lead to too much leaf growth and not enough fruit.
Now, don’t forget about pruning! Yes, even your tiny seedlings need a little trim sometimes. During their dormant period in late winter, I prune off any dead or damaged branches. This keeps my little trees healthy and helps them grow in shape, ready for fruit production.
Lastly, keep an eye out for pests and diseases. Look for common culprits like aphids or whiteflies. If you see any, try using organic pest control methods. Early action helps keep your seedlings safe and sound!
By following these caring tips, your pomegranate seedlings will grow strong and vibrant, ready for their next exciting adventure!
Transplanting Pomegranate Seedlings into the Ground
Wow, look at those seedlings grow! When they outgrow their pots, it’s time for the exciting step of transplanting them into the ground. This is where they’ll really stretch their roots and thrive! Here’s how to do it right.
Start by choosing the perfect location. Pomegranates love sunshine, so pick a spot that gets at least 6 to 8 hours of direct sunlight per day. Good drainage is also key, so make sure the soil isn’t too clayey or boggy.
Next, let’s prepare the planting hole. Dig a hole that is twice as wide and deep as the seedling’s root ball. This gives the roots plenty of room to spread out! As you dig, loosen the soil around the hole to help your seedling settle in easily.
When the hole is ready, gently remove the seedling from its pot. Be careful not to damage the delicate roots! It’s like trying to unwrap a present without tearing the wrapping paper—slow and steady wins the race!
Place the seedling in the center of the hole. Make sure the soil level matches where it was in the pot. Fill in the hole with soil, packing it gently around the roots. Remember to create a slight dip around the base of the seedling to hold water when you water it.
Now comes the fun part: watering thoroughly. Give your newly transplanted seedling a good soak! This helps settle the soil and hydrates the roots. I usually check the soil moisture regularly for the first year to help my little tree establish a strong root system.
Don’t forget to mulch around the base with organic material. Mulch helps retain moisture and suppress weeds, making your life easier! With a little care, your pomegranate tree will grow into a beautiful plant, ready to produce those delicious fruits in the future.
Harvesting and Enjoying Homegrown Pomegranates
After years of nurturing, the moment has finally arrived. Harvesting pomegranates from your own tree is like a grand celebration of all your hard work! Here’s how to know when it’s time to pick those juicy gems.
Timing is everything! Pomegranates are usually ready for harvest when they’ve developed a deep red color and feel firm to the touch. I like to check the fruits around late summer to fall, depending on the variety. The excitement builds as you gaze upon your colorful treasures!
To test for ripeness, gently press your thumb against the skin of the fruit. If it feels firm and there are no soft spots or wrinkles, it’s ready to be picked. It’s like giving your fruit a little squeeze test!
When you’re ready to harvest, grab a pair of sharp garden shears. Carefully cut the pomegranate from the tree, leaving a little stem attached. Avoid yanking or twisting the fruit, since that can hurt the plant. Handle the fruits gently to prevent bruising!
Once harvested, you can store your pomegranates at room temperature for a few days or in the fridge for up to two weeks. If you want to get a bit creative, remove the arils (seeds) and keep them in an airtight container for later use. They freeze well and can spice up salads, desserts, or even drinks!
As you enjoy your first crop of homegrown pomegranates, remember that each bite represents the love and care you poured into growing them. There’s nothing quite like the taste of your own garden! Celebrate your success and share your fruits with friends and family. Cheers to delicious homegrown pomegranates!

