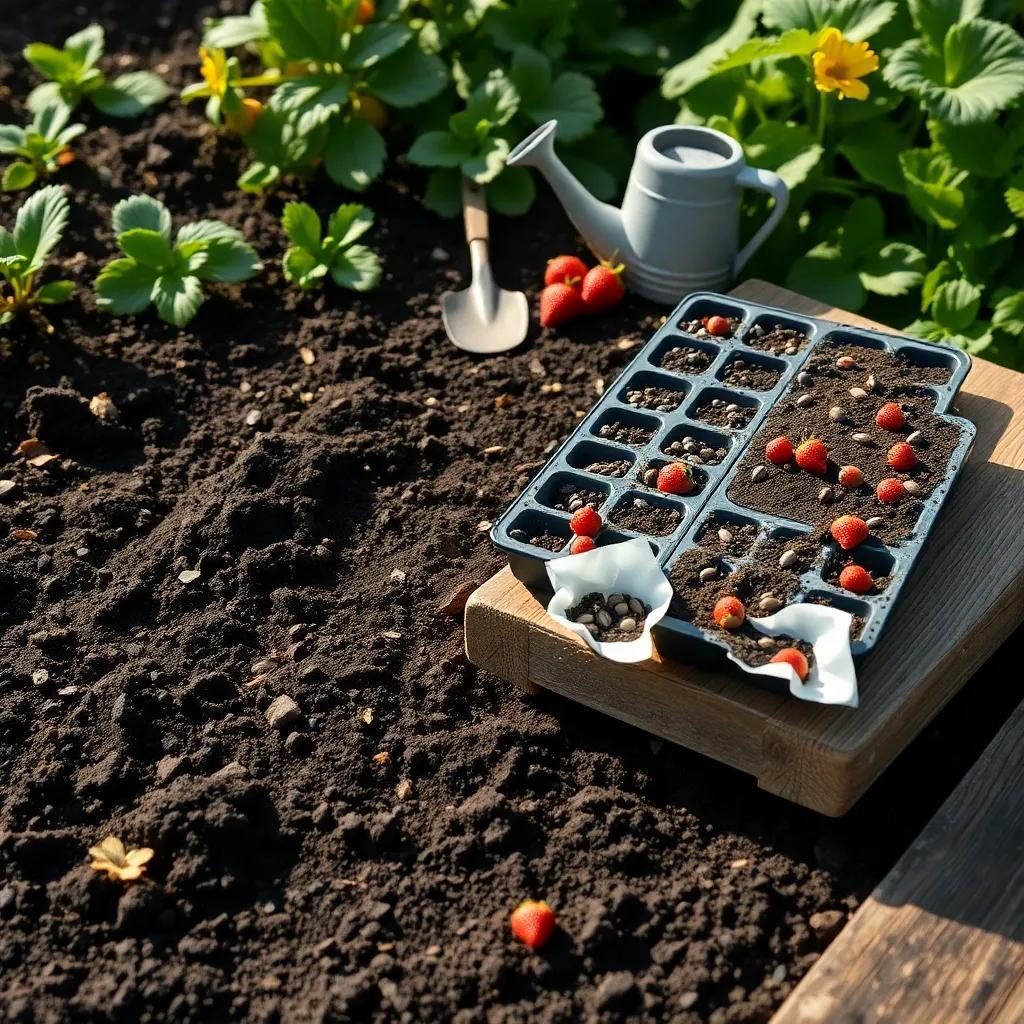
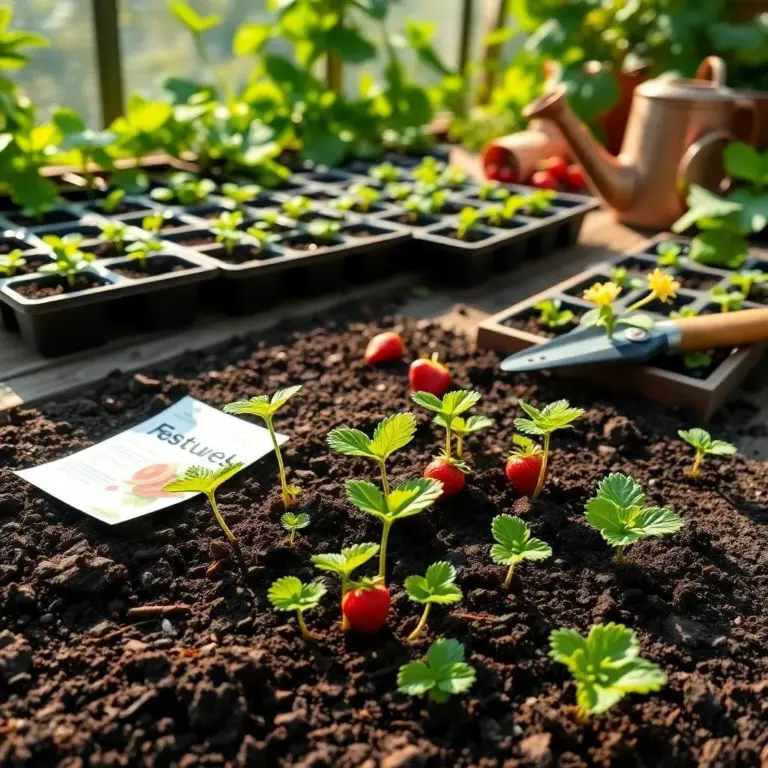
Are you ready to grow your very own strawberries from seed? It’s a fun and rewarding adventure that will have you enjoying juicy, sweet berries right from your garden! Join me as I share the simple steps to get those tiny seeds sprouting, growing, and eventually turning into delicious treats!
Seed Germination: Essential Steps for Success
Growing strawberries from seed is like starting an exciting adventure right in your garden! The first step, seed germination, is super important. This is where the magic happens, turning tiny seeds into little green seedlings ready to grow. Let me share the steps I follow to make sure my seeds sprout like champions!
- Choosing Quality Seeds: Start with high-quality strawberry seeds. I always look for organic, non-GMO seeds from trusted sources. Healthy seeds lead to healthy plants!
- Cold Treatment (Stratification): Did you know many strawberry seeds need a little chill before they wake up? This process, called stratification, mimics winter conditions. Just wrap your seeds in a damp paper towel, pop them in a plastic bag, and place them in the fridge for 4 to 6 weeks. It’s like a vacation for seeds!
- Preparing the Seed Trays: While your seeds are chilling, it’s time to prepare their new home. Fill your seed trays with a well-draining potting mix. Moisten the soil, but don’t drown it!
- Sowing the Seeds: After the cold treatment, it’s showtime! Remove the seeds from the fridge and gently place them on the soil’s surface. I lightly press them down to make sure they have good contact – this helps them feel right at home!
- Providing Optimal Conditions: Place your seed trays in a warm spot with lots of light. I aim for around 70°F (21°C), and I keep the soil moist but not soggy. It’s all about finding that sweet spot!
- Be Patient: Now comes the hardest part – waiting! Germination can take from 1 to 3 weeks. But trust me, seeing those tiny sprouts pop up is totally worth it!
So get ready, because soon you’ll have a little garden of strawberry seedlings waiting to grow big and strong!
Preparing the Soil for Strawberry Seeds
Now that your seeds are ready to germinate, let’s talk about the next step: preparing the soil! Good soil is like a warm blanket for your plants. It needs to be cozy, nutrient-rich, and well-drained. Here’s how I get my soil prepped and ready for those tiny seeds!
- Soil Type: Strawberries love well-draining soil with a slightly acidic pH, around 6.0 to 6.5. I like to use sandy loam or loamy soil for the best results. Heavy clay can be a total buzzkill for our strawberries!
- Testing and Amending the Soil: Before I plant, I always test the soil. You can buy a soil test kit or send a sample to a local agricultural office. If the pH is too high, don’t stress! Just add a little elemental sulfur or peat moss. For nutrient deficiency, consider mixing in some compost or well-rotted manure!
- Clearing the Area: Clear out any weeds, rocks, or debris. We want our strawberries to have the best chance to grow!
- Working the Soil: Grab a garden fork or tiller and loosen that soil! I work it to a depth of about 6 to 8 inches (15 to 20 cm). Break up any lumps and remove pesky rocks.
- Adding Organic Matter: Mix in some yummy organic matter! I usually add a 2 to 3-inch layer of compost. This helps with soil structure and gives our plants the nutrients they’ll need to thrive.
- Leveling and Raking: Finally, smooth out the soil with a rake. It’s like making a bed for your plants! Just be gentle – we don’t want to compact the soil.
By following these steps, you’re giving your strawberry seeds the perfect environment to grow! With well-prepped soil, your plants will have strong roots and a happy home. Let’s get those seeds in the ground and watch them flourish!

Planting Strawberry Seeds: Timing and Techniques
Alright, it’s finally time to get our strawberry seeds into the ground! Planting strawberry seeds is like setting the stage for the most delightful garden show, where the stars are juicy berries! So let’s dive into the best practices for planting those precious little seeds.
- Timing Is Key: I usually plant my strawberry seeds in early spring, after all chances of frost have passed. This helps the seeds germinate right when they need to. Timing can make a big difference, so keep an eye on the weather!
- Spacing Is Important: When planting, it’s essential to leave enough space between the seeds. I like to create rows or raised beds, leaving about 12 to 18 inches (30 to 45 cm) between each row. This will give the plants plenty of room to spread their leaves and soak up the sun!
- Sowing Depth: Strawberry seeds are tiny, just like little specks of magic! I recommend sowing them about 1/8 inch (3 mm) deep. You can also sprinkle them on the surface and gently press them down for good seed-to-soil contact!
- Watering with Care: After planting, it’s important to lightly water the soil. This gives the seeds the moist conditions they crave. But be careful not to overdo it! Too much water can drown those little guys!
- Mulching for Success: Once the seedlings start popping up, I like to mulch around them with straw or wood chips. This keeps the soil moist and helps reduce pesky weeds. Just remember to keep the mulch away from the base of the plants!
- Providing Sunlight: Lastly, make sure those little seedlings get plenty of light! They need about 8 to 10 hours of sunlight each day. If your sunlight is limited, consider using fluorescent grow lights. Your plants will thank you!
Following these simple steps will lead to healthy seedlings ready to grow into delicious strawberries! I can’t wait to see your strawberry patch flourish!
Caring for Strawberry Seedlings: Tips and Best Practices
Now that we’ve got our precious strawberry seedlings sprouting, it’s time to give them the care they need to grow strong and healthy. Think of it like nurturing a baby plant! Here’s how I keep my strawberry seedlings happy:
- Watering Wisely: Water is essential for growing strawberry seedlings. I like to keep the soil consistently moist but not soaked. Watering at the base of the plants helps prevent wetting the leaves. Wet leaves might invite unwanted diseases, and we don’t want that!
- Feed Me, Seymour!: Just like us, strawberry plants love a good meal! I start by mixing organic matter into the soil before planting. Once the seedlings grow their first true leaves, I apply a balanced organic fertilizer to keep them nourished. Just follow the package instructions, and you’ll be golden!
- Weed Control: Weeds are the sneaky little villains of the garden. I make sure to keep the area around my seedlings clear of weeds. Using mulch can help with this! But be careful not to bury the seedlings or cover their crowns, as this can lead to rot.
- Pest Patrol: Keeping an eye out for pests is super important. I regularly check my seedlings for signs of trouble, like slugs or aphids. If I spot any, I use organic methods like handpicking or natural deterrents. Keeping my plants healthy means fighting off those pesky critters!
- Pinching for Growth: Once my seedlings have a few sets of leaves, I pinch off the terminal bud or prune the tips. This encourages bushier growth and keeps those plants looking fabulous!
- Support When Needed: As my seedlings grow taller, I sometimes need to provide support. Installing trellises or cages can help keep the plants upright and prevent the fruits from touching the ground.
By following these care tips, your strawberry seedlings will be on their way to becoming healthy, vibrant plants, ready to produce the sweetest fruits! Let’s move on to the next exciting step in our strawberry-growing adventure!
Transplanting Strawberry Seedlings for Optimal Growth
When the time comes for our strawberry seedlings to step out into the big world, it’s time for transplanting! This exciting step allows them to grow stronger and produce delicious fruit. Here’s how I do it!
- Timing It Right: I always choose a cool, cloudy day for transplanting. This way, my little plants don’t get stressed out from the heat! Early mornings or late afternoons are perfect, too!
- Preparing the New Home: Finding the right spot is super important. I select a well-draining area that gets plenty of full sun. I clear away any weeds, rocks, or debris, and dig the soil to around 8 to 10 inches (20 to 25 cm) deep. Incorporating some compost or organic matter will give the plants a nutritious start!
- Digging Holes: I make holes in the prepared planting site that are big enough for the root systems of my seedlings. Spacing them about 12 to 18 inches (30 to 45 cm) apart gives them plenty of room to grow!
- Gentle Transplanting: Carefully remove the seedlings from their trays, being gentle with the roots. Placing each seedling in its new hole, I ensure that the crown sits level with the soil surface. I then backfill the hole with soil, pressing gently around the roots to make sure they have good contact.
- Watering After Planting: Once transplanted, I give each seedling a thorough watering. This helps settle the soil around the roots and provides necessary moisture. After this, I’ll make sure to keep the soil moist but not overly wet!
- Mulching for Protection: Applying a layer of mulch around the transplanted seedlings helps conserve moisture and suppress weeds. I always leave a small gap around the crown of each plant to prevent it from rotting.
- Ongoing Care and Support: Continuing care is key to helping the plants acclimate. I ensure regular watering, fertilization, and pest control. If needed, I’ll install trellises or cages to support the plants as they grow.
With a little love and patience, my transplanted strawberry seedlings will flourish, leading to a garden brimming with sweet strawberries! I can’t wait for the harvest!

