Are you ready to grow your own delicious kale right at home? I’m excited to share my journey of kale gardening, from germination to harvesting! With just a little love and care, you’ll be able to enjoy fresh, nutritious kale in your meals. Let’s dig in and get those seeds sprouting!
Factors Influencing Kale Germination Time
When I grew my first kale plant, I quickly learned that several key factors influence how long it takes for those little seeds to sprout. Understanding these factors helps us provide the best environment, so we don’t have to wait forever for our greens!
- Seed Quality: First up, let’s talk about the seeds themselves! Fresh, high-quality kale seeds are like happy little dancers, ready to spring into action. If the seeds are old or come from a sketchy supplier, they might be a little lackluster. Always opt for seeds from trusted sources to improve your chances of quick germination!
- Temperature: Did you know that kale seeds love moderate temperatures? They truly do! Keeping your seeds in a cozy spot between 60°F and 75°F (15°C to 24°C) helps them germinate faster. Too cold, and they’ll be sluggish, but if it gets too hot, they might just throw a temper tantrum!
- Moisture: This is a biggie! Kale seeds need just the right amount of moisture to get going. The soil should be moist, but not soggy. I like to check it with my fingers—if it’s damp but not waterlogged, I’m on the right track.
- Light: Here’s a fun fact: kale seeds prefer to germinate in the dark! Yes, really! So when planting, cover them lightly with soil and let them do their thing. Once the seedlings pop up, they’ll be ready for some sunshine!
- Soil Quality: Finally, let’s not forget the soil. Kale loves well-draining soil with a pH between 6 and 7. If the soil is too compacted or sandy, it could be a bumpy ride for those little seeds. Mixing in some organic matter can work wonders, giving kale the best start possible!
By keeping an eye on these factors, I’ve found that my kale seeds germinate like champs, and I can enjoy vibrant greens sooner!
Creating Ideal Conditions for Kale Germination
Now that we’re familiar with what affects germination time, let’s roll up our sleeves and talk about how to create the ideal conditions for our kale seeds! This is where the magic happens, folks, and being a little proactive can make all the difference.
- Temperature Control: I like to start my seeds indoors, especially during chilly months. Using a seedling heat mat is a great way to keep the temperature within that sweet spot of 60°F to 75°F (15°C to 24°C). Trust me, your kale will thank you for it!
- Moisture Management: Keep that soil consistently moist! Before I sow my seeds, I give the soil a good water, making sure it’s evenly damp. After planting, I monitor it regularly. If it’s looking a bit dry, I’ll gently mist it with water. A spray bottle works wonders and keeps the soil just right!
- Light Conditions: Remember, kale seeds don’t need light to germinate, so it’s a little dark cave for them until they sprout. I always cover my seeds lightly with soil. Once they poke through, I move them to a bright spot with indirect light. This helps them grow sturdy and strong!
- Soil Preparation: Preparing the soil is key! I mix in plenty of organic matter like compost, which adds nutrients and improves drainage. This gives my kale the best environment to thrive. Just make sure to remove any rocks or clumps!
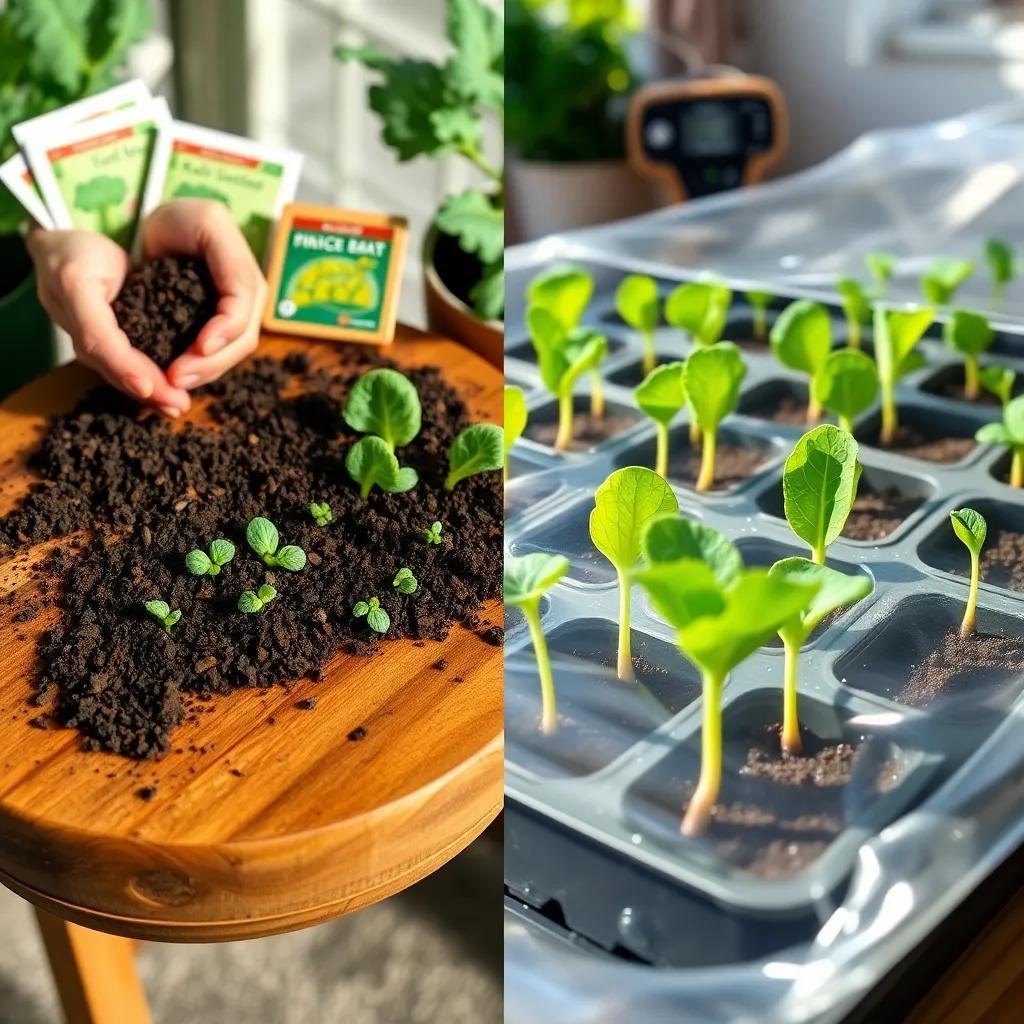
- A Mini Greenhouse: Sometimes, I cover my containers with plastic wrap or a propagation dome to create a cozy, humid environment. It’s like a mini greenhouse! Just remember to check daily and remove the cover once you see seedlings popping up.
With these ideal conditions in place, I can sit back, relax, and watch my kale seeds transform into lovely little plants. Happy planting!

Steps to Successfully Germinate Kale Seeds
Getting my kale seeds to sprout feels like an exciting adventure! If you’re ready to grow your own kale, here are the steps I follow to make sure everything goes smoothly. It’s easier than you might think!
- Gather Your Supplies: Start by collecting high-quality kale seeds, containers for planting (like seed trays or small pots), potting soil, and some water. Having all your materials at hand makes everything flow better!
- Prepare the Containers: I always choose containers with drainage holes. Fill them with a rich, well-draining seed-starting mix. Leave a little space at the top for watering. This helps keep the soil from getting too soggy.
- Sow the Seeds: For each container, I plant about two to three seeds, gently pressing them into the soil. Cover them lightly with about half an inch of soil. Remember, these little guys need to stay cozy to germinate!
- Watering: After sowing, I give them a good soak! Using a spray bottle helps to keep the soil damp without drowning the seeds. I like to keep an eye on the moisture level to make sure it’s just right.
- Creating a Mini Greenhouse: To keep the warmth and moisture in, I often cover my containers with plastic wrap or a clear lid. It creates a humid environment, which is super helpful for germination.
- Provide Warmth and Light: I place the containers in a warm spot, aiming for that comfy temperature of 60°F to 75°F (15°C to 24°C). Once the seedlings push through the soil, I move them to a sunny window for some bright, indirect light.
By following these simple steps, you’re on the path to seeing those delightful little kale seedlings sprout before your eyes!
Monitoring and Troubleshooting Germination Issues
As your kale seeds begin to sprout, it’s a thrill to watch them grow! But sometimes, things don’t go perfectly. Fortunately, I’ve learned that keeping a close eye on my seedlings helps me spot any potential issues. Here are some tips for monitoring and troubleshooting any hiccups!
- Be Patient: Germination can be a waiting game. While most kale seeds sprout in 5 to 10 days, sometimes they can take up to 14 days. Resist the urge to dig around—trust me, patience is key!
- Observe Seedling Health: Once the seedlings emerge, I look for strong, green shoots. If they’re looking a bit weak or pale, that might hint at trouble. Healthy kale seedlings should have vibrant colors!
- Check Moisture Levels: I regularly check the soil’s moisture. If it feels dry, I give it a gentle misting. Too wet? That could lead to seed rot or damping off. I aim for a happy medium!
- Monitor Temperature: Keeping my eye on the temperature is important too! If it dips too low or spikes too high, it can slow down germination or weaken seedlings. A thermometer can help with this.
- Identify Pests: Sometimes, pesky bugs might invade my seedlings. I keep an eye out for signs of pests like aphids. If I spot any, I act quickly—using insecticidal soap or beneficial insects helps keep things in check.
By monitoring these aspects, I can tackle any problems that arise and keep my kale seedlings happy and healthy!
Harvesting Tips for Mature Kale Plants
After all the hard work and care, it’s finally time to reap the rewards of my kale garden! Harvesting kale is exciting, and with a few tips, I can enjoy fresh, delicious leaves from my plants. Here’s how I do it:
- Know When to Harvest: Kale usually takes about 55 to 75 days after germination to reach maturity, depending on the variety. I harvest my kale when the leaves are large, firm, and a vibrant green color!
- Harvesting Time: I prefer to pick my kale in the morning. The leaves are crisp and full of moisture, making them taste even better. Who doesn’t love fresh kale?
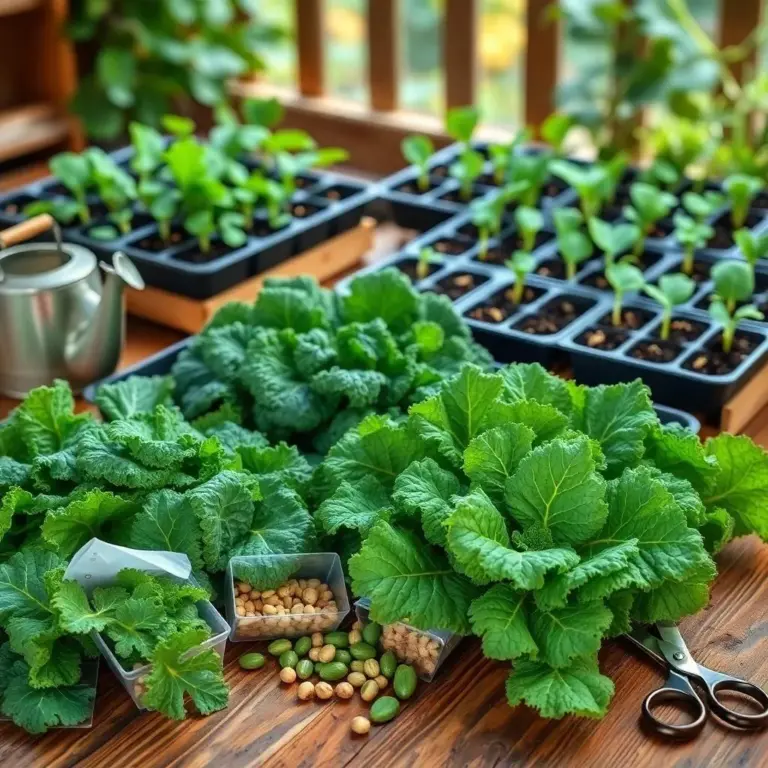
- Start from the Bottom: When I’m ready to harvest, I begin with the outer leaves, plucking them one by one from the bottom of the plant. This allows the inner leaves to keep growing, giving me a continuous supply!
- Use Sharp Tools: I always use a clean, sharp pair of scissors or garden shears. This helps me make clean cuts and prevents any damage to the plant. I cut the leaves close to the base, just above the stem.
- Store Properly: Once I’ve harvested my kale, I gently rinse the leaves under cool water to clean them off. After patting them dry, I store them in a plastic bag or container in the fridge. Properly stored, my kale can last up to a week!
- Regular Harvesting: I try to keep harvesting regularly. This not only provides me with fresh greens but also encourages the plant to produce even more leaves. It’s like a win-win situation!
Harvesting kale is such a rewarding experience. I love adding it to salads, smoothies, or even sautéed dishes! Happy harvesting, and enjoy every bite of your delicious kale!

