Are you ready to grow your very own moringa plants? With their amazing health benefits and delicious leaves, moringa is truly a superstar in the gardening world! Join me as I share everything you need to know about germination, care, and transplanting these fantastic trees. Let’s dig in and get our hands dirty!
Factors Influencing Moringa Seed Germination
When it comes to growing moringa, a few key factors can really make or break the germination process. I’ve learned that understanding these essentials can lead to a thriving garden! Let’s take a moment to explore them together, shall we?
- Temperature: Moringa seeds love warmth! The ideal range for sprouting these little guys is between 70 to 90°F (21 to 32°C). If it’s too cold, your seeds might just decide to take a nap instead of germinating! Keep them cozy, and you’ll likely see results in no time.
- Moisture: Speaking of keeping things cozy, moisture is equally important. Moringa seeds need damp soil, but don’t drown them! It’s all about balance. Aim for a consistently moist environment, but steer clear of waterlogged conditions, which can lead to pesky rot.
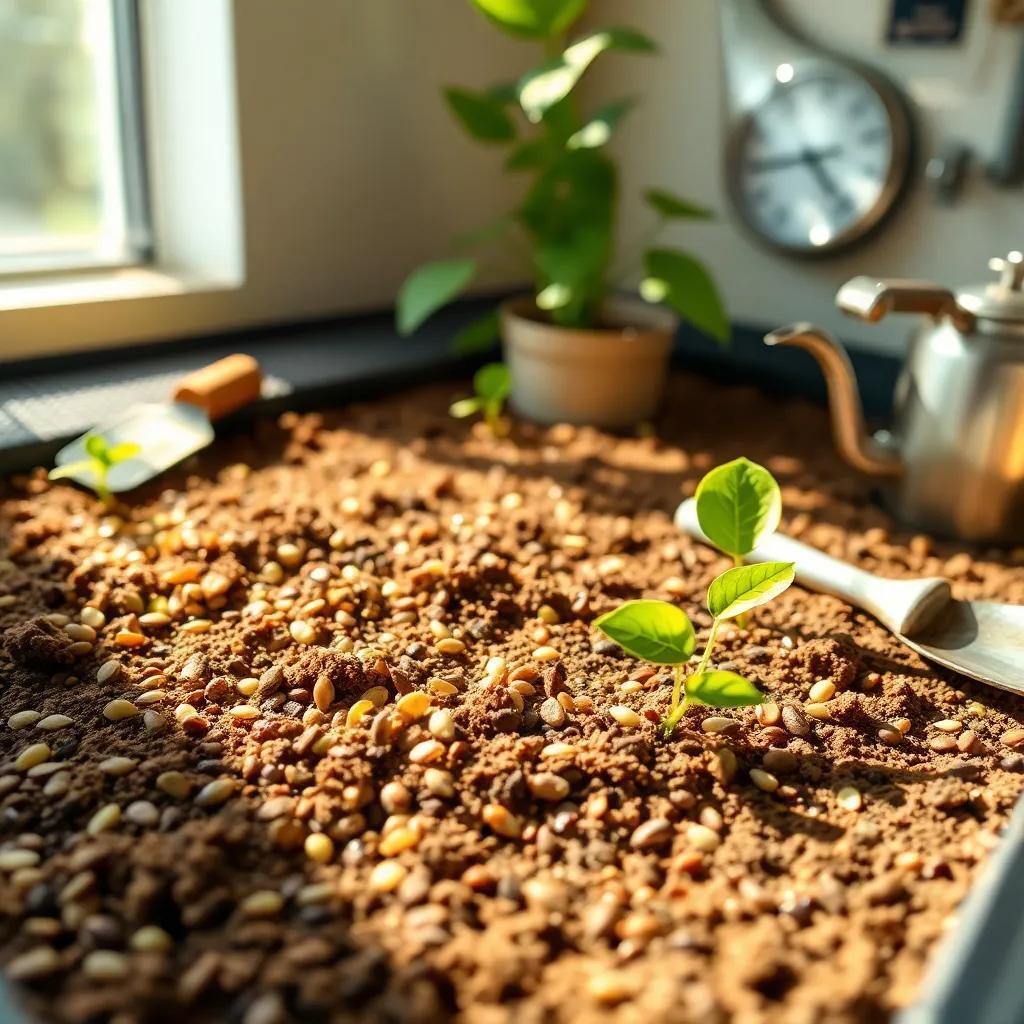
- Soil Quality: Your seeds deserve the best! Use a well-draining soil mix that’s rich in nutrients. Think of it as preparing a comfy bed for your seeds to sprout. Loose, fertile soil allows the roots to grow without a hitch.
- Seed Quality: Always go for fresh seeds. High-quality moringa seeds have a better chance of germinating, while older seeds may bring disappointment. Check the packaging and buy from trusted sources to boost your success.
- Scarification: This fancy term means lightly scratching the seed coat to help water penetrate. A little nick or a gentle rub with sandpaper can promote faster germination. Just be gentle—think of it as giving your seeds a little spa treatment!
With all these factors in mind, you’re setting yourself up for a fantastic gardening journey! I can’t wait for you to see those moringa seedlings popping up before your eyes!
Optimal Temperature for Moringa Germination
Let’s talk about the lovely topic of temperature! When growing moringa, getting the temperature right is like finding the perfect recipe for chocolate chip cookies—essential for success!
Moringa seeds thrive in warm conditions. The sweet spot is between 70 to 90°F (21 to 32°C). If you can set up shop in this cozy range, your seeds will be much happier. But what happens if it gets too chilly? Well, let’s just say your seeds might take their time waking up, thinking they’re on a long winter vacation!
Here are some tips to keep those temperatures just right:
- Use a Heat Mat: If you’re starting your seeds indoors, investing in a heat mat can be a game-changer! It gently warms the soil, providing those seeds with the extra love they need to germinate quickly.
- Check the Weather: If you’re planting outdoors, monitor the weather. You might want to wait for a warm spell before sowing your seeds. Remember, too much cold can slow things down!
- Keep an Eye on Indoor Temperatures: If you’re sprouting seeds inside, find a sunny window or a warm spot. Just keep an eye on the thermometer, and make sure they’re not getting too hot either!
Now that we’ve covered the importance of temperature, you’re armed with the knowledge to create the perfect warm environment for your moringa seeds. With a little love and attention, you’ll have a vibrant garden to enjoy! Happy planting!
Moisture Requirements for Successful Germination
Just like us, moringa seeds need to quench their thirst! Moisture is a key player in the germination game, and getting it just right is essential for those seeds to sprout. So, how do we maintain that perfect level of moisture? Let’s dive in!
- Consistent Moisture: Moringa seeds thrive in damp but not soggy soil. Think of it like keeping a sponge wet without letting it sit in a puddle! Aim for a good balance. Check the soil regularly; if it starts to feel dry, give it a gentle sprinkle of water.
- Watering Techniques: When watering, I like to use a spray bottle or a watering can with a fine spout. This keeps the soil from washing away or getting too compact. Gently misting the soil helps maintain that ideal moisture level without overdoing it!
- Avoid Overwatering: It’s super easy to go overboard with water, especially when you want to help your seeds. But be careful! Too much moisture can lead to rotting seeds and unhappy plants. If you notice the soil staying wet or developing a foul smell, it’s time to ease up on the watering.
- Humidity Levels: If you’re germinating seeds indoors, consider placing a plastic wrap or humidity dome over the pots to keep moisture levels high. Just remember to remove it once the seedlings poke through; they still need air!
- Signs of Trouble: If your seeds aren’t germinating and your soil is too wet, you might be facing damping off—a fungal disease that affects seedlings. If you spot this, adjust your watering schedule right away!
By keeping moisture levels just right, you’re setting your moringa seeds up for success! Happy gardening, and may your seeds thrive!
Tips for Enhancing Moringa Germination Rates
Want to bump up those germination rates for your moringa seeds? You’ve come to the right place! These friendly tips will help you create a welcoming environment for your seeds. Let’s make those seedlings flourish together!
- Select Quality Seeds: Always start with fresh, high-quality seeds. The better the seed, the better your chances of successful germination. Look for seeds that are plump and intact. Old or damaged seeds might just disappoint you!
- Scarification: Remember that hard outer shell I mentioned earlier? Give those seeds a little TLC! Lightly scarifying the seed coat helps water enter and kick-start the germination process. Just be gentle—think of it as giving your seeds a tiny scratch!
- Soil Preparation: Use a light and fluffy soil mix. I love a combination of potting soil, compost, and perlite or vermiculite. This mix promotes drainage and provides essential nutrients for the growing seedlings.
- Maintain Warmth: Keeping your seeds warm is vital! Use a heat mat or place your containers in a sunny spot. The warmth will keep those seeds happy and help them germinate faster.
- Use Bottom Heat: If you start your seeds indoors, try a heating pad underneath the pots. It’s like giving your seeds a warm hug!
- Patience is Key: This is a big one! Germination can take a little while, so don’t lose heart if you don’t see results immediately. Keep caring for your seeds, and they’ll repay you with beautiful plants!
By using these tips, you’ll be well on your way to a successful moringa garden. Enjoy the journey, and remember, nature takes its time!
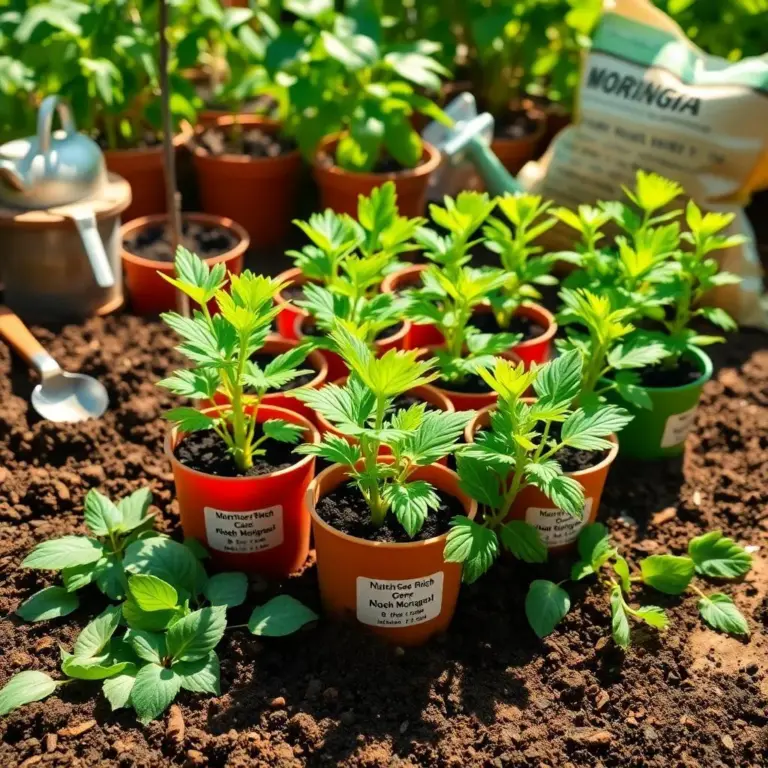
Best Practices for Transplanting Moringa Seedlings
After you’ve successfully sprouted your moringa seedlings, the next exciting step is transplanting them! This is where the adventure really begins. Let’s cover some best practices to make this transition smooth and stress-free for your little plants.
- Timing is Everything: Wait until your moringa seedlings have developed a few true leaves before transplanting. This usually happens around 2 to 3 weeks after germination. It’s like waiting for them to be ready for their big debut!
- Choose the Right Location: Moringa plants love sunshine, so pick a spot that gets plenty of bright, indirect light. If you’re planting outdoors, ensure the area is well-draining to avoid waterlogging.
- Prepare the New Home: Before transplanting, fill your pots or garden bed with a nutrient-rich soil mix. This gives your seedlings a fantastic start in their new environment. I like to mix in some compost for an extra boost!
- Handle with Care: When transplanting, gently loosen the seedlings from their original containers. I find it best to support the root ball while tapping the sides of the pot to release them. Be careful not to damage the delicate roots; they’re very important!
- Water After Transplanting: After placing your seedlings in their new home, give them a good drink of water. This helps settle the soil around the roots and ensures they have the moisture they need to adjust to their new surroundings.
By following these best practices, you’ll not only boost your moringa plants’ chances of thriving, but you’ll also experience the joy of watching your garden flourish! So, get ready to enjoy the fruits of your labor, and happy gardening!