Are you ready to grow your very own June plum tree? It’s an exciting journey, and I’m here to guide you through every step of the way! From germination to transplanting, I’ll share tips, tricks, and milestones that will make your gardening adventure both fun and rewarding. Let’s dig in and nurture those seeds together!
Germination Process for June Plum Seeds
Starting the germination process for June plum seeds is like getting ready for spring! You’ll want to follow a few simple steps to get those seeds sprouting and on their way to becoming beautiful plants. Let’s dig in!
First things first, make sure you have high-quality seeds. Healthy seeds are like having the best ingredients for your favorite recipe! If your seeds are firm and plump, you’re set to go! If they look shriveled or damaged, they might not germinate well.
Now, before planting, it’s a good idea to scarify the seeds. Scarification sounds fancy, but it just means lightly nicking the seed coat to help water sneak in. You can use a small knife or some sandpaper for this. This step can really help speed up germination! After that, soak the seeds in water for about 24 hours. This helps them soften up and get ready to sprout. Isn’t that neat?
Next, plant the seeds about 1 inch deep in a well-draining soil mix. Make sure to keep the soil moist, like a damp sponge, but don’t drown them! Too much water can lead to rot, yikes! It’s all about balance!
Once planted, place your pots in a spot where they can enjoy some warm temperatures—around 75°F to 85°F (24°C to 29°C) is best. You can even use a heating mat to give them a cozy boost!
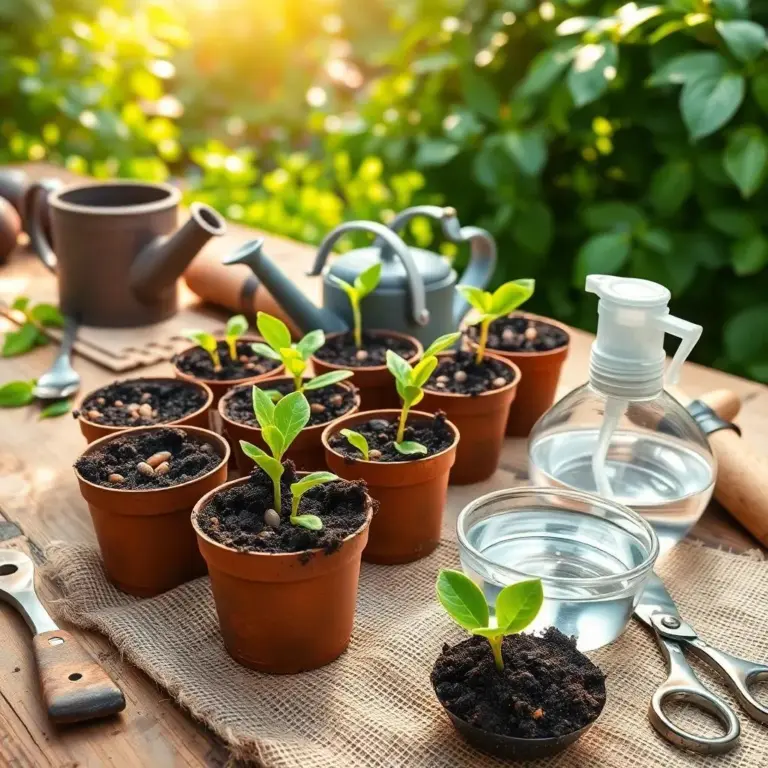
After about two to four weeks, with the right care, you should start to see those little seedlings pop up! Can you imagine how exciting that will be? Watching them grow their first leaves feels like a little miracle in your garden!
Factors Affecting Germination Time
Now, let’s chat about the different factors that can affect germination time for your June plum seeds. Understanding these can help you be the best plant parent ever!
- Seed Quality: Just like with any recipe, the quality of your ingredients matters! Fresh, healthy seeds sprout faster than old or damaged ones. So, choose wisely!
- Seed Dormancy: Sometimes, seeds like to take their sweet time waking up. Some June plum seeds come with built-in snooze buttons! If your seeds are dormant, they might need a little extra love, like scarification or stratification (that’s just a fancy word for giving them a chill period).
- Temperature: Remember that cozy spot? Keeping the seeds in the right temperature range helps speed things along. If it’s too cold, they might just hibernate longer!
- Moisture Levels: Think of moisture as a gentle rain shower. Too much and they’ll drown, too little and they’ll dry out! Keeping the right moisture level is key.
- Light Exposure: While they don’t need a tanning session, a bit of diffused light is great for those little guys once they start sprouting. It helps them stretch and grow strong!
By keeping these factors in mind, you can help those June plum seeds germinate like champs! Now, who’s ready to plant some seeds and watch them grow? Happy gardening!
Troubleshooting Common Germination Issues
Sometimes, even with the best care, our June plum seeds can run into a few bumps in the road! Don’t worry, I’ve got some simple troubleshooting tips to help you tackle common issues. Let’s keep those seeds on track!
- Mold or Fungal Growth: If you notice some fuzzy stuff on your soil or seedlings, that’s mold, and it’s usually a sign of too much moisture. To fix this, try reducing how often you water. You can also improve air circulation by placing a small fan nearby or removing any plastic covers you might be using. If you see mold, gently wipe it away with a paper towel.
- Slow or Non-Germination: If your seeds are taking longer than expected, don’t panic! Check the seed quality first. Old or damaged seeds may just need more time. If they look healthy, review your scarification. Did you nick the seed coat adequately? If not, consider giving the ones that haven’t sprouted another go with some gentle scarification. Also, double-check the moisture and temperature—either could be too low!
- Inconsistent Moisture: Keeping the soil consistently moist is essential! If you notice the soil is drying out too quickly, try using a spray bottle for gentle watering. This helps keep the moisture level just right without waterlogging the seeds.
By addressing these common issues, I’m sure you’ll get those seeds sprouting before you know it!
Tips for Successful June Plum Seed Germination
Getting those June plum seeds to germinate can feel like a tiny adventure! Luckily, I’ve got some handy tips that can help boost your success rate and make the whole process a breeze. Let’s get started!
- Soak Your Seeds: Before planting, soak your seeds in water for about 24 hours. This helps soften the seed coat, giving them a little head start! Just like soaking beans before cooking, this little trick makes a big difference!
- Use a Well-Draining Medium: Choose a potting mix that drains well. If the soil holds too much water, you might end up with soggy seeds. A light mix with perlite or sand can work wonders! Think of it as giving your seeds a comfy bed.
- Consistency is Key: Keep an eye on the temperature and moisture. Try to keep the temperature steady between 75°F and 85°F (24°C to 29°C). Check the soil regularly to make sure it’s damp but not soaked. A little routine can help a lot!
- Light Matters: Once your seeds start sprouting, they’ll need light to keep growing strong. Place them in indirect sunlight or use grow lights for about 12-16 hours a day! Just like us, they need their daily dose of sunshine!
- Be Patient: Germination doesn’t happen overnight! It may take 2 to 4 weeks, so don’t be discouraged. Keep nurturing your seeds and give them the time they need to wake up!
With these tips in your gardening toolkit, you’re set to create a flourishing environment for your June plum seeds. Happy planting!
Expected Growth Milestones for Seedlings
Watching your June plum seedlings grow is like witnessing a little miracle! There are some exciting milestones to look out for during their development. Here’s what to expect as your seedlings unfold their green magic!
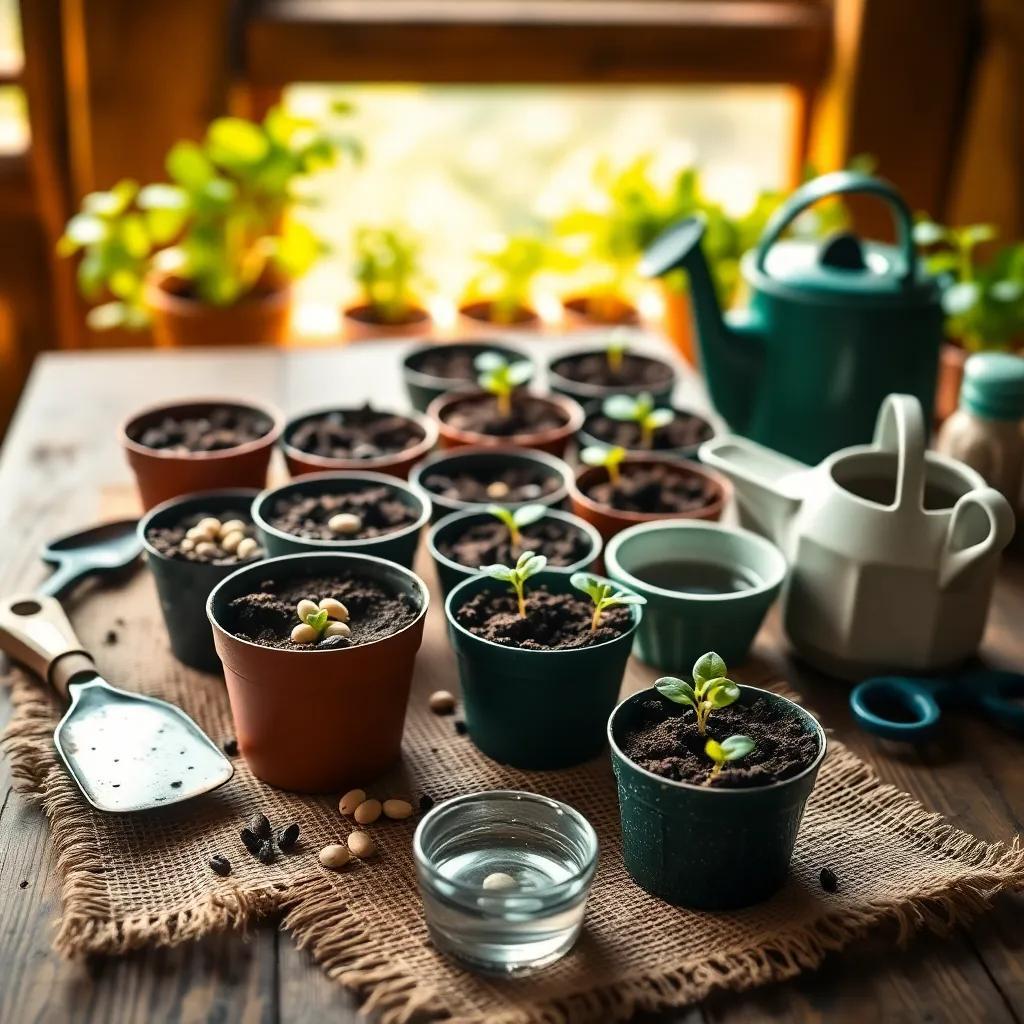
- First Signs of Life: Usually, after about one week, you might start to see the seeds swell, which means they’re soaking up water! This is the first sign that germination is in progress. It’s like the seedlings are waking up and getting ready to greet the world!
- Roots and Shoots: By the end of the second week, you should see tiny roots starting to develop and the first signs of leaves breaking through the soil. This is where the fun begins! Those little green shoots reaching for the sky are full of potential.
- True Leaves Appear: In about three to four weeks, your seedlings will start showing their first true leaves. These are different from the initial leaves (called cotyledons) and are essential for photosynthesis. At this stage, your seedlings are becoming more independent and ready to thrive.
- Transplanting Time: Once your seedlings have developed a few true leaves and are about 3 to 4 inches tall, it’s time to think about transplanting them into larger pots. Make sure to use fresh soil that provides ample nutrients, giving them the best chance to grow big and strong!
- Ongoing Care: After transplanting, continue to provide them with sufficient light, regular watering, and a balanced fertilizer. This will help them develop into healthy plants that can eventually bear delicious June plums!
By keeping an eye on these milestones, you’ll be well on your way to growing your very own June plum trees. What a rewarding adventure that will be!