Are you ready to transform your lawn into a Bermuda grass paradise? Growing beautiful Bermuda grass starts with understanding how to get those seeds to germinate! In this article, I’ll share everything you need to know, from the factors that influence germination to tips for planting and troubleshooting common hiccups. Let’s dig in and get those seeds sprouting!
Factors Influencing Bermuda Grass Seed Germination
When it comes to growing Bermuda grass, a few key factors play a big part in how well your seeds will sprout. If you’re hoping for a lush, green lawn, you’ll want to pay attention to these important elements! Let me break it down for you.
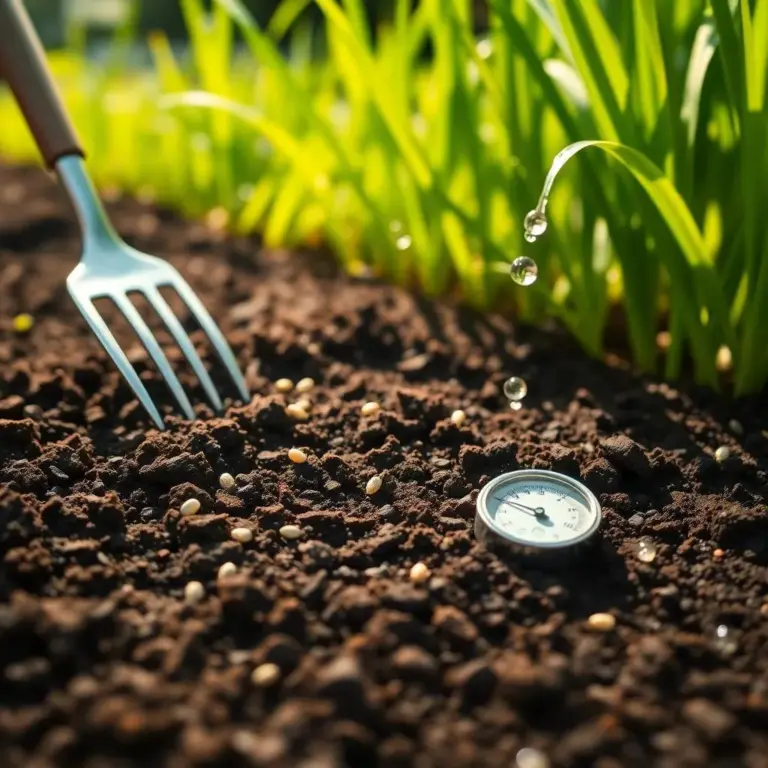
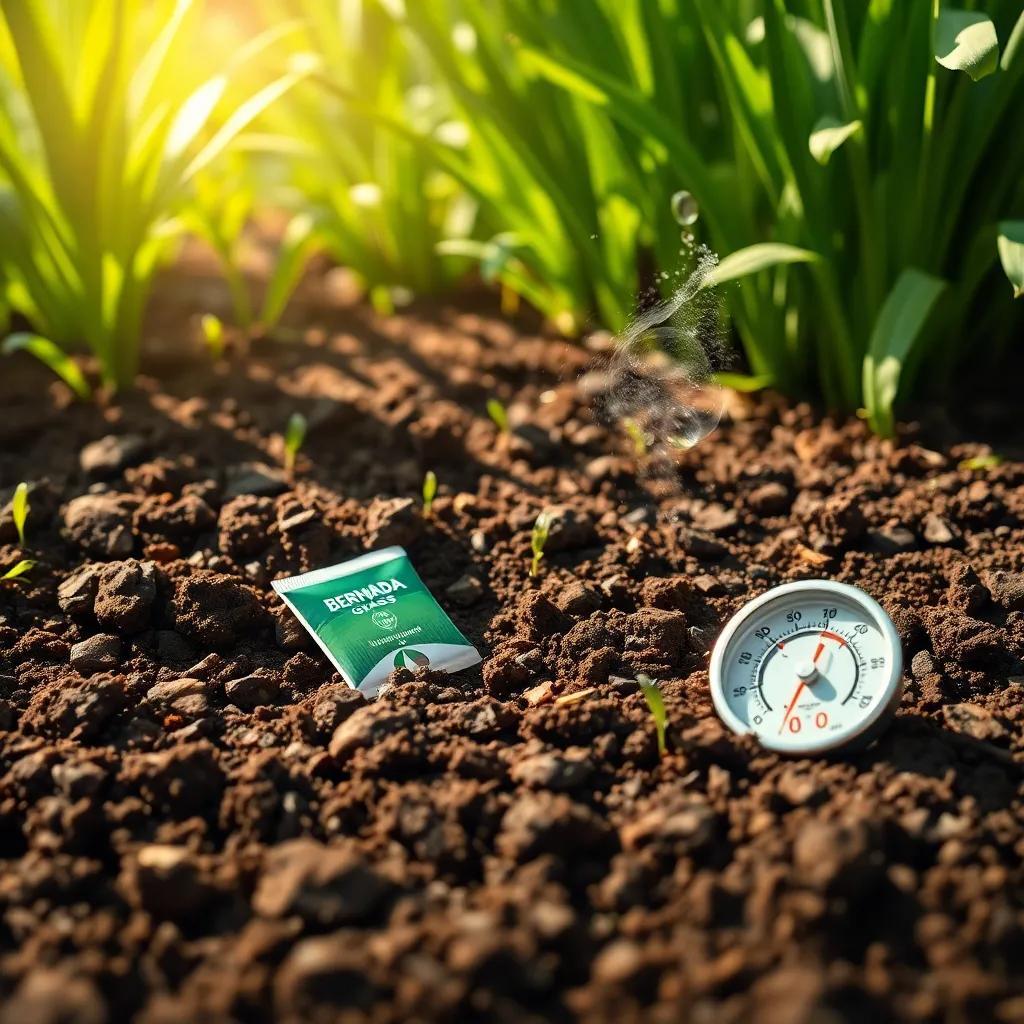
1. Soil Temperature: Bermuda grass seeds love warmth! The ideal range for soil temperature is between 65 to 70 degrees Fahrenheit. If it’s too cold, the seeds might just sit there, twiddling their thumbs instead of sprouting! On the flip side, super hot soil can also make them a bit grumpy.
2. Moisture Levels: Think of moisture like a cozy blanket for your seeds. They need a nice, consistent level of moisture to thrive. Too much water? They could drown! Too little? They’ll feel dry and lifeless. Aim to keep the soil moist but not soggy. A gentle misting a couple of times a day is often just right.
3. Soil Quality: The secret ingredient for happy seeds is good soil! Well-draining, loose, and nutrient-rich soil makes a huge difference. I like to remove any gunk and mix in some organic matter to give my Bermuda grass the best start.
4. Light Exposure: Did you know that Bermuda grass seeds are little sunlight lovers? Make sure they’re not buried too deeply! A light layer of soil or just pressing them gently in is all they need to soak up the sun’s goodness.
5. Seed Quality: And let’s not forget about the seeds themselves! Always go for high-quality seeds from a reputable source. After all, you wouldn’t want to bake a cake with stale ingredients, right?
By paying attention to these factors, you can create a warm, inviting environment that makes your Bermuda grass seeds feel right at home. Trust me, your future lawn will thank you!
Optimal Conditions for Successful Germination
Now that we’ve tackled the factors that influence germination, let’s talk about what makes for optimal conditions! Creating the right setting for your seeds can make all the difference in how fast and successfully they sprout. Here’s what I like to do:
1. Prepare the Soil: Before planting, I always clear away any junk—like rocks or old weeds. I then loosen the soil to a depth of about 4 to 6 inches. This gives those roots room to stretch and grow!
2. Check Soil pH: The sweet spot for Bermuda grass is a pH between 6.0 to 7.0. You can grab a soil test kit to check this easily. If it’s too acidic or alkaline, consider adding amendments to balance it out.
3. Sowing the Seeds: When I sprinkle the seeds, I aim for about 1 to 2 pounds per 1,000 square feet. It’s like spreading sprinkles on a cupcake—just enough to make it fun! Then, I lightly rake the seeds into the soil for good contact.
4. Water After Sowing: Right after planting, I give everything a good drink! Keeping that soil consistently moist during germination (about 2 to 3 weeks) is key. I pay attention and avoid letting it dry out too much!
5. Monitor Temperature: I keep an eye on soil temperatures, making sure they stay within that comfy range. A soil thermometer can be quite handy for this!
By focusing on these optimal conditions, you’ll be setting your Bermuda grass seeds up for success! Remember: gardening is a blend of science and a sprinkle of TLC, so keep it fun and watch your lawn flourish!
Common Germination Issues and Solutions
Even with the best plans, things can sometimes go awry when trying to grow Bermuda grass! But don’t sweat it! Knowing about common germination issues and how to tackle them can make all the difference. Here’s a friendly guide to help you troubleshoot the pesky problems that might pop up.
1. Poor Germination Rates:
Have you noticed that your seeds just aren’t sprouting? This could happen for a few reasons:
- Seed Quality: If you skimped on the seeds, you might not get great results. Always choose high-quality seeds from a trusted source to boost your chances.
- Soil Prep: Insufficient soil preparation can lead to patchy growth. Make sure to remove debris and fluff up the soil!
2. Fungal Diseases:
Overwatering is like throwing a party for unwanted guests like fungi! If you see seedlings struggling, check for signs of fungal diseases like damping-off. Here’s what you can do:
- Drainage: Make sure your soil drains well! Avoid overly wet soil by watering just enough to keep it moist.
- Airflow: Good airflow helps prevent fungus. Avoid crowding your seeds and ensure they have space to breathe!
3. Weed Competition:
Weeds can be like those uninvited folks who take over your party! If you let them run wild, they’ll steal water and nutrients from your grass seeds. Here are some ideas for keeping them in check:
- Weed Removal: Before planting, clear away existing weeds. A little elbow grease goes a long way!
- Mulching: After seeding, consider adding a thin layer of mulch. This suppresses weeds and helps retain moisture.
By being aware of these common issues and having solutions at hand, you can set your Bermuda grass seeds up for success. Remember, gardening is a learning journey, so don’t be discouraged if things don’t go perfectly!
Monitoring Germination Progress
So, you’ve planted those Bermuda grass seeds, and now you might be wondering, “What’s happening down there?” Monitoring germination is like checking on a pot roast—super important to make sure everything is cooking nicely! Here’s how I keep tabs on my seeds.
1. Regular Inspections:
I like to check my garden every few days. Gently look for signs of sprouting, such as tiny green shoots peeking through the soil. It’s like a little surprise party every time I see new life!
2. Moisture Checks:
Keeping the soil hydrated is key, but you don’t want to drown your seeds. I stick my finger an inch into the soil to feel for moisture. If it’s dry, it’s time for a sprinkle!
3. Temperature Monitoring:
I keep my trusty soil thermometer handy! Checking the temperature regularly helps me make sure it’s staying within that cozy range of 65 to 70 degrees Fahrenheit. If it dips too low, I’ll find a way to warm things up.
4. Documenting Progress:
I find it helpful to take notes on my observations. I jot down the days I see germination and any changes in moisture or temperature. This way, I can track what works best for my lawn!
By keeping an eye on your seeds and adjusting your care as needed, you’ll set the stage for a flourishing Bermuda grass lawn. Monitoring isn’t just about watching; it’s about adapting to your plants’ needs!
Best Practices for Planting Bermuda Grass Seeds
Now that we’re ready to get our hands dirty, let’s dive into some best practices for planting Bermuda grass seeds! Following these simple tips makes it easier to grow a vibrant lawn that your neighbors will envy.
1. Soil Preparation:
Start by giving your soil some love! Remove any rocks, weeds, or debris. I like to use a garden fork or tiller to loosen the soil to about 4 to 6 inches deep. This makes it easier for roots to spread!
2. Sowing the Seeds:
When it’s time to plant, I recommend using about 1 to 2 pounds of seed per 1,000 square feet. Spread them evenly, like laying a nice layer of icing on a cake. After that, I lightly rake them into the soil to make sure they have a good connection!
3. Watering:
After sowing, give the area a gentle watering. Think of it as giving your seeds a nice drink to help them wake up. Keep the soil consistently moist but not soaking wet for the first few weeks.
4. Timing:
Choosing when to plant is important too! Aim for late spring or early summer when the soil is warm enough. This is when Bermuda grass is at its happiest!
5. Patience and Observation:
Remember, patience is key! It might take about 7 to 14 days** for seeds to sprout. During this time, keep an eye on moisture and temperature. If you make adjustments along the way, you’ll be on your way to a lush lawn in no time!
By following these best practices, you’re setting yourself up for success! Each step is like adding a sprinkle of magic that brings your garden dreams to life!