Are you ready to make your garden thrive wiht vibrant crimson clover? This little legume is not just a pretty face—it’s a powerhouse of benefits for your soil and plants! Let’s dive into how to get those seeds germinating like pros and ensure a lush,green carpet in no time!
Understanding Crimson Clover Germination Timeframes
When it comes to gardening with crimson clover,knowing the germination timeframe can really boost your success! So,how long does it take for those little seeds to sprout? Typically,crimson clover seeds germinate in about 7 to 10 days under the best conditions. It’s like waiting for your favorite show to start—exciting, but not too long!
Here’s what affects how quickly they pop up:
- Soil Temperature: The ideal range for crimson clover is between 60°F to 75°F (15°C to 24°C). If it’s too cold, those seeds might just chill out and refuse to sprout.If it’s too hot, well, they might just get cooked!
- Moisture Levels: seeds need moisture to germinate—but don’t drown them! Keeping the soil consistently moist will help them thrive.Think of it like a gentle misting,not a waterfall.
- Seed Quality: Fresh, quality seeds are like having a great recipe—if the ingredients are good, the dish will be too. Old or damaged seeds may take longer to sprout or might not sprout at all!
Timing your planting schedule is key. Picture planting those seeds 6 to 8 weeks before the first expected frost, and you’ll give them the best chance to grow strong and provide all those amazing benefits to your garden soil.
Let’s not forget that patience is part of the gardening game. Knowing it’ll take about a week gives me hope, and hopefully, it does for you, too!
Key Factors Influencing Germination of Crimson Clover
So, what exactly makes those crimson clover seeds tick? Understanding the key factors that influence germination can help you achieve that lush, green cover crop you’re aiming for. It’s all about creating a cozy nest for those seeds to thrive!
- Temperature: Remember that cozy range of 60°F to 75°F? Keeping the soil within that zone is essential. Depending on where you live, this might mean waiting for the right season or using row covers to maintain warmth.
- Soil moisture: This is a delicate dance—too much water and you’ll risk rot, but not enough, and your seedlings will dry out. Regular checks are crucial! A simple finger test can tell you if the soil is still damp.
- Soil Composition: Soil quality matters! Crimson clover loves well-drained soil that can hold some moisture. If your soil is too compacted, it could be like trying to push through a crowded concert—difficult for those young roots!
- Light Requirements: Interestingly, crimson clover seeds don’t need light to germinate! In fact, keeping them in darkness can sometimes be beneficial. Once they sprout, though, they’ll perk up and soak in all that sunshine!
- Seeding Depth: Planting those seeds at the right depth—1/4 to 1/2 inch (6 to 12 mm)—is significant. Too shallow, and they’ll dry out; too deep, and they might struggle to break through the surface. It’s all about finding that sweet spot!
By keeping these factors in mind, you’ll set yourself up for success. After all, who wouldn’t want to roll out a beautiful carpet of crimson clover in their garden? With just a little care and attention, those seeds will be off to a fantastic start, and you’ll be well on your way to a thriving garden!
Optimal Conditions for successful Germination
Creating the best surroundings for crimson clover seeds is like setting the stage for a stunning show; everything needs to be just right! Let’s explore the optimal conditions that will help your seeds sprout and flourish.
- Temperature: As I mentioned earlier, crimson clover seeds thrive in a temperature range of 60°F to 75°F (15°C to 24°C). If you can provide this cozy atmosphere,your seeds are likely to germinate faster. Consider planting in late summer or early fall when temperatures start to cool but are still comfortable.
- Soil Moisture: Keeping the soil consistently moist is key! When planting, water the area gently to avoid washing the seeds away.After that, monitor the moisture. If the soil starts to feel dry, lightly mist it with water. Remember, it’s better to keep them a bit damp than to soak them!
- Soil Conditions: the right soil mix creates a happy home for seedlings. I recommend using well-drained, loamy soil enriched with organic matter, like compost. This not only helps with water retention but also provides vital nutrients. Make sure to loosen the soil before planting so that the seeds can push through easily.
- Light Requirements: Interestingly, crimson clover seeds do not require light to germinate. This means you can cover the seeds with a thin layer of soil without worry. however, once they sprout, they’ll need plenty of sunlight to promote healthy growth. Aim for at least 6 hours of sunlight each day.
- Seeding Depth: When planting, bury those tiny seeds about 1/4 to 1/2 inch (6 to 12 mm) deep. This gives them the right amount of cover to protect them while still allowing them to break through the surface.
With these conditions, you’re setting your crimson clover seeds up for success! A little attention to detail will go a long way in transforming your garden into a lush and vibrant landscape.
Techniques to Accelerate Crimson Clover Germination
Who doesn’t want their seeds to sprout faster? I know I do! Let’s explore some techniques you can use to help your crimson clover seeds germinate more quickly and efficiently. Here are my top tips:
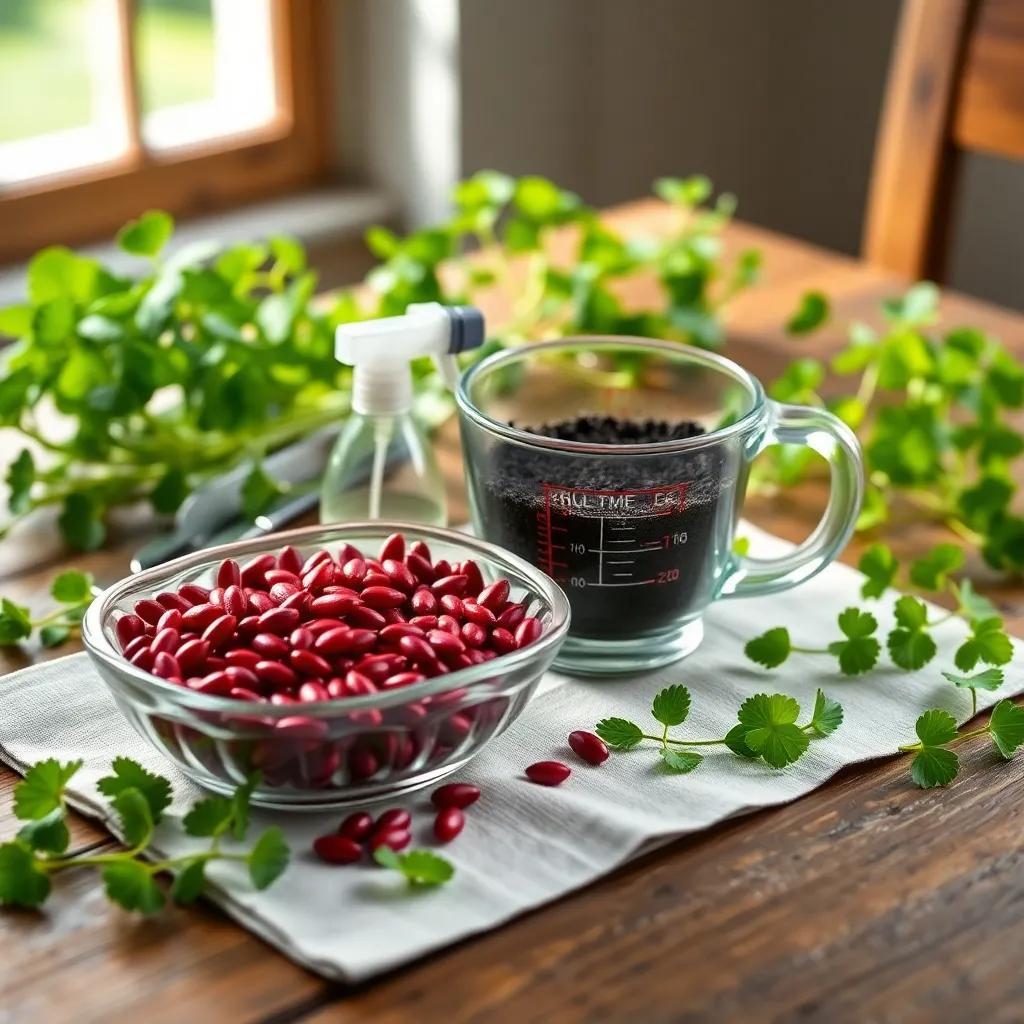
- Pre-soaking the Seeds: One way to give those seeds a head start is to pre-soak them in water for 12 to 24 hours before planting.This method helps soften the seed coat and can jumpstart the germination process. Just remember not to leave them soaking too long, or they might get mushy!
- Scarifying the Seeds: If you want to go the extra mile, try scarifying the seeds. This means gently rubbing them with sandpaper or using a file to scratch the outer layer. By doing this, you allow water to penetrate the seed more easily, promoting quicker germination.
- using a Germination Mat: A germination mat can maintain a warm soil temperature.These mats provide gentle, consistent warmth, creating the perfect environment for your seeds. Just place the mat underneath your planting area and let it do the work!
- Maintaining Soil Moisture: As I mentioned earlier,keeping the soil consistently moist is vital. Regularly check the moisture levels and use a fine mist or gentle spray to water. This will help ensure a happy and hydrated environment for your seedlings.
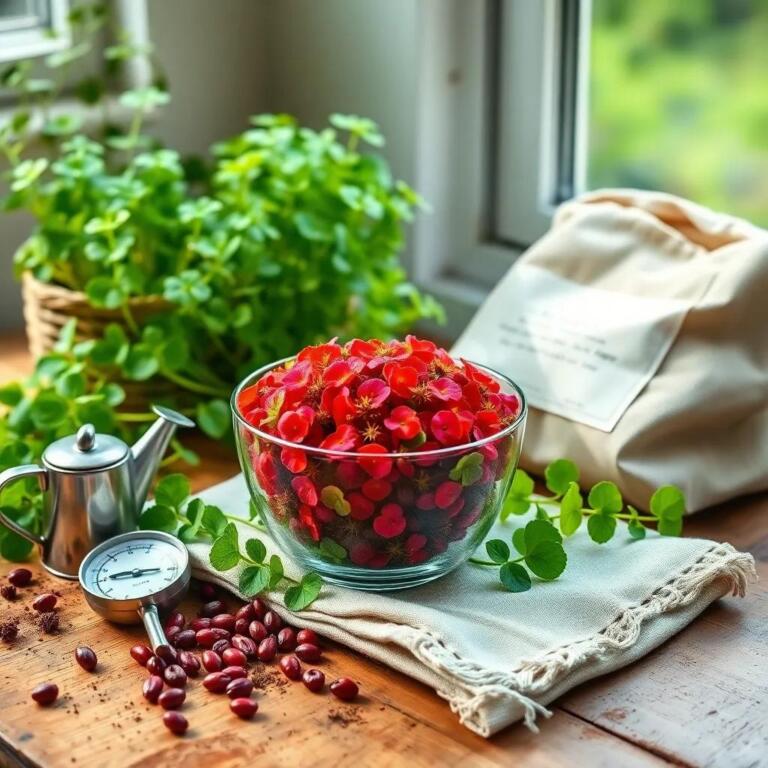
- Monitoring Environmental factors: Pay attention to temperature, light, and moisture levels. Using a thermometer and moisture meter can help you keep track. If temperatures drop or moisture levels fluctuate, adjust accordingly to promote steady germination.
By using these techniques, you’ll speed up the germination process and set your crimson clover on a path to thriving growth! Just think—you could be nurturing seedlings in no time and enjoying the benefits of this fantastic cover crop in your garden.
Common Issues and Solutions for Germination Challenges
Despite our best efforts, things can sometimes go awry during the germination process. But don’t worry! I’ve got your back with some common issues you might face when germinating crimson clover, along with simple solutions to get things back on track.
- Poor Germination Rate: If your seeds aren’t sprouting, it might be due to old or low-quality seeds.Double-check the expiration date on your seed packet and always source fresh seeds from reputable suppliers.
- Uneven Germination: This can happen if moisture levels are inconsistent. Make sure to water evenly and consider covering the seeds with a light mulch layer to help retain moisture. It’s like topping your cake with frosting for that extra touch!
- Damping-off Disease: This pesky problem is caused by fungi that thrive in overly wet soil. To prevent this, ensure your soil has good drainage and avoid overwatering. Using a sterilized seed-starting mix can also cut down on risks.
- Seed Rot: If your seeds are sitting in soggy soil, they may rot before they can germinate. To fix this, improve drainage by mixing in sand or perlite and adjust your watering schedule. Remember, less is ofen more when it comes to water!
- Poor Seed-to-Soil Contact: If seeds are not making good contact with the soil, they might struggle to sprout. Lightly press them into the soil after planting, and don’t be shy about raking them gently to encourage a snug fit.
By keeping these potential issues and their solutions in mind, you’ll be well-prepared to tackle any germination challenges that come your way. Gardening is all about learning and adapting, and with a little patience and care, you’ll be enjoying a beautiful crimson clover display in no time!