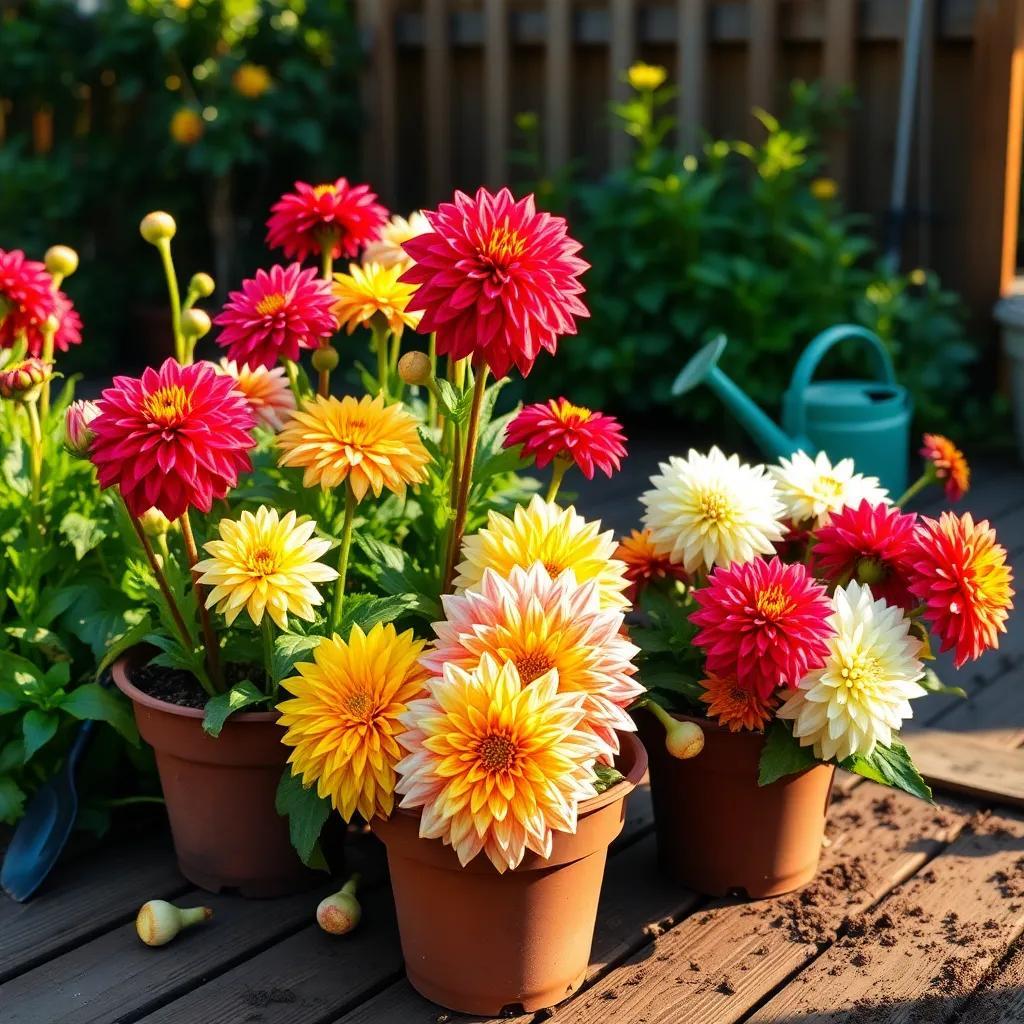
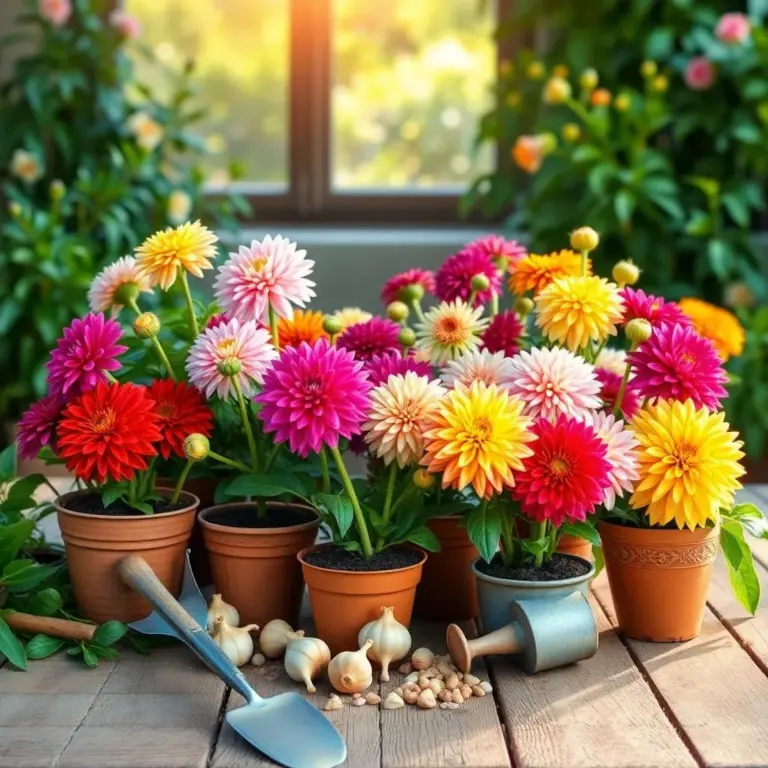
Are you ready to dive into the colorful world of dahlia bulbs? Growing these stunning flowers in pots can be a thrilling journey filled with joy and excitement! In this guide, I’ll share everything you need to know, from picking the best bulb varieties to ensuring they thrive in their cozy homes. Let’s get those pots ready for some blooming magic!
Understanding Dahlia Bulb Varieties for Potting
When it comes to growing dahlia bulbs, knowing the different varieties can really make a difference! Dahlias come in a wonderful range of shapes, sizes, and colors. It’s like a flower party, and you get to choose who’s invited! Here are some of the main types of dahlias you might consider for your pots:
- Pompon Dahlias: These little cuties are small and round, resembling tiny balls of fluff. Their compact size makes them perfect for pots!
- Cactus Dahlias: With their spiky petals, these are great for adding a touch of drama. They can grow quite tall, so make sure your pots are sturdy!
- Decorative Dahlias: These are the classic dahlias you often see in gardens. They come in many vibrant colors and add a splash of joy to any space!
- Bishop Dahlias: These unique flowers have a beautiful blend of colors and are perfect for creating eye-catching displays.
Choosing the right variety is key to successful potting. I always recommend getting your bulbs from reputable suppliers; they’ll provide not just healthy bulbs but also valuable information on each type’s specific needs. After all, you want your dahlias to thrive and dazzle, right?
Don’t forget! Keeping a record of which varieties you plant and when can really help you take care of them in the future. It’s like keeping a gardening diary that you can refer back to, and trust me, it helps!
Ideal Conditions for Germinating Dahlia Bulbs
Now that we’ve picked our dahlia varieties, let’s talk about the ideal conditions for getting those bulbs to germinate successfully. Think of germination as a cozy blanket for your bulbs—a little warmth and care go a long way!
Here are some key elements to consider when creating the perfect environment:
- Sunlight: Dahlias love the sun! Aim for at least 6 to 8 hours of direct sunlight a day. If your pots are in a shady spot, your bulbs might just sulk, and we can’t have that!
- Temperature: The warmth is their best friend! 70 to 75 degrees Fahrenheit (21 to 24 degrees Celsius) is the sweet spot. If it’s too chilly, your bulbs might take forever to sprout. Who likes to wait, anyway?
- Soil Moisture: Keeping the soil consistently moist but not soggy is like giving your bulbs a refreshing drink without drowning them. Water when the top inch of the soil feels dry—it’s an art, not a science!
- Air Circulation: Just like us, dahlias need to breathe! Placing pots where there’s good air movement helps keep them healthy. If they’re crowded, it’s like having too many friends in a small room—nobody is comfortable!
With these ideal conditions in place, you’ll create a welcoming environment that helps your dahlia bulbs sprout with joy! Soon enough, you’ll see those little green shoots popping up, and trust me, it will be so rewarding! Happy planting!

Steps for Properly Planting Dahlia Bulbs in Pots
Planting dahlia bulbs in pots is an exciting adventure! With the right steps, you can set your bulbs up for success. Let’s dive into how to properly plant these beauties so they can thrive and bloom beautifully.
- Choose the Right Pot: Start by selecting a pot that’s at least 12 inches deep and has good drainage holes. This allows the bulbs plenty of room to grow and prevents water from sitting at the bottom. Remember, no one likes soggy feet!
- Prepare the Soil: Fill your pot with a well-draining potting mix. I like to mix in some compost to give my dahlias a nutritious boost. Aim for soil that retains some moisture but drains well, so the roots don’t drown.
- Position the Bulbs: Place the bulbs on top of the soil with the sprout or “eye” facing up. This is the part that will grow into the plant! Leave about 6 to 8 inches between each bulb; they need their space to shine!
- Cover the Bulbs: Gently cover the bulbs with about 1 to 2 inches of soil. Press it down lightly to hold the bulbs in place, but be gentle—no need to squash them!
- Water Thoroughly: After planting, give your pots a good drink. Make sure the soil is evenly moist but not soaking. Watering helps settle the soil around the bulbs and kick-starts the germination process.
- Label Your Pots: If you’re planting multiple varieties, don’t forget to label them! A little tag helps you remember what’s what, making care and maintenance so much easier.
With these steps, you’re ready to watch your dahlia bulbs flourish! Planting can be messy, but don’t worry! Dirt is just part of the fun!
Troubleshooting Common Dahlia Germination Issues
Even with the best intentions, things can go a little sideways during the germination process. But fear not! Here are some common problems you might face and how to fix them with a sprinkle of love and a dash of patience.
- Slow Sprouting: If your bulbs are taking their sweet time, it might be too cold for them. Dahlias love warmth! Make sure they’re in a place that stays between 70 to 75 degrees Fahrenheit. A heating mat can be a great buddy during chilly nights.
- Fungal Growth: Overwatering can create a damp environment that invites pesky fungi. If you see fuzzy spots on the soil or bulbs, cut back on watering. Allow the top inch of soil to dry out between drinks. And remember, good air circulation keeps mold at bay!
- Bulb Rot: This is a nightmare! If bulbs feel mushy or look brown, they might be rotting. Check for proper drainage—your pots need it! If you find rotting bulbs, remove them immediately to prevent the spread.
- Weak or Stretched Shoots: If your plants seem spindly and stretched, they’re probably not getting enough sunlight. Move your pots to a spot that gets direct sunlight for 6 to 8 hours each day. They’ll perk right up!
- Pest Problems: Keep an eye out for sneaky pests. Slugs and snails may find your dahlias too inviting! A few natural deterrents or traps can help manage these little munchers.
Every gardener faces challenges! A little troubleshooting can go a long way, so don’t get discouraged. Your dahlias will thank you for your care!
Caring for Dahlia Bulbs During the Germination Phase
Once your dahlia bulbs are planted, it’s time to roll up your sleeves and give them the care they need to germinate and grow! Think of it as being a nurturing parent; your bulbs are counting on you!
- Watering Wisely: Keeping the soil moist is key! I check the soil by sticking my finger about an inch deep. If it feels dry, it’s time for a drink! But avoid overwatering—dahlia bulbs don’t like soggy soil.
- Watch the Temperature: Maintaining the right temperature is crucial for happy bulbs. If it’s too cool, growth can stall. If you have fluctuating temperatures, try using a plastic cover to keep things cozy, but don’t let it get too steamy!
- Provide Adequate Light: Light is the superstar in the growth process! Dahlias crave sunlight, so make sure the pots are in a sunny spot. If your natural light is lacking, consider using grow lights to give them a boost!
- Good Air Circulation: Just like us after a long day, your plants appreciate fresh air! Make sure they’re not overcrowded. If they feel cramped, they can get stressed, and we don’t want that!
- Monitor for Pests: As your bulbs begin their journey, keep an eye out for any signs of pests. A little inspection can go a long way. If you see anything unusual, take action right away!
- Patience is Key: Germination takes time, and sometimes it feels like a watched pot never boils! Stay patient and keep nurturing your bulbs. Before you know it, those little shoots will start pushing through the soil!
Taking care of your dahlia bulbs during the germination phase is like a tender hug. With love, attention, and a sprinkle of enthusiasm, you’ll be rewarded with vibrant blooms that light up your garden! Happy gardening!

