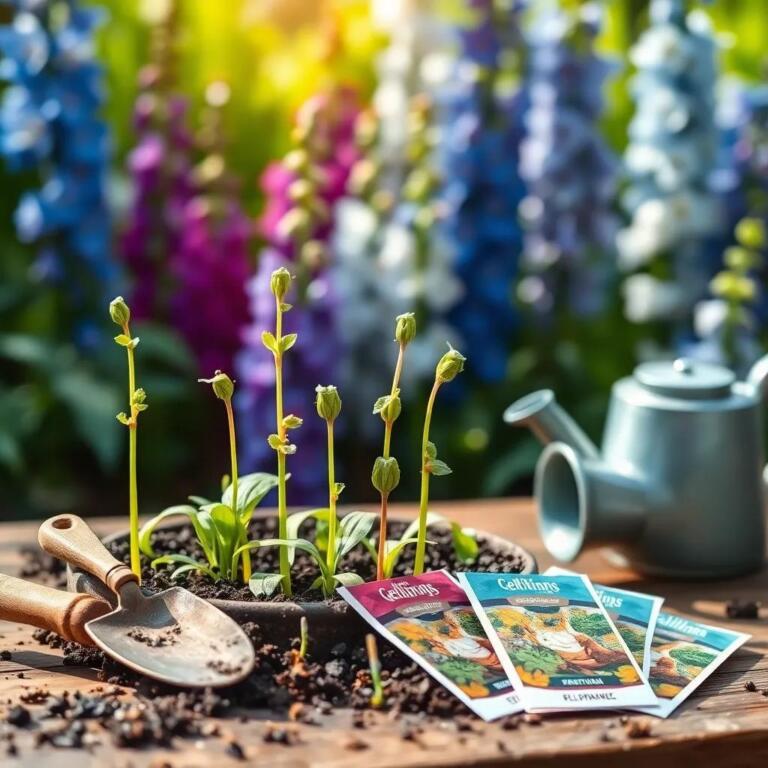
Are you ready to watch your garden burst into a extraordinary display of vibrant colors? Delphiniums, with their tall spires and cheerful blooms, can transform any backyard into a floral wonderland! Join me as we explore how to successfully germinate these beauties and keep them thriving, ensuring your garden looks stunning all season long!
Factors Affecting Delphinium Seed Germination
When it comes to germinating delphinium seeds, there are several key factors that can make or break your gardening dreams. I’ve learned through my own experiences that understanding these factors will increase your chances of success. So, let’s dive into what really affects their germination!
- temperature: Delphinium seeds love a cozy surroundings! The ideal soil temperature for germination is between 60 to 65 degrees Fahrenheit (15 to 18 degrees Celsius). If it’s too cold or too hot, those little seeds might just sit there like they’re on vacation, doing nothing!
- Moisture: Just like us, delphinium seeds need a good drink! Keeping the soil moist but not soggy is essential. Think of it as giving your seeds a nice spa day. Too much water can led to rot, while too little can leave them thirsting for more.
- Light: Here’s a fun fact: Delphinium seeds require light to germinate! Unlike some seeds that prefer darkness, these beauties need to see the light of day. So, when you plant them, just lightly press them into the soil without wholly burying them.
- Soil Quality: The soil where you plant your delphiniums should be well-draining and rich in nutrients. Adding a bit of organic matter, like compost, can improve the soil’s texture. Imagine your seeds dancing in a nutrient-rich party!
- Seed Dormancy: Some delphinium seeds have a built-in dormancy feature, waiting for the right conditions to wake up. If your seeds aren’t germinating quickly, they might need some stratification—a cold and moist condition to mimic winter before they spring into action.
By paying attention to these factors, you’ll set the stage for successful germination. Your patience will be rewarded as you watch those young delphinium plants burst forth from the soil!
Optimal Conditions for Germination Success
Now that we know what affects germination, let’s chat about creating the perfect conditions for our delphinium seeds to thrive! It’s like preparing a lovely meal; you need the right ingredients and a dash of care.
- Temperature Control: To help your seeds feel at home, you might want to use a seedling heat mat during those chilly nights. This warm embrace encourages them to sprout sooner!
- Watering Wisely: Water your seeds gently. A spray bottle works wonders to keep the soil moist without making it a muddy mess. Remember, nobody enjoys being waterlogged!
- Light Exposure: As I mentioned before, light is key. Place your seed trays in a luminous location, but keep them out of harsh direct sunlight. Think of it as giving your seedlings a nice tan without the sunburn!
- Soil Preparation: Before planting, prepare your soil by mixing in some compost or well-rotted manure.This extra goodness ensures your seeds have a nutritious start. And hey, that’s like giving your seeds a buffet!
- Air Circulation: Make sure there’s good air circulation around your seeds. If they’re too cramped, they might feel stressed. A little breathing room helps them grow strong and vibrant.
By considering these optimal conditions, you’re creating a haven for your delphinium seeds. It’s all about crafting a nurturing environment where they can flourish and eventually transform your garden into a stunning display of color! So roll up your sleeves, and let the gardening fun begin!
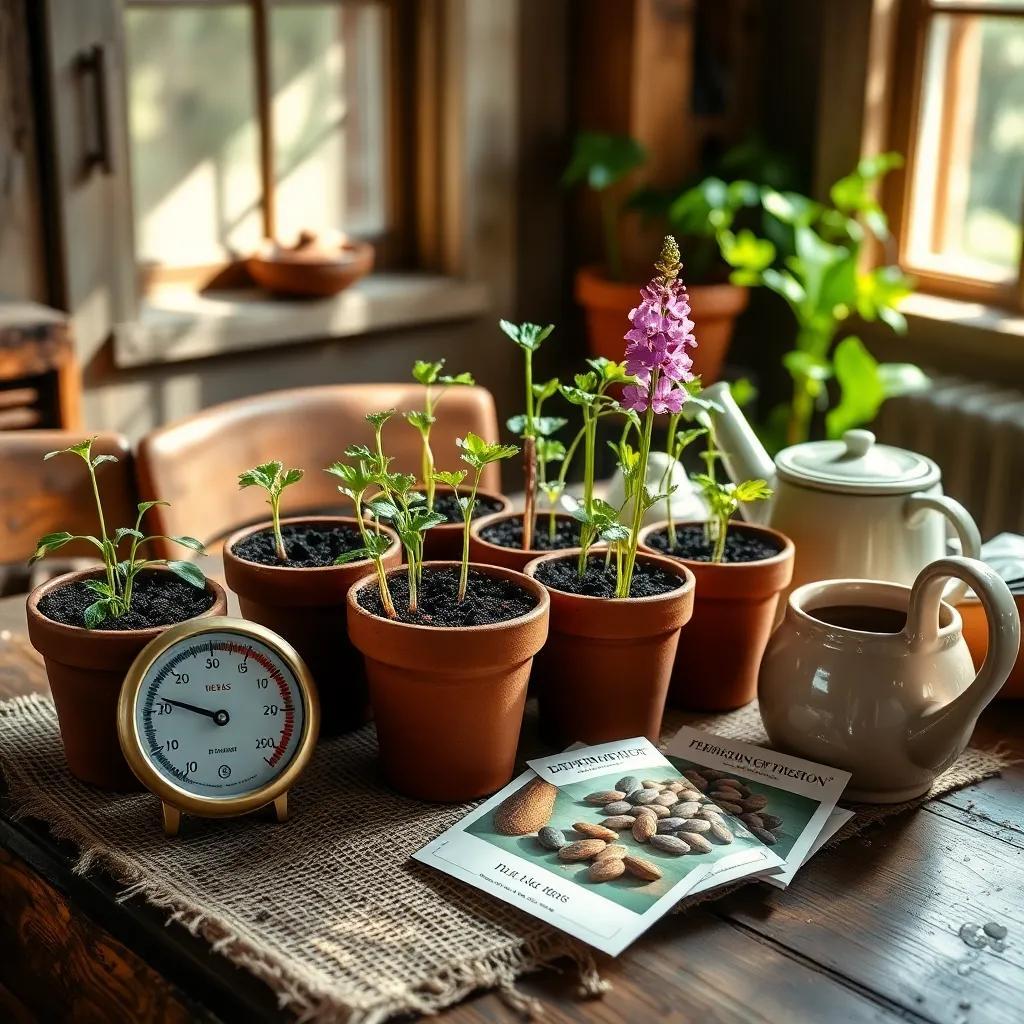
Techniques to Enhance Delphinium Germination
Oh, I love talking about ways to help those little delphinium seeds thrive! If you’re looking to boost your germination rate, there are some exciting techniques you can try. Let’s explore these methods that can work wonders for your gardening journey!
- Stratification: As I mentioned before, delphinium seeds frequently enough have a natural dormancy period. To help wake them up, you can use stratification. This technique involves placing the seeds in a damp paper towel or a mix of vermiculite and water, then putting them in the refrigerator for about two to four weeks. It mimics the cold winter months and gets those seeds ready to sprout!
- Scarification: Some seeds have tough outer coats that prevent them from germinating easily. Scarification is a handy trick where you gently nick the seeds with a knife or rub them with sandpaper. Be careful, though! You don’t want to damage the seed itself. Just a little scratch can make a big difference!
- Pre-soaking: This is a super simple trick! Soaking your delphinium seeds in water for 24-48 hours before planting can help soften the seed coat. This little soak can speed up germination, so don’t skip this fun step! Just be sure to plant them right after soaking to avoid any risks of rot.
- Seedling Trays: I love using seedling trays! They provide a controlled environment for those tiny seeds.Fill the trays with a well-draining germination mix and lightly press your seeds into the surface. keep them in a warm, well-lit spot, and you’ll be rewarded with cheerful seedlings in no time.
- Humidity Domes: Using a humidity dome or clear plastic cover over your seed trays can keep the moisture levels high, creating a mini greenhouse effect. Just don’t forget to check and ventilate them occasionally to prevent mold!
By applying these techniques, you’re creating the perfect conditions for your delphinium seeds to germinate successfully.It’s like giving them a cozy, nurturing environment to thrive in.Happy planting!
Common Challenges and Solutions for Germination
even with the best intentions, sometimes things don’t go as planned. Germinating delphinium seeds can come with its own set of challenges, but don’t worry! I’m here to help you tackle them head-on.
- slow Germination: If your delphinium seeds are taking their sweet time to sprout, it might be due to a few factors. Make sure the temperature is within that cozy 60-65°F (15-18°C) range. Also, check that you’re keeping the soil moist but not soggy. If you’ve stratified them, remember that it can take a bit longer for seeds to germinate!
- Damping Off: This sneaky problem occurs when seedlings look healthy but suddenly wilt and die. It’s usually caused by fungal issues that thrive in overly damp conditions. To prevent damping off, provide good air circulation and avoid overwatering. Using a sterile seed-starting mix can also help keep those fungi at bay.
- Poor Soil Quality: If your seeds aren’t germinating well, the soil might potentially be the culprit. Make sure you’re using a light, well-draining mix rich in organic matter.Avoid compacted soil that can suffocate those tiny roots. If you’re unsure, adding compost can boost soil quality and improve drainage.
- Pests: Watch out for those sneaky pests! Seedlings can attract critters like slugs or aphids. It’s good to keep an eye out and take action when you see them. You can use natural deterrents like diatomaceous earth or homemade garlic spray to keep pests away.
By preparing for these common challenges, you can save yourself a lot of headaches. Remember, gardening is a journey, and every challenge is a chance to learn and improve. With a little patience and care,you’ll be on your way to a beautiful garden full of stunning delphinium flowers!
Best Practices for Transplanting Delphinium seedlings
Once your delphinium seedlings are up and waving hello,it’s time to think about transplanting them into their permanent home. This can be a fun step, but there are a few best practices to keep in mind to ensure your babies thrive in their new digs.
- Timing is Everything: Wait until your seedlings have developed at least two sets of true leaves before transplanting. This shows they’re strong enough to handle the move. It’s like waiting until you’re ready to dive into the deep end of a pool!
- Choose the Right spot: Delphiniums love a good sunny spot! Pick a location in your garden that gets at least 6 to 8 hours of sunlight a day. Make sure the soil is rich and well-draining. If the ground is too compacted, consider amending it with compost or well-rotted manure.
- Prepare the New Site: Before you transplant,loosen the soil in the new spot to help the roots settle in. You can dig a hole that’s about twice the size of the root ball of your seedling. This little extra space gives roots room to grow and spread.
- Gentle Handling: When transplanting, handle the seedlings with care.I usually try to grab them by the leaves, not the stem, to avoid causing damage. If the seedlings are in trays, you can gently push from underneath to release them.
- Water After Transplanting: Give your newly transplanted seedlings a good drink after they’re in their new homes. This helps settle them into the soil and reduces transplant shock. Just be sure not to overwater!
By following these best practices,you’ll set your delphinium seedlings up for success in their new environment. Soon, you’ll see them flourish and bloom, adding beauty to your garden. Happy gardening!