Have you ever tasted a fruit that feels like a little burst of sunshine? ground cherries, with their unique flavor and charming husk, are not only delightful to eat but also super fun to grow! Join me as we explore teh joys of germinating these delicious treats and discover the simple steps to bring them to life in your garden!
Understanding Ground Cherries and Their Benefits
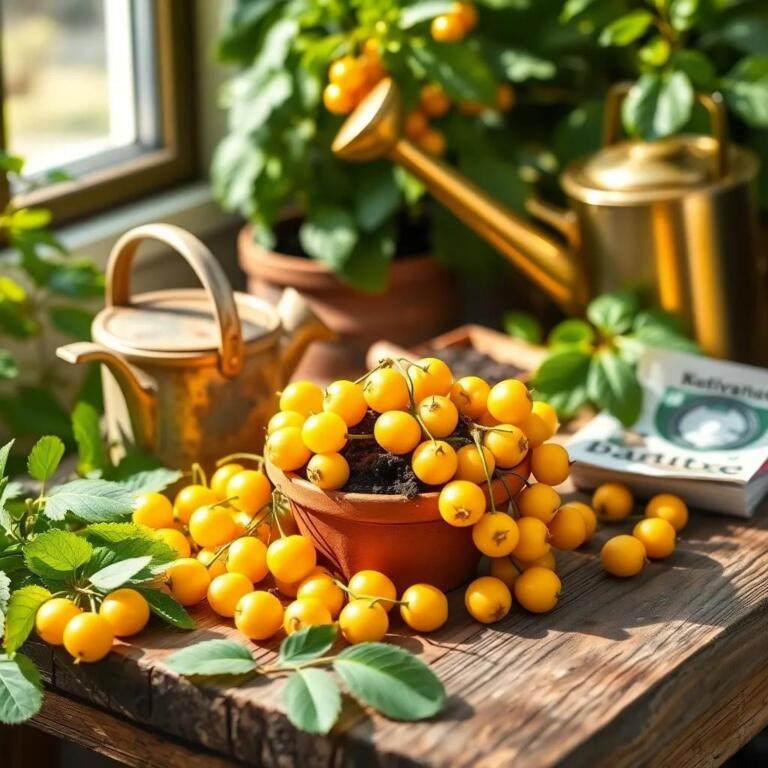
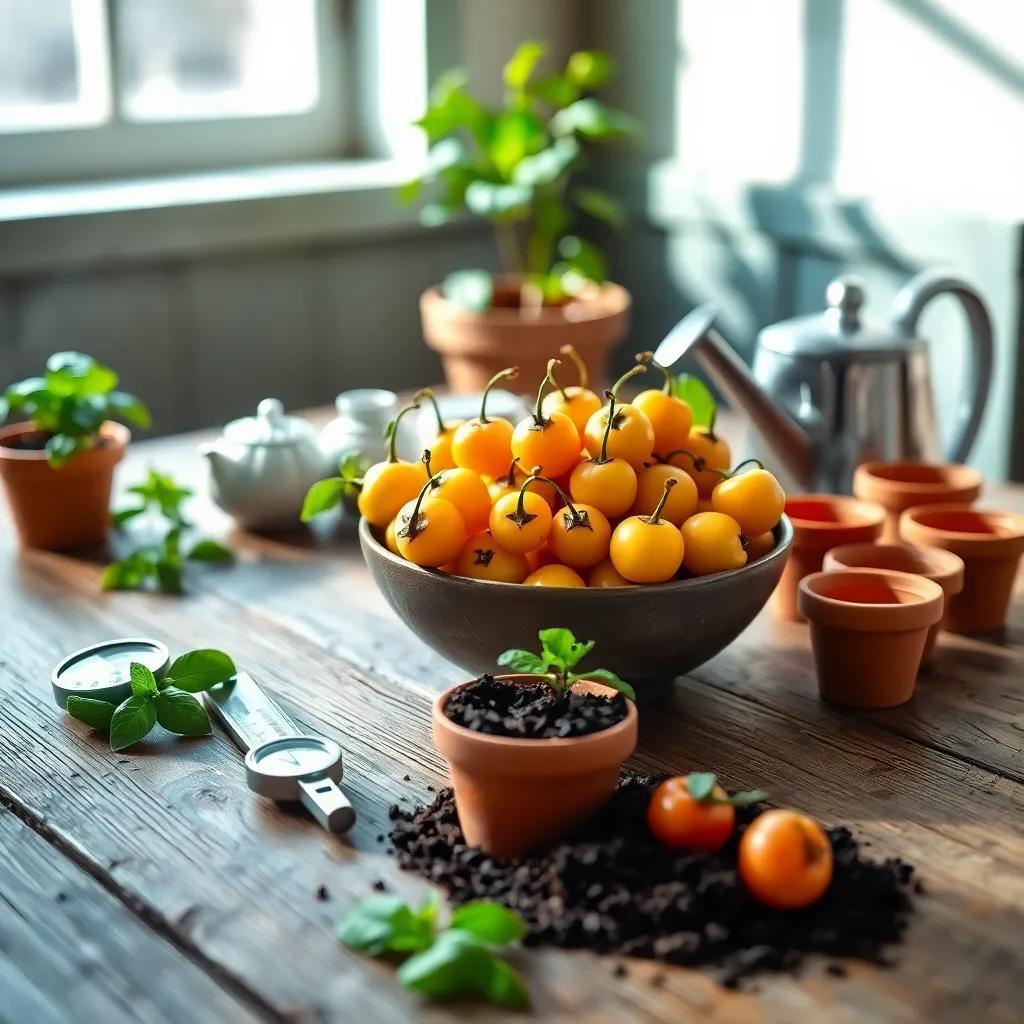
Let me tell you about ground cherries—these little gems are not just engaging; they’re delicious too! Also known as husk cherries or Physalis, ground cherries are small, round fruits that grow inside a delicate papery husk. They may look like cherry tomatoes, but trust me, they pack a unique flavor punch that’s a mix of sweet and tangy. Imagine taking a bite and feeling like you just tasted a little bit of sunshine!
So, why should you consider growing ground cherries? Here are some of their amazing benefits:
- Easy to Grow: These plants are low-maintenance, making them perfect for both new and experienced gardeners.Just plant them, water them, and watch them thrive!
- Nutritional Powerhouse: Ground cherries are rich in vitamins A and C, antioxidants, and fiber. They’re a guilt-free snack you can enjoy straight from the garden.
- Versatile in the Kitchen: Whether you toss them in salads, use them in desserts, or make delicious jams, ground cherries can add a twist to your culinary creations.
- Wildlife Attraction: If you love seeing butterflies and bees buzzing around your garden, ground cherries will surely attract these helpful pollinators. They not only look pretty but help the surroundings too.
- Low Pest Issues: Thanks to their husk, ground cherries have a natural shield against many pests and diseases.Less worry for you means more enjoyment!
adding ground cherries to your garden can be a rewarding experience.They provide great flavors, numerous health benefits, and an intriguing gardening adventure. So, if you’re looking to shake things up in your garden, give ground cherries a try! You won’t regret it!
Factors Influencing Germination Time
Now that we’re excited about ground cherries, let’s talk about what influences their germination time. It’s like a delicate dance between nature and care.When you plant those tiny seeds, several factors come into play to determine how quickly they sprout.Ready to learn more? Here we go!
- Temperature: The temperature of the soil where you plant your seeds is super important. Ground cherries love warmth! Ideally, they thrive between 70-75°F (21-24°C). If it’s too cold, the seeds might just sit there, twiddling their thumbs.
- Moisture: Just like us, ground cherry seeds need water to wake up! Keeping the soil consistently moist (not soggy) helps the seeds absorb water and kick-start the germination process. Think of it as their morning coffee!
- Light: Here’s the twist—ground cherry seeds prefer to germinate in the dark! They don’t need light to start their journey, so you can cover them with a thin layer of soil or vermiculite to keep things cozy.
- seed Quality: Using fresh and high-quality seeds makes a big difference. Old or poorly stored seeds may have lower viability, so choose wisely!
- Seed Treatment: Some gardeners swear by giving seeds a little TLC before planting. You might hear about scarification, which is just a fancy term for slightly nicking the seed to help it absorb water better. this can definitely help speed things up a bit!
Understanding these factors will help you create a welcoming environment for your ground cherry seeds. So as you garden, keep an eye on these elements.With the right conditions, you’ll be on your way to enjoying the sweet rewards of your ground cherries in no time!
Creating Optimal Germination Conditions
Alright, now that we’re into the fun part—creating the best germination conditions for our ground cherries! This part is kind of like preparing a cozy little room for your seeds to grow up in. You want to make their environment just right so they can sprout happily and healthily. Here’s how to do it:
- Temperature: Keep it warm and toasty! Ground cherries love temperatures between 70-75°F (21-24°C). You can use a heat mat or place your pots in a sunny spot to maintain this cozy warmth. Just remember, if it gets too hot, those little seeds might get cranky!
- Moisture: The soil should be like a well-wrung sponge—moist but not soggy. Overwatering can drown the seeds while too dry can leave them thirsty.Use a spray bottle or a gentle watering can to keep the soil just right.
- Light: Ground cherry seeds actually prefer the dark, which is kind of quirky! so, cover them lightly with soil to keep things cozy and dark. Once they start to sprout, then you can expose them to light gradually.
- Soil: Use a well-draining potting mix.A mix rich in organic matter is wonderful as it gives your seeds the nutrients they need to grow strong. avoid heavy soils that can hold too much water—nobody wants soggy seeds!
- Air Circulation: Good air flow is critically important. It helps prevent fungal diseases that can ruin your seedlings.If you can, place your pots where they can get a gentle breeze.
By setting up these optimal conditions, you’re creating a little haven for your ground cherries. Soon enough, you’ll be rewarded with lovely little sprouts peeking through the soil!
Step-by-step Guide to Germinating Ground Cherries
Alright, friends! Let’s jump into the step-by-step guide for germinating those adorable ground cherries. Don’t worry; it’s easier than it sounds, and I’ll walk you through it like we’re baking a cake together!
Step 1: Gather Your Supplies
You’ll need:
- High-quality ground cherry seeds
- Seed trays or small pots
- well-draining potting mix
- watering can or spray bottle
- Plastic covers or plastic wrap to create a warm, dark environment
Step 2: Prepare the Containers
Start by filling your seed trays or pots with the potting mix. Leave about a quarter-inch of space at the top. Make sure to smooth the soil surface so it’s nice and even.
step 3: Sow the Seeds
Now it’s time for the fun part—sowing the seeds! Place your ground cherry seeds on the surface of the soil, about 1 inch apart. Lightly press them into the soil.You don’t want to bury them too deep; just a gentle push will do!
Step 4: Watering
Next, moisten the soil with the spray bottle or watering can. Just a light misting will help keep the soil moist without drowning those little seeds.
Step 5: Cover Up
Cover the seed trays with plastic covers or wrap to keep things dark and warm. This helps create a cozy environment, just like a seed spa!
Step 6: Provide Heat
Place the trays in a warm location or on a heat mat. Aim for that 70-75°F temperature range. Your seeds will love it!
step 7: Monitor Growth
Check your seeds regularly. Keep the soil moist and adjust the heat as needed. Once the little seedlings start to pop up, remove the covers to let them get some light.
Step 8: Transplanting
Once your seedlings have a few sets of true leaves, it’s time to transplant them into larger pots or directly into your garden. Just make sure to gradually expose them to outdoor conditions to help them adjust.
And there you go! By following these steps, you’ll be well on your way to growing gorgeous, juicy ground cherries in no time.happy gardening!
Common Germination Issues and Troubleshooting Tips
Now that we’ve planted our ground cherries and are waiting for that lovely green to pop up, let’s not forget that sometimes things can go a bit sideways.It’s perfectly normal! Here are some common germination issues you might encounter along the way, along with some handy troubleshooting tips.
Slow or Uneven Germination
If you notice that some seeds are taking their sweet time to sprout, don’t worry! This can happen due to inconsistent temperatures or moisture levels. Here’s what you can do:
- Adjust the Temperature: Make sure you’re keeping that cozy 70-75°F range.You might need to move the trays or adjust the heat mat.
- Check Moisture: Ensure the soil is consistently moist but not soggy. If you’ve been a bit heavy-handed with the watering can, let that soil dry out slightly before watering again.
No Germination
If after the recommended time your seeds haven’t made an appearance, it might be time to investigate:
- Seed Quality: Check if your seeds are fresh. Old seeds may have lower viability, so try to use freshly packed seeds for better results.
- Storage Conditions: Make sure you’re storing seeds in a cool, dry place. High humidity or heat can compromise them.
Damping-Off
ah, the dreaded damping-off! This fungal disease can cause seedlings to wilt and die if the soil is too wet. To combat this, try to:
- Water Smartly: Allow the top layer of soil to dry out a bit between waterings. this helps prevent fungus from taking hold.
- Ensure Airflow: Good airflow is key! Provide enough space between seedlings to let air circulate and reduce the risk of damping-off.
Leggy Seedlings
If your seedlings look tall and spindly, they might be stretching for light. Here’s how to help them:
- Increase Light Exposure: Move your trays to a brighter spot or consider using grow lights if natural light is limited.
- Remove Covers: Once the seedlings appear, remember to take off any plastic coverings to allow more light to reach them.
Seedling Diseases
Diseases can sneak in when conditions are right. To protect your seedlings:
- Use Sterile Soil: Always start with clean, sterile potting mix to minimize disease risk.
- Monitor Watering Practices: Be careful not to overwater, as this can lead to root rot and other issues.
With these troubleshooting tips in hand, you’re ready to tackle any issues that come your way. Remember, gardening can be unpredictable, but with patience and care, you’ll soon be enjoying a bountiful harvest of ground cherries! Happy planting!