Are you ready too transform your garden into a stunning display of morning glories? These vibrant flowers are not only stunning, but they also bring a sense of joy and warmth to any space. Join me as we explore how to grow and nurture these lovely plants from seeds, ensuring a breathtaking show in your garden!
Factors Influencing Morning Glory Seed Germination Time
When it comes to getting those vibrant morning glory seeds to sprout, there are several factors that can really make or break your success. Understanding these factors is like having a secret map for your gardening adventure! Let’s dig into the main ones:
1. Seed Quality
The quality of the seeds you choose matters a lot. Fresh, viable seeds will sprout faster and bloom beautifully. So,when you’re picking seeds,go for those from reputable sources. You wouldn’t buy old bread, right? The same logic applies!
2. Seed Age
Did you know that seeds can age like fine wine? well, sort of! Fresh seeds tend to germinate better than older ones. Ideally, use seeds that are no more than one or two years old. the older they get, the more their chances of sprouting drop. So, check that date!
3. Seed Dormancy
Morning glory seeds can be a bit shy. They sometimes need a little nudge to wake up from dormancy. This means they resist germination until conditions are just right. Scarification methods, like gently scratching the seed coat or soaking the seeds, can help break this dormancy and speed things up. Think of it as giving them a little pep talk!
4. Temperature
Temperature plays a significant role in germination. Morning glories love it warm, preferring soil temperatures between 65°F to 75°F (18°C to 24°C). if it’s too cold, they might just refuse to sprout. Make sure to plant them when the weather is just right!
5. Moisture
Don’t forget about moisture! These seeds need a good drink to get started. While keeping the soil consistently moist is key, too much water can lead to rot. Think of it as finding a balance between staying hydrated and not drowning!
By keeping these factors in mind, you can set yourself up for success in your gardening journey.
Effective Seed Preparation Techniques for Morning glory
Getting your morning glory seeds ready for planting is an exciting step! Think of it as prepping for a fun party where you want all your guests to feel welcome. Here are some effective techniques to help those seeds get sprouting:
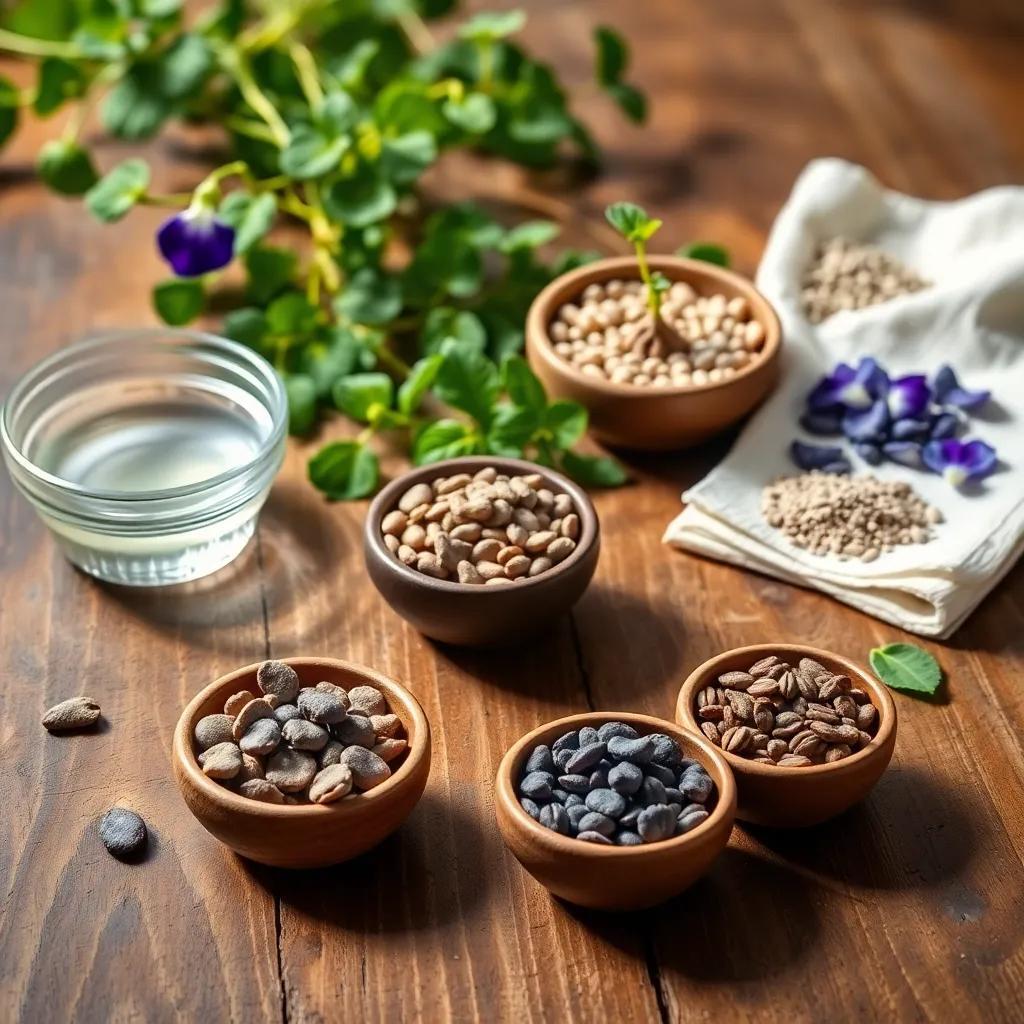
1. soaking Seeds
Let’s kick things off with soaking. This is one of the easiest ways to prepare your seeds. Just pop your seeds in a container, cover them with warm water, and let them soak for 24 hours. It softens those tough seed coats, so they can sprout faster. When you’re done soaking, drain the seeds and plant them. Easy peasy!
2. Stratification
Next up is stratification. this fancy word means simulating winter conditions. To do this, you’ll need a damp paper towel or a sealable bag with some moist substrate, like vermiculite or peat moss. Place the seeds in there and pop the bag in the fridge for 1 to 2 weeks. After that, they’re all set to be planted!
3. Scarification
If you notice your seeds have hard outer coats, they may need a little extra help through scarification. Use sandpaper, a nail file, or even a sharp knife to gently scratch the surface of the seeds.This technique allows water to penetrate, which can speed up germination.
4. Pre-sprouting
For the overachievers among us, there’s pre-sprouting. Lay your seeds between moist paper towels or in a seed tray with a damp medium. Keep them in a warm, sunny spot until they sprout. once you see those little roots, carefully transfer them to their planting location. it’s like giving them a head start!
5. Seed Priming
Lastly, consider seed priming. This involves giving your seeds a little hydration to kickstart the germination process but stopping short of full sprouting. It’s kind of like giving them a gentle wake-up call.
By applying these preparation techniques, you can help your morning glory seeds go from “sleeping beauties” to “blooming beauties” in no time! Happy planting!
Creating Ideal Growing Conditions for Morning Glory Seeds
Now that you’ve prepared your seeds, it’s time to set them up for success in their new home! Just like we all need a comfy couch and good snacks to feel cozy, morning glories thrive in the right growing conditions. Here are some key elements you need to consider to help your seeds flourish:
1. Sunlight
Morning glories are like those friends who are all about good vibes and sunshine! They love full sunlight and need at least 6 to 8 hours of direct sunlight each day. Find a luminous spot in your garden that gets plenty of sun. Trust me, these flowers will reward you with stunning blooms!
2. Soil
The right soil is essential for healthy growth. Morning glories prefer well-draining soil that’s rich in organic matter.A good pH level for this plant is between 6.0 and 7.5, meaning it’s slightly acidic to neutral.I always like to mix in some compost before planting to give the soil a nutrient boost. It’s like adding sprinkles to your favorite dessert!
3. Watering
Watering can be a tricky balance. Morning glories need the soil to be consistently moist, but not soaking wet. overwatering can lead to root rot, which is a no-no for these beauties. A good rule of thumb is to water deeply when the top inch of soil feels dry. During dry spells, you might find yourself giving them a little extra love.
4. Temperature
These plants thrive in warm weather. They prefer daytime temperatures ranging from 70°F to 85°F (21°C to 29°C). Nighttime shouldn’t be too cold either, ideally staying between 60°F and 70°F (15°C to 21°C). If you live in a place with cooler temperatures,wait until after the last frost to plant them!
5. Air Circulation
remember that morning glories like their space! Good air circulation helps prevent diseases. Don’t crowd them together; give them room to breathe. This also helps them grow healthy and strong.
By creating the right surroundings for your morning glory seeds, you’ll be on your way to enjoying their beautiful blooms in no time!
Common Mistakes when Growing morning Glory from Seeds
Just like any gardening venture, there are a few bumps along the way when growing morning glories. Let’s chat about some common mistakes that can mess with your success. Avoiding these pitfalls will keep your plants happy and thriving!
1. Overwatering
I get it—everyone wants to give their plants a good drink,but too much can be detrimental! Overwatering can lead to soggy soil and root rot. Instead, check the soil regularly. If the top inch is dry, then it’s time to water. Think of it as giving your plants a refreshing shower, not a swimming pool party!
2. Planting Too Deep
Planting morning glory seeds too deep can delay or prevent germination.These seeds should be sown at the recommended depth—usually just below the surface.Ensure the soil lightly covers the seeds without compacting it too much. It’s like tucking them in for a cozy nap!
3. Lack of Support
Remember, morning glories are climbers! not providing support, such as trellises or stakes, can lead to tangled vines and unhappy plants. Make sure to set up support before planting, so your morning glories can stretch and reach for the sky. They will thank you for it!
4. Insufficient Light
If your morning glories don’t get enough sunshine, they’ll become leggy and weak.Choose a location that receives plenty of direct sunlight. If they’re feeling shady, they might just pout and underperform in the blooming department!
5. Using Old Seeds
Old seeds can be a bummer. They might not germinate at all! Always opt for fresh, high-quality seeds, ideally within one to two years of purchase. Fresh seeds are like the best ingredients for a tasty recipe, ensuring you get the most vibrant blooms.
By avoiding these common mistakes, you can set your morning glory seeds up for success, leading to a garden filled with stunning flowers that brighten your day!
Troubleshooting Morning Glory Seed Germination issues
Sometimes, despite our best efforts, things don’t go as planned with seed germination. Don’t worry! we all face a few hiccups in our gardening adventures. Here’s how to troubleshoot some common issues you may encounter with morning glory seed germination:
1. poor Germination Rate
if you notice that very few seeds are sprouting, it might be time to investigate. Check the quality of the seeds. Old or low-quality seeds are less likely to germinate.Store seeds properly in a cool, dry place before planting, and always aim for fresh seeds. If germination rates remain low, you could try soaking or scarifying the seeds for better results.
2. Dormancy Issues
Sometimes, morning glory seeds can be stubborn and show signs of dormancy. If they seem to be taking forever to sprout, consider using scarification techniques. Lightly sanding the seed coat or nicking it can definitely help break dormancy,allowing water to penetrate.It’s like giving them a little wake-up call!
3. Fungal Diseases
If you see mold or mildew, it might be a sign of too much moisture or poor air circulation. Ensure your seeds are spaced out properly for airflow, and avoid overwatering. Picking a well-draining potting mix can also help combat this problem.
4. Pests
Watch out for pesky critters! Slugs, snails, or birds might be attracted to your seeds. Using barriers like netting or cloches can definitely help keep them away. I also find that handpicking pests works wonders—just be careful not to disturb the seedlings too much.
5. Temperature Fluctuations
If temperatures drop too low or spike too high, germination may be hindered. monitor your planting area closely, and take steps to protect your seeds from extreme weather conditions.Using row covers or moving pots to a more sheltered spot can help maintain a stable environment for your seeds.With a little patience and attention, you can troubleshoot any issues that pop up, helping your morning glory seeds to thrive and bloom beautifully.Happy gardening!