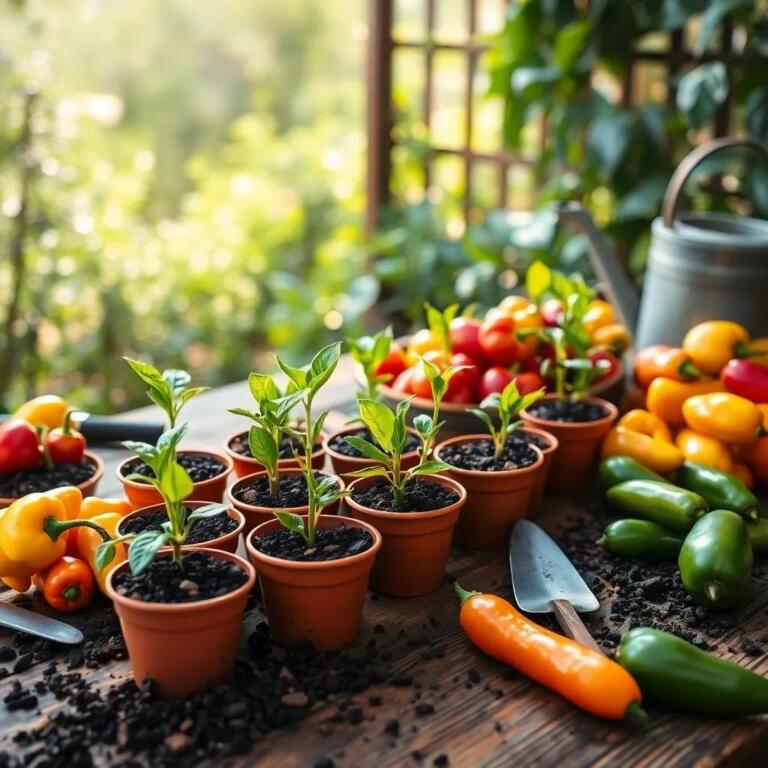
Are you ready to transform your gardening game? Cold stratification might sound fancy, but it’s a secret weapon that can help your lavender seeds thrive! Join me as we explore the simple steps to give those seeds the perfect head start for a blooming garden.
Understanding Cold Stratification for Lavender Seeds
So, what is cold stratification? Imagine your lavender seeds enjoying a little winter vacation! This process mimics the chilly conditions seeds naturally experience before they sprout in spring. It’s like telling your seeds, “Hey, hang tight! It’s time to wake up soon!” Cold stratification helps seeds break dormancy, wich is just a fancy way of saying that seeds need a little nudge to start growing.
Why do lavender seeds need this special treatment? Well, these seeds come from plants that thrive in regions with cold winters. When they fall to the ground, they need to experience some cold weather before they can sprout. This natural chill helps them soften their hard outer shell and get ready for the warmth of spring. Without this cold treatment, many lavender seeds won’t germinate, or they might take a lot longer than expected.
Here’s how cold stratification works:
- Exposure to Cold: Seeds are typically placed in a cold, moist habitat for a period of time. this could be your fridge, where they can chill out (literally!) for a few weeks.
- Moisture: Along with the cold, seeds also need to be moist. This moisture is what helps them soften up and prepares them for growth when warmer weather arrives.
- Timing is Key: The duration for cold stratification usually ranges from 2 to 12 weeks, depending on the seed type.
So, next time you think about planting lavender, remember that a little cold can go a long way in helping your seeds thrive!
Importance of Cold Stratification in Lavender Seed Germination
Cold stratification isn’t just a fancy term; it’s a game changer for your lavender seeds! Why? Because it dramatically improves their germination rates. Here’s the scoop:
- Breaking Dormancy: As mentioned earlier, cold stratification helps seeds break their dormancy. it’s like flipping a switch that tells the seeds it’s time to grow. Without this step, many seeds might just sit there, doing absolutely nothing.
- Softening the Seed Coat: The seeds of lavender have tough outer layers. Cold temperatures help to soften these coats,allowing water and air to penetrate. Think of it as helping your seeds take off a tight jacket before running a race!
- Chemical Changes: During cold stratification, important biochemical changes occur. The seed’s hormones start to shift, which promotes the growth of roots and shoots when the seeds are finally planted.
- Synchronized Germination: When seeds get the cold treatment, they tend to germinate at the same time. This means you’ll have a more uniform crop of lavender plants sprouting up together. What a beatiful sight to see!
- Healthier Plants: By ensuring that seeds germinate properly, you ultimately get healthier plants. Strong seedlings mean they’re more likely to thrive once transplanted into the garden.
So, cold stratification isn’t just a helpful step; it’s essential for setting up your lavender seeds for success! think of it as the ultimate growth booster, ensuring that when spring comes, your seeds are ready to shine! 🌱💜
Steps to Successfully Cold Stratify Lavender Seeds
Getting ready to cold stratify your lavender seeds? Awesome! It’s a simple process that can make a big difference in your garden. Here’s how to do it step by step:
- Gather Your Materials:
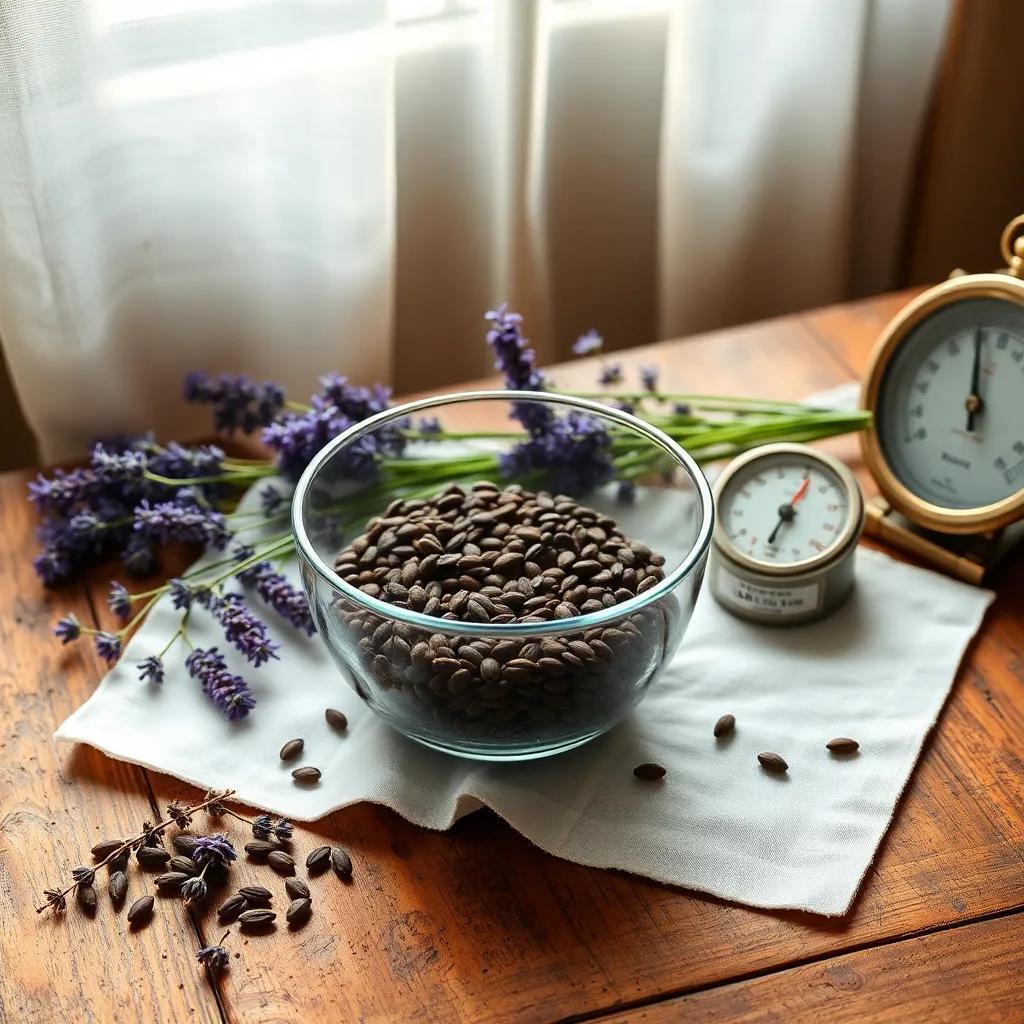
– Start by collecting your lavender seeds. Fresh,high-quality seeds are the best choice!
– you’ll need a container with a lid,like a plastic bag or an airtight container.
- Obtain a moist substrate like vermiculite or peat moss. This will provide the necessary moisture for your seeds.
- Prepare the Substrate:
- Moisten the vermiculite or peat moss. It should feel damp, but not soaking wet. Squeeze out any excess water.Think of it as prepping a sponge!
- Add Seeds to the Substrate:
– Spread the moist substrate evenly in the bottom of your container.- Place the lavender seeds on top, giving them enough space between each other. Gently press them in,but don’t bury them too deep; they still need some air!
- Seal and label:
– Cover the container securely with its lid or plastic wrap. Don’t forget to label it with the date and the lavender variety. This will help you keep track!
- Refrigerate:
– Place the sealed container in the refrigerator. Aim for a middle shelf where temperatures are steady. Avoid the freezer; we want cool, not ice-cold seeds!
- monitor Moisture:
– Check on your seeds every week or so. Make sure the substrate stays moist but not soggy. If it feels dry,mist it lightly.
- Duration:
– Generally, you should keep the seeds cold for about 4 to 6 weeks.After that,they will be ready to plant!
By following these steps,you’ll set your lavender seeds up for success! It’s that simple. Now, let’s talk about some common mistakes to avoid so you can have the best experience possible.
Common mistakes to Avoid During Cold Stratification
When it comes to cold stratification, even small mistakes can impact your lavender seeds’ chances of success. Here are some common pitfalls and how to avoid them:
- Using Old or Poor Quality Seeds:
– Fresh seeds are crucial. If you use old seeds, they might not germinate well. Always check that your seeds are plump and vibrant!
- Ignoring Moisture Levels:
– Finding the right balance is key. If your substrate is too dry, the seeds won’t sprout. If it’s too wet, you risk mold or rot. Aim for that sweet spot of moist, not soggy!
- Not Labeling Your Containers:
– Forgetting to label can lead to confusion down the line. Make sure to write down the date and seed variety so you know how long they’ve been stratifying.
- Overexposing to Cold:
– Leaving seeds in the fridge too long can harm their viability. Stick to recommended durations (generally 4 to 6 weeks) to keep seeds happy and healthy!
- Skipping the Check-Ups:
– Regularly check on your seeds! If they’re drying out or becoming too wet, adjust as needed. You wouldn’t ignore a plant while it’s growing, right?
- forgetting About Temperature Fluctuations:
– Keep the seeds away from items in the fridge that produce heat (like fruits and veggies). Maintaining a consistent cool temperature is critically important for effective stratification.
By avoiding these common mistakes, you’ll be well on your way to successfully cold stratifying your lavender seeds. Remember, gardening is as much about the journey as it is about the destination, so stay patient and enjoy the process! Now, let’s look at the signs that show your cold stratification was a success!
Signs of Successful Cold Stratification for Lavender Seeds
So, you’ve followed all the steps for cold stratification and patiently waited—great job! Now, how do you know if it worked? Here are the signs that your lavender seeds are ready to sprout:
- Seed Swelling:
– As seeds absorb moisture, they’ll start to swell up. If you notice your seeds getting a bit bigger,that’s a fantastic sign!
- Uniformity of Seedlings:
– After you plant your seeds,look for a batch of seedlings sprouting at similar times. This synchronization means your cold stratification did its job!
- Root Emergence:
– The first visible sign of growth will be tiny white roots pushing out of the seeds. This indicates they’re eager to grow!
- Visible shoot advancement:
– Once those roots are out, you’ll start seeing green shoots. This is an exciting moment! If you see them popping up, your seeds are ready to thrive.
- Overall Seedling Health:
- Healthy seedlings will have vibrant colors and sturdy growth. If they look strong and happy, you can feel confident your cold stratification was successful.
Remember, patience is key! Not every seed will sprout simultaneously occurring, so don’t be discouraged if some take longer. Keep an eye on them, and before you know it, you’ll have beautiful lavender plants ready to brighten up your garden! 🌱💜