Have you ever wanted to grow your own fresh basil right at home? It’s easier than you might think, and trust me, there’s nothing quite like snipping off a few leaves to add to your favorite dish! Let’s dive into the exciting world of basil gardening—where you can transform your cooking with just a handful of seeds and a little sunshine!
Choosing the Right Basil Seeds for Your Garden
When it comes to starting your basil adventure, choosing the right seeds is the first step. With so many varieties available, it can be a little overwhelming! But don’t worry; I’m here to help you navigate this exciting process.
Popular Basil Varieties
Here are a few common types of basil that are fantastic for beginners and seasoned gardeners alike:
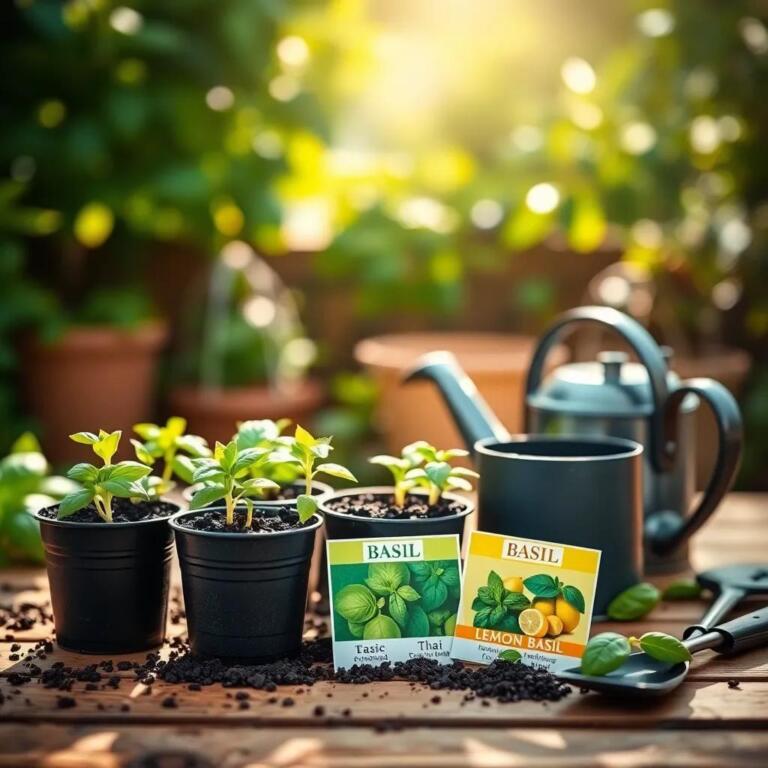
- Genovese Basil: This is the classic variety you often see in Italian dishes. It has a robust flavor that shines in pesto and pasta sauces.
- Sweet Basil: Similar to Genovese but with a slightly milder taste. perfect for salads and garnishing!
- Thai Basil: if you’re a fan of Asian cuisine, this one’s for you! It has a spicy kick and hints of anise that add a unique twist to your dishes.
- Lemon Basil: As the name suggests, this variety has a refreshing lemony flavor. It’s amazing in teas or as a garnish for fish dishes!
When selecting seeds, look for high-quality sources. Check local nurseries or order online from reputable suppliers. high-quality seeds mean a higher chance of triumphant growth, and who doesn’t want healthy, vibrant plants?
Personal Preferences matter
Think about what you love to cook. Do you enjoy Italian food or Southeast Asian flavors? picking a type of basil that complements your cooking will make the experience more rewarding. I mean, who doesn’t love adding fresh ingredients to their meals?
Lastly, always check the seed packet. It often includes helpful details, such as the recommended growing conditions and germination tips. This little piece of advice can save you a lot of headaches!
Preparing the Ideal Growing Surroundings for Basil
Now that you’ve picked your basil seeds, it’s time to set up the perfect growing environment. Basil loves warmth and sunshine, so we need to create conditions that mimic its natural habitat.
Find the Right Spot
start by selecting a location that receives plenty of direct sunlight.Aim for at least six to eight hours of sun every day. Dose your garden have a sunny nook? Or maybe a south-facing balcony that’s begging for plants? Go for it!
Soil Matters
Next up is the soil. Basil thrives in well-draining soil that’s rich in organic matter. Here’s a fast recipe to create the ideal soil mix:
- 1 part garden soil
- 1 part compost (homemade or store-bought)
- 1 part perlite or sand (for drainage)
Mix these together until you have a fluffy blend that looks like it could host a garden party!
Check the pH
Don’t forget to check the pH level of your soil. Basil prefers a slightly acidic range of 6.0 to 7.5. if it’s not ideal, you can add lime to raise the pH or sulfur to lower it.
Indoor vs. Outdoor Growing
If you live in a cooler climate, starting your seeds indoors can give you a head start. Just place your seeds in containers and put them by a sunny window.You can also use grow lights if natural light isn’t enough.
With the right sunlight, soil, and temperature, your basil will be on its way to thriving in no time! I can’t wait to see those little green plants sprouting up! 🪴✨
Tips for Successfully Planting and Watering basil Seeds
Alright, so you’ve picked your basil seeds and prepared a cozy home for them. Now it’s time to get those seeds in the soil and start the magic! Planting basil seeds might seem straightforward, but there are a few nifty tips that can make the process easier and more successful.
Planting Basics
When you’re ready to plant, start with clean containers.If you’re using pots, make sure they have drainage holes. Nobody wants their basil sitting in soggy soil—it’s a recipe for disaster! Fill your pots with the prepared soil mix we talked about earlier.
- Sprinkle the seeds on top of the soil.
- Aim for about 6 inches apart if you’re using a larger container.
- Cover them gently with about ¼ inch of soil.
Once your seeds are snug, press down lightly on the soil to give them good contact. This helps them germinate better.
Water Wisely
Now it’s time for a drink! Water your newly planted seeds gently. I like using a watering can with a fine spout to avoid washing the seeds away.Keep the soil consistently moist but not soaked.
- Check the soil every couple of days. If it feels dry an inch down, it’s time to water again.
- Avoid overwatering! Too much moisture can lead to seed rot and nobody wants that.
Germination Time
Basil seeds usually take about 7 to 14 days to germinate. During this time, it’s vital to keep the soil warm and moist. If you want to speed things along, you can cover the pots with plastic wrap to create a mini greenhouse effect. Just remember to take off the wrap once you see those cute little sprouts!
With a little patience and care,you’ll soon be on your way to growing delicious basil that you can use in your favorite dishes.
Providing Adequate Light for Healthy Basil Growth
Now that your basil seeds are sprouting, let’s talk about light! Basil is a sun-loving herb, and providing it with the right amount of light is key to healthy growth.
Sunlight Essentials
Basil plants thrive best in direct sunlight.Aim for at least 6 to 8 hours of luminous light daily. If you’re growing your basil outside,pick a sunny spot in your garden or on your balcony. Just make sure there are no shady trees blocking the sun!
for indoor basil, it’s a bit different. Find a south-facing window where they can soak up all that sunshine. If natural light is limited, don’t fret! You can use grow lights. Position them about 6 to 12 inches above your plants and keep them on for around 12 to 16 hours a day.
Signs Your Basil Needs More Light
Keep an eye on your basil plants. If they start to look pale or stretch towards the light, this is a sign they’re not getting enough sun. You might find them leaning awkwardly; it’s almost like they’re doing a little dance towards the light!
- To fix this, try moving them closer to the light source.
- You might also want to rotate your pots every week. This way, all sides of the plant get equal sunshine, and it encourages even growth.
Final Thoughts on Light
Light is a huge factor in growing healthy basil. With the right amount of sunlight or artificial light, your plants will flourish, producing those vibrant green leaves we all love. Just imagine the dishes you can whip up with your homegrown basil! Happy growing!
Harvesting and Storing Your Freshly Grown Basil
After all that hard work, it’s time for the best part—harvesting your basil! This is when your gardening journey pays off, and the flavors of your dishes will make you smile. Here’s how to do it right!
When to Harvest
You can start picking leaves from your basil once the plant reaches about 6 to 8 inches tall and has enough leaves to spare. The best time to harvest is in the morning.The leaves are at their freshest and most aromatic right after the dew dries!
How to Harvest
Here’s the scoop on harvesting your basil:
- Use clean scissors or garden shears. This helps keep your plant healthy.
- Cut the stems just above a pair of leaves or where a leaf joins the stem. This encourages more growth!
- Don’t take more than one-third of the plant at a time. leave enough leaves for the plant to keep growing strong.
Storing Your Basil
Once you’ve harvested your basil, you want to enjoy it fresh. Here are a few tips for storing it:
- Refrigerator Storage: Wash the leaves gently, pat them dry, and place them in a damp paper towel. Store them in a plastic bag in the fridge. They can last about a week this way.
- Freezing: For longer storage, consider freezing your basil. Lay the leaves flat on a baking sheet and freeze them for a few hours. Then transfer them to a freezer bag. You can also make basil ice cubes by blending the leaves with a bit of olive oil and freezing them in an ice tray. How cool is that?
With these tips, you’ll not only enjoy your basil in countless recipes but also have a fun garden experience that you can share with friends and family. Happy harvesting!