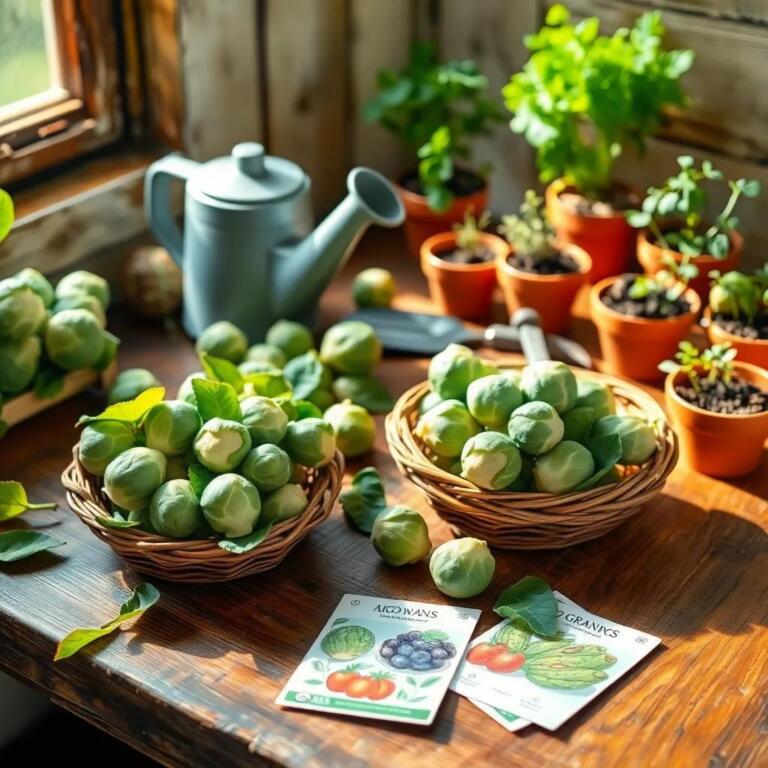
Have you ever thought about growing your own appetizing brussel sprouts? Imagine plucking those fresh, green gems right from your garden and adding them to your dinner plate! In this article, I’ll share everything you need to know—from planting seeds to harvesting, so you can enjoy the satisfaction of homegrown goodness!
Benefits of Growing Brussel Sprouts from Seed
Growing brussel sprouts from seed has some pretty awesome perks! Why should you consider starting with seeds rather of buying young plants? here are a few benefits that might just make you want to get your gardening gloves on:
1. Cost-Effective
Let’s face it: buying seeds is often a lot cheaper than purchasing full-grown plants. A small packet of seeds can contain many seeds, which means you’re getting more bang for your buck! Plus, you can grow multiple plants without breaking the bank. Who doesn’t love saving money while gardening?
2. Variety and Adventure
When you grow from seed, you can choose from a wider range of brussel sprout varieties. Want to try some unique colors or flavors? You can! From sweet to nutty, ther’s a variety for every palate. This is a fun way to experiment and discover which ones you like best!
3. Control Over Growth
Growing your own seedlings gives you complete control over how thay are nurtured. You know exactly what goes into your soil and can avoid harmful pesticides. It’s all about creating a healthy environment for your plants, and that’s something to feel good about!
4. Robust Roots
Did you know that seeds can develop a stronger root system compared to store-bought transplants? This means your plants can absorb nutrients more effectively. Strong roots lead to healthier plants, and healthier plants give you a bountiful harvest!
5. Satisfaction and Learning
There’s something incredibly fulfilling about planting a tiny seed and watching it grow into a delicious vegetable. This process teaches you so much about gardening and patience. Plus, it allows you to connect with nature in a deeper way.
So, if you’re ready to dig into some gardening fun, growing brussel sprouts from seed offers not just delicious veggies, but also a rewarding experience!
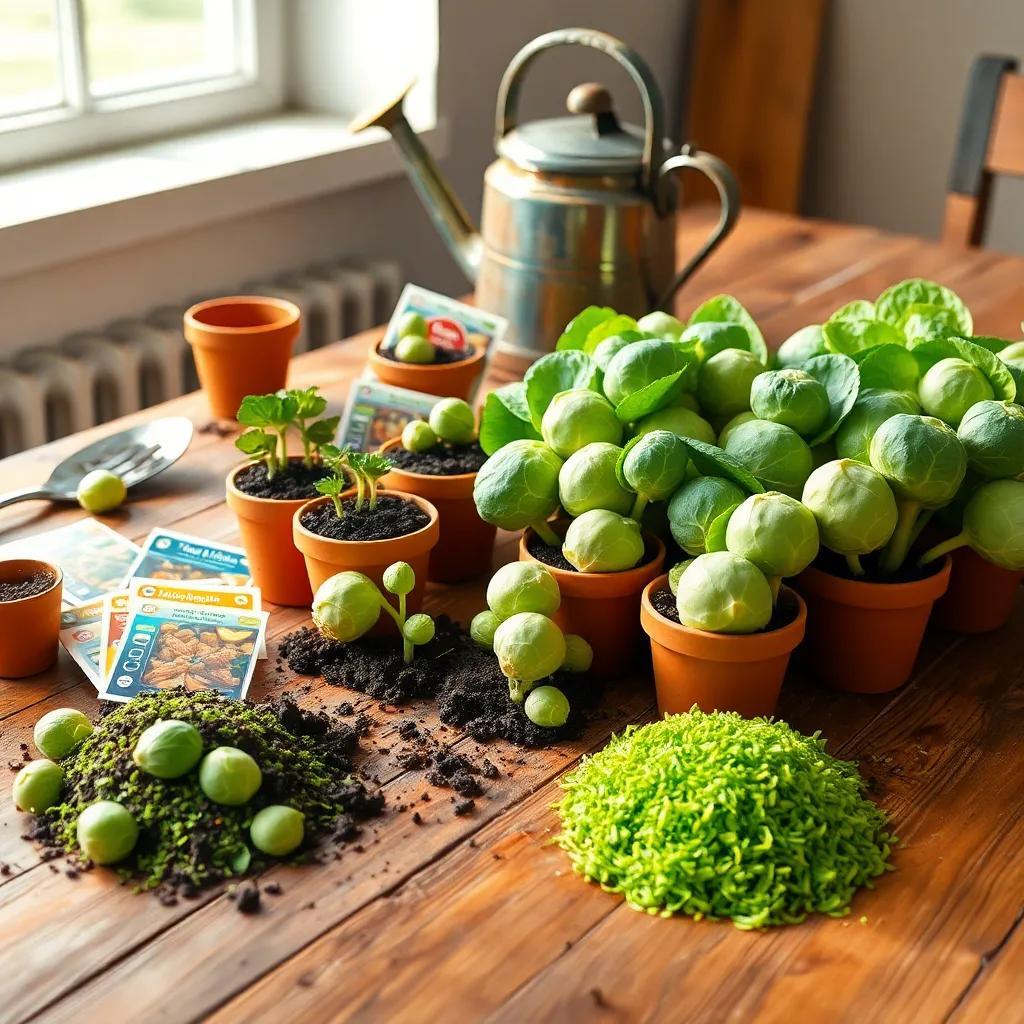
planting Brussel Sprout Seeds: A Step-by-Step Guide
Alright, friend, let’s get those brussel sprout seeds in the ground! here’s a simple step-by-step guide to help you plant your seeds like a pro:
Step 1: Choose the Right Time
Timing is everything! Start your seeds indoors about 6 to 8 weeks before the last frost date in your area. this gives them a great head start and ensures they’re ready for the outdoors.
Step 2: Prep the Soil
Brussel sprouts love rich, well-draining soil. Before planting, make sure to:
- Loosen the soil and remove any weeds or old plants.
- Mix in some organic matter like compost. This helps your sprouts grow big and happy!
Step 3: Sow the Seeds
fill seed trays or small containers with seed-starting mix. Here’s how to plant:
- Moisten the mix lightly before planting (but don’t drown it!).
- Sow 1 or 2 seeds per cell, about 1/4 inch deep. gently cover them with soil and mist with water.
Step 4: Create ideal Conditions
Place your trays in a warm spot with indirect sunlight. Keep the temperature around 65-75°F (18-24°C) to help those seeds germinate. Make sure the soil stays moist, like a damp sponge—not soggy!
Step 5: Transplant When Ready
you’ll know it’s time to transplant when your seedlings have two sets of true leaves and are about 6-8 inches tall. Before moving them outdoors, “harden them off” by gradually exposing them to outdoor conditions over a week. This helps prevent shock!
Step 6: space Out the Plants
when you transplant outside, make sure to give your sprouts enough room to grow. Plant them 18-24 inches apart in rows that are 2-3 feet apart. This way, they can stretch their little leaves and soak up all that sunshine.
And there you have it! Follow these easy steps, and you’ll be on your way to growing delicious brussel sprouts from seed in no time! Get ready for some homegrown goodness! 🌱🌟
Understanding the Germination Period for Brussel Sprouts
Let’s talk about the germination period for brussel sprouts because that’s when the magic begins! Germination is when those little seeds wake up and start growing. Exciting, right? The typical germination period for brussel sprouts is around 7 to 10 days, but it can vary based on a few factors.
Temperature Matters
One of the most vital things for germination is temperature. Brussel sprout seeds love warmth. The ideal soil temperature for germination is around 70°F (21°C). If it’s too cold, the seeds might take longer to sprout or might not sprout at all. So, if you’re starting indoors, placing your seed trays on a heating mat or in a warm area can speed things up!
Keep it Moist
Another key factor is moisture. Brussel sprout seeds need to be kept moist,but not soaking wet. Too much water can lead to seed rot.I like to mist the soil gently or use a spray bottle to keep it just right. Think of it like keeping a sponge damp—just enough to keep it happy!
Varietal Differences
It’s also good to remember that different varieties of brussel sprouts might germinate at different rates. Some might be a little more patient than others, so be sure to check the instructions on the seed packet. It’s helpful to learn what each type prefers!
Watch for Signs
Once the seeds start to germinate, you’ll see tiny sprouts pushing through the soil. It’s a heartwarming sight, isn’t it? Make sure to give them plenty of light, either from a sunny window or grow lights if you’re indoors. Keeping an eye on your little seedlings during this critical phase will help ensure they grow strong and healthy.So, with the right temperature and moisture, you’ll be on your way to having a fantastic crop of brussel sprouts before you know it!
Caring for Your Brussel Sprout Seedlings
Now that we have our brussel sprout seeds sprouting, it’s time for the fun part: caring for those seedlings! This stage is super critically important as healthy seedlings will lead to a bountiful harvest later on. So, let’s make sure your little plants get the best care!
Watering Wisely
First up is watering. Brussel sprout seedlings love consistency. You want to keep the soil evenly moist, kind of like a well-wrung sponge. Watering in the morning is ideal. This allows the leaves to dry off during the day, which helps prevent any nasty fungal infections. It’s all about keeping them happy and healthy!
Thinning Out
As your seedlings grow, you may notice some are growing better than others. it’s time to thin them out! If you’ve planted multiple seeds in one pot, remove the weaker seedlings. You can snip them off at the base to avoid disturbing the roots of the stronger ones. It’ll give your best plants room to stretch and thrive!
Mulching and Fertilizing
Applying a layer of organic mulch around the base of your seedlings can help. Mulch retains moisture, suppresses weeds, and maintains consistent soil temperature.Plus, it looks nice! As for fertilization, once your seedlings are a couple of weeks old, you can start to think about feeding them. A balanced,slow-release fertilizer or well-composted organic matter will give them the nutrients they need to grow strong.
Support and Protection
As your brussel sprouts begin to grow taller,they might need a little support.Use stakes or a tomato cage if they start to lean. Also, keep an eye out for common pests like aphids or cabbage worms. If you see any,act quickly with natural pest control methods.
Pruning for Health
Occasionally, check for any yellowing or damaged leaves. Removing these will help with air circulation and keep your plants healthy.
By giving your seedlings the right care, you’re setting them up for success in the garden.Soon, you’ll be enjoying the fruits of your labor with delicious, homegrown brussel sprouts!
When and How to Harvest Brussel Sprouts
Harvesting brussel sprouts is one of the most exciting parts of growing them! Nothing beats the feeling of picking fresh vegetables right from your garden, right? But when is the right time to do it? let’s look at some tips for knowing when and how to harvest these tasty green gems.
Timing Your Harvest
The first thing to keep in mind is that most brussel sprout varieties take about 80-100 days from planting to harvest. You can usually find the specific maturity date on the seed packet. Pay attention to this as timing is everything! Remember that brussel sprouts are cold-tolerant and actually taste sweeter after a frost. So, don’t rush! Some gardeners like to leave them in the garden until after the first frost for that sweeter taste.
Checking Size and Appearance
When your sprouts reach about 1 to 1.5 inches in diameter, they’re ready to pick. Look for firm, tight sprouts with a bright green color. If the sprouts start looking a bit loose or yellowish, it’s time to harvest before they go past their prime.
harvesting Technique
Now, let’s get to the fun part—the actual harvest! Start by carefully twisting or cutting the sprouts off the stem with a knife. I like to begin at the bottom of the stalk and work my way up. This allows the lower sprouts to mature while I pick the already developed ones. As you go along, you can also remove any yellowing leaves to keep the plant healthy.
Storing Your Harvest
Once you’ve collected your bounty,you can store your brussel sprouts in the refrigerator for about a week. if you have a large harvest and want to keep them longer, consider blanching them briefly in boiling water and than freezing them in airtight containers. This way, you can enjoy the taste of your homegrown sprouts even in the off-season!
Harvesting brussel sprouts can be a thrilling experience, and with the right timing and care, you’ll be enjoying the fruits of your labor in no time. Happy harvesting!