Are you ready to transform those pumpkin seeds into a tasty treat? I absolutely love pumpkin seeds, and cleaning them isn’t just a chore—it’s an adventure! Join me as we explore the fun and simple ways to clean and roast these nutritious little snacks, perfect for munching on or adding to your favorite dishes!
Why Cleaning Pumpkin Seeds is Important
Cleaning pumpkin seeds is more than just a chore; it’s the secret to enjoying their deliciousness! When we think about enjoying these little powerhouses, many of us might skip straight to roasting them. But hold on! There’s a good reason to take a few minutes to clean them first.
First and foremost, cleaning helps remove dirt and debris. If you’ve ever scooped seeds from a pumpkin, you know they come with their fair share of slimy bits and stringy pulp. Yuck! Nobody wants those uninvited guests crashing the party in your snack bowl. Cleaning makes sure that you enjoy the true flavor of the seeds without any unwanted flavors.
Another big reason to clean pumpkin seeds is to get rid of any leftover pumpkin flesh. Those little strings can be pesky! They can mess with the texture and taste of the seeds when you roast them. Plus, cleaning gives your seeds a neat and uniform look. Who doesn’t love a shiny, polished snack?
Cleaning also plays a role in making your pumpkin seeds last longer. Moisture from uncleaned seeds can lead to spoilage, mold, or even bacteria – gross! By washing and drying them properly, you’re extending their shelf life. It’s like giving your seeds a protective shield!
Lastly, once your seeds are clean, the fun really begins! You can sprinkle them on salads, toss them into granola, or just enjoy them as a tasty snack. The possibilities are endless! So, take a moment to clean those pumpkin seeds before diving into the deliciousness. Your tastebuds will thank you!
Three Methods for Cleaning Pumpkin Seeds
Now that we’ve talked about why cleaning is super important, let’s explore three different methods for getting those seeds squeaky clean! I promise you, each method is simple and fun—perfect for a little cooking adventure!
1. Manual Cleaning
This method is just as straightforward as it sounds! Here’s how to do it:
- Cut open your pumpkin and scoop out the seeds with a spoon. It’s like digging for treasure!
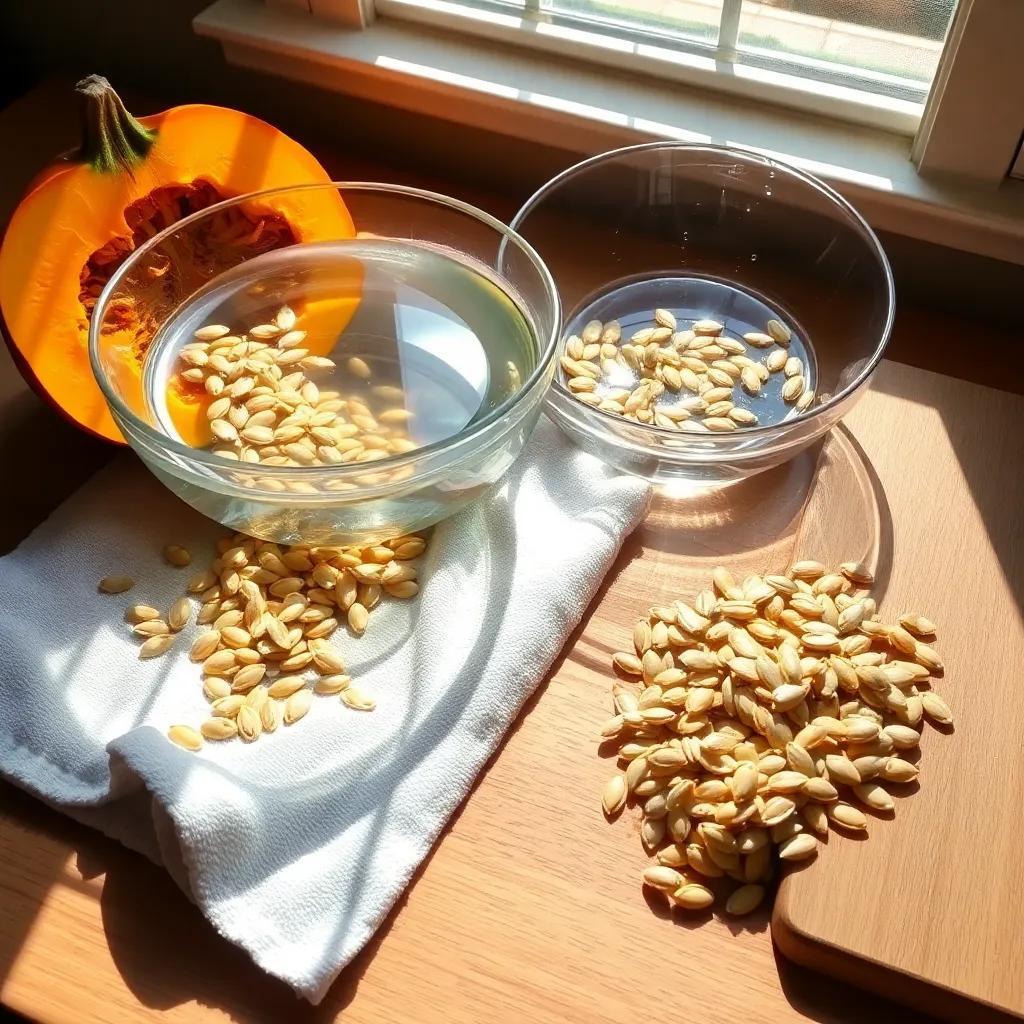
- Place the seeds in a bowl and fill it with water.
- Gently swirl the seeds around with your hands. Watch as the unwanted bits float to the top—magic!
- Carefully remove the floating seeds and place them on a towel to dry. Easy-peasy!
2. Soaking and Rinsing
For this method, you’ll need a little patience but trust me, it’s worth it!
- Start by removing the seeds from your pumpkin just like before.
- Add them to a large bowl, then fill it with water, completely drowning the seeds. They love a good swim!
- Let them soak for about 10-15 minutes. This helps loosen up any stubborn bits.
- Now, strain the seeds and rinse them under running water. Give them a little rub to make sure they’re clean!
- Once rinsed, lay them out to dry. Voila! You have beautifully clean pumpkin seeds ready to enjoy.
So there you have it! Two easy methods to get those seeds clean and ready for your next culinary creation. Which one will you try first? Happy cleaning!

Method 3: Roasting and Cleaning Process
If you’re looking for a cleaning method that not only tidies up your pumpkin seeds but also amps up their flavor, then roasting is the way to go! This technique is super fun and gives the seeds a lovely crunchy texture that you’re going to love.
Here’s how to roast and clean your pumpkin seeds:
- Preheat Your Oven: Start by setting your oven to 300°F (150°C). This preheat phase is key for making those seeds crispy!
- Prepare the Seeds: Scoop the seeds out of the pumpkin just like before. Rinse them under cold water to get rid of any excess pulp. Don’t forget to pat them dry with a kitchen towel until they’re nice and dry!
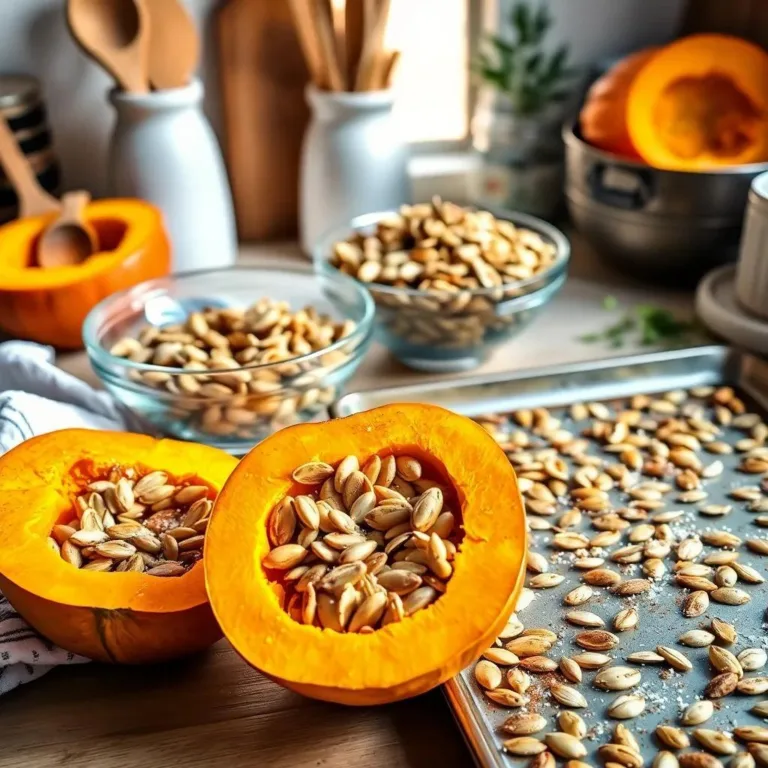
- Spread the Seeds: Place the cleaned seeds in a single layer on a baking sheet. Make sure they aren’t crowded, so they can roast evenly. This is where the magic happens!
- Roast Away: Slide the baking sheet into the oven and roast the seeds for about 20 to 30 minutes. Keep an eye on them and give them a stir occasionally. You want them to turn golden brown but not burnt—no one likes a charred snack!
- Cool and Clean: Once roasted, take the baking sheet out and let the seeds cool down a bit. After cooling, you can easily break apart any clusters and remove any remaining bits of pumpkin flesh.
And voilà! You now have deliciously roasted pumpkin seeds that are clean and ready to be enjoyed. You can snack on them as is, sprinkle them on salads, or even use them in baking! Roasting adds a nutty flavor that enhances the natural taste of the seeds. Talk about a win-win!
Possible Uses for Cleaned Pumpkin Seeds
Now that we’ve cleaned and roasted our pumpkin seeds, the fun really begins! There are so many delicious ways to enjoy these little nutritional powerhouses. I can almost hear the seeds calling out for adventure in the kitchen!
Here are some of my favorite uses for cleaned pumpkin seeds:
- Snack Attack: Simply sprinkle a little salt or your favorite seasonings on the roasted seeds and dig in! Try flavors like garlic powder, chili powder, or even cinnamon for a sweet twist.
- Topping Delight: These seeds make a perfect crunchy topping! Sprinkle them over your salads, soups, or roasted veggies. They add a delightful texture and a pop of flavor that takes your dish to the next level.
- Baking Buddy: Incorporate cleaned pumpkin seeds into your baking recipes. Toss them into breads, muffins, or homemade granola bars for that extra crunch and nutrition. They’re like little nuggets of joy in every bite!
- Trail Mix Magic: Create a custom trail mix by combining cleaned pumpkin seeds with a mix of nuts, dried fruits, and maybe a few chocolate chips for a sweet touch. It’s the perfect snack for on-the-go!
- Savory Dishes: Use them as a tasty coating for chicken, fish, or tofu. Crush them up and mix with breadcrumbs for an exciting crunch when baked or fried.
With cleaned pumpkin seeds, the possibilities are endless! So go ahead, get creative, and enjoy experimenting in the kitchen. Your taste buds will thank you for this little adventure in cooking!

