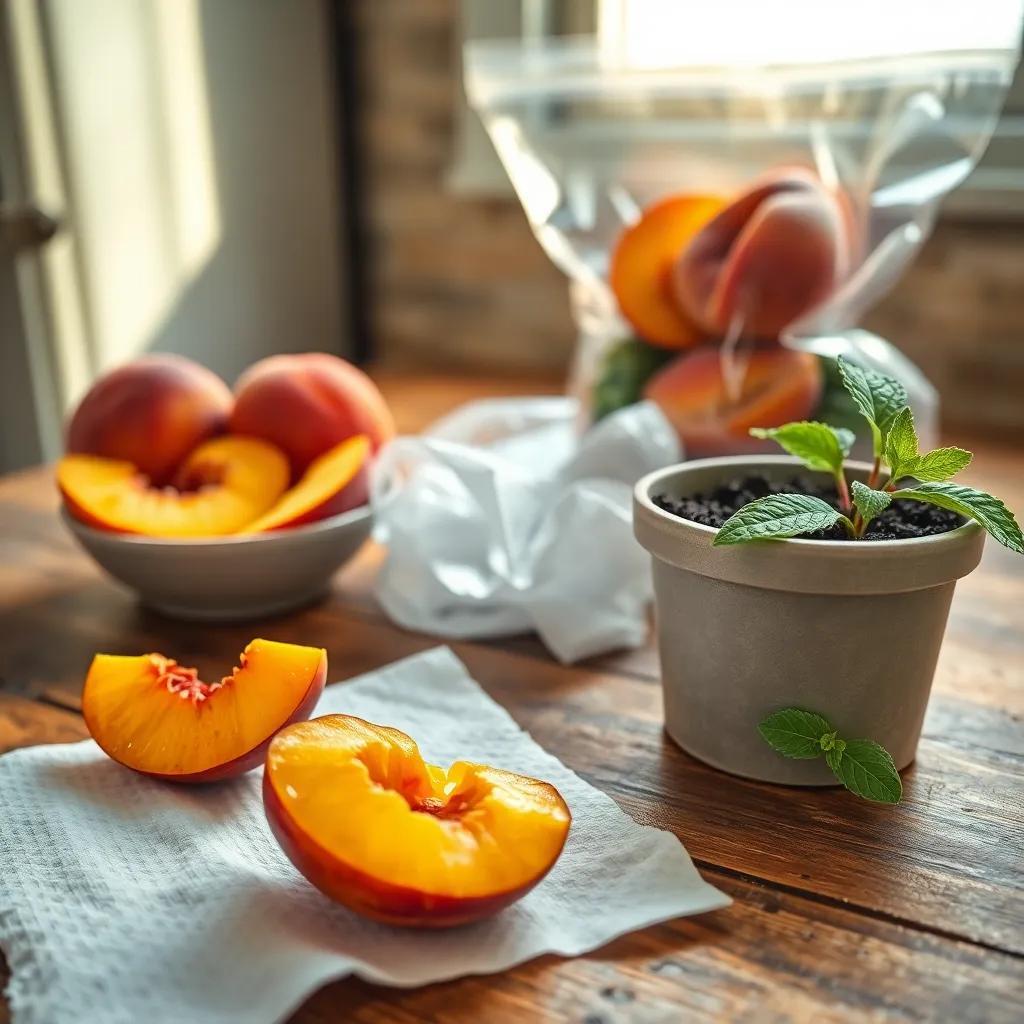
Have you ever thought about growing your own peach tree from a simple pit? It’s not just a fun project; it’s a chance to connect with nature and enjoy the sweetness of homegrown peaches in a few years! Join me as we explore the exciting journey of germinating a peach pit, caring for the young seedling, and eventually watching it flourish into a beautiful tree!
Steps to Prepare a Peach Pit for Germination
Getting ready to germinate a peach pit is like prepping for a little adventure! The first step is all about making sure that pit is clean and ready to go. Here’s how I like to do it:
- Cleaning the Pit: Start by peeling off any leftover fruit from the peach. I use my fingers to get in there and scrub it away, but you can also use a soft brush if you prefer. The cleaner the pit, the better it can germinate!
- Drying Off: After cleaning, I like to let my peach pit air dry. I place it on a clean paper towel or wire rack. It should be left there for 24 to 48 hours. This drying time is super important because it prevents mold or bacteria from crashing the party!
- Cracking the Shell (Optional): If you want to give your pit a little boost, try gently cracking it! You can use a pair of pliers or a nutcracker. Just be super careful not to hurt the seed inside. Cracking it makes it easier for moisture to sneak in and helps speed up the process!
Once your pit is clean, dry, and maybe even cracked, you’re ready for germination! You might be thinking, “What’s next?” Well, we’re about to explore some fantastic methods to get that pit growing!
Germination Methods: Choose the Right Technique
Now that we have our pit ready, it’s time for the fun part – germination! There are several methods I’ve used, and each one has its own charm. Let’s look at some of my favorite techniques:
1. The Refrigerator Method
This method imitates wintertime for your peach pit. Here’s how to do it:
- Place the cleaned pit in a sealant bag with a moist paper towel.
- Pop it in the fridge for about 8 to 12 weeks. Check on it now and then to keep that towel cozy and damp!
2. The Stratification Method
This is for those who want to go rustic! You can bury the pit directly outdoors:
- Choose a spot with nice, well-draining soil.
- Place the pit under a layer of moist peat moss or sand, cover it with mulch, and let nature do its magic during the cold months!
3. The Baggie Method
This is straightforward and works wonders:
- Put your pit in a damp paper towel inside a sealable bag.
- Keep the bag in a warm spot, like a sunny window! Make sure to keep checking on it to keep that towel just right – not too wet and not too dry!
Whichever method you choose, just remember to be patient! Germination can take some time, but watching that little seed sprout is totally worth it! Get excited, because soon you’ll see your peach pit growing into a little seedling!

Caring for Your Germinating Peach Seedling
Once your peach pit has sprouted, it’s time for the fun part – caring for your little baby plant! Just like any young plant, your germinating peach seedling needs attention and love to thrive. Here are some simple tips to keep your seedling happy and healthy:
- Watering: Keep that soil moist but not soaking wet. I like to check the top inch of the soil. If it feels dry, it’s time for a drink! Too much water can lead to root rot, and nobody wants that!
- Sunlight: Your seedling will need plenty of sunshine – aim for 6 to 8 hours of direct sunlight every day. A sunny windowsill is perfect! If your seedling looks a bit leggy or stretched, it might not be getting enough light.
- Temperature: Peach seedlings thrive in temperatures between 60-75°F (15-24°C). If it’s too hot or too cold, the plant might get stressed. Finding a cozy spot for it is key!
- Fertilization: Once your little seedling has a few true leaves, you can start feeding it! Use a balanced, water-soluble fertilizer diluted as per package directions. Every 4-6 weeks during the growing season should do the trick!
- Pest Check: Keep an eye out for any pesky bugs or diseases. Regularly check the leaves and soil for any signs of trouble. If you spot anything unusual, ask for advice from local experts!
By giving your seedling the right care, you’ll soon see it grow stronger and taller. It’s such a joy to watch your little peach tree thrive!
Transplanting Your Peach Seedling for Growth
When your peach seedling gets a little bigger and shows off a few true leaves, it’s time for the big move – transplanting! This is an exciting step that helps your tree grow even stronger. Here’s how to do it:
- Timing: Choose the right moment to transplant. I usually wait until my seedling has a solid root system and at least 2-3 sets of true leaves. Avoid transplanting on super hot or freezing days—your seedling needs a gentle touch!
- Pick the Spot: Find a sunny location with well-draining soil. Peach trees love sun, so make sure it gets plenty of light! Ensure there’s enough room for the tree to spread out its branches later on.
- Digging the Hole: Create a hole that’s about twice the width of the root ball. It should be deep enough so the top of the root ball is level with the soil surface.
- Planting: Carefully remove your seedling from its pot. Gently loosen any matted roots. Place the seedling in the center of the hole, and backfill with soil. Give it a gentle pat to ensure there are no air pockets!
- Watering: After planting, give your peach seedling a good drink! Make sure to water deeply, letting the moisture soak into the soil around the roots.
- Mulching: Add a layer of organic mulch around the base of the tree. This helps retain moisture, keeps the roots cool, and prevents pesky weeds from popping up!
Transplanting can be a little stressful for seedlings, so be patient! With the right care, your peach tree will grow into a magnificent addition to your garden, ready to bear delicious fruit in a few years!
Frequently Asked Questions About Peach Pit Germination
You’ve got questions, and I’m here to help! Germinating peach pits is not just an adventure; it’s a journey filled with curiosity. Here are some common questions I often hear, along with my friendly answers:
Q: Can I germinate a peach pit at home?
A: Absolutely! Germinating a peach pit at home is a fun project! Just follow the steps we discussed, and you’ll be on your way to growing your very own peach tree!
Q: What’s the best way to germinate a peach pit?
A: The best way is to clean the pit, place it in a plastic bag with damp paper towels, and store it in the fridge for about 8-12 weeks. This mimics the winter chill it needs!
Q: How long does it take for a peach pit to germinate?
A: After it’s planted in soil, you can expect it to germinate in about 3-4 weeks. Keep the soil moist and be patient. Good things come to those who wait!
Q: Can I plant a germinated peach pit directly in the ground?
A: Yes! Once your seedling has grown a few inches, carefully transplant it into the ground. Just make sure to pick a sunny spot with well-draining soil.
Q: How long before a peach tree bears fruit from a germinated pit?
A: It usually takes about 3-4 years for a peach tree grown from a pit to start bearing fruit. Make sure to care for your tree well, and soon you’ll be enjoying delicious peaches!
If you have more questions, don’t hesitate to ask! The world of peach growing is full of surprises, and I’m excited for you to discover all the joys it brings!

