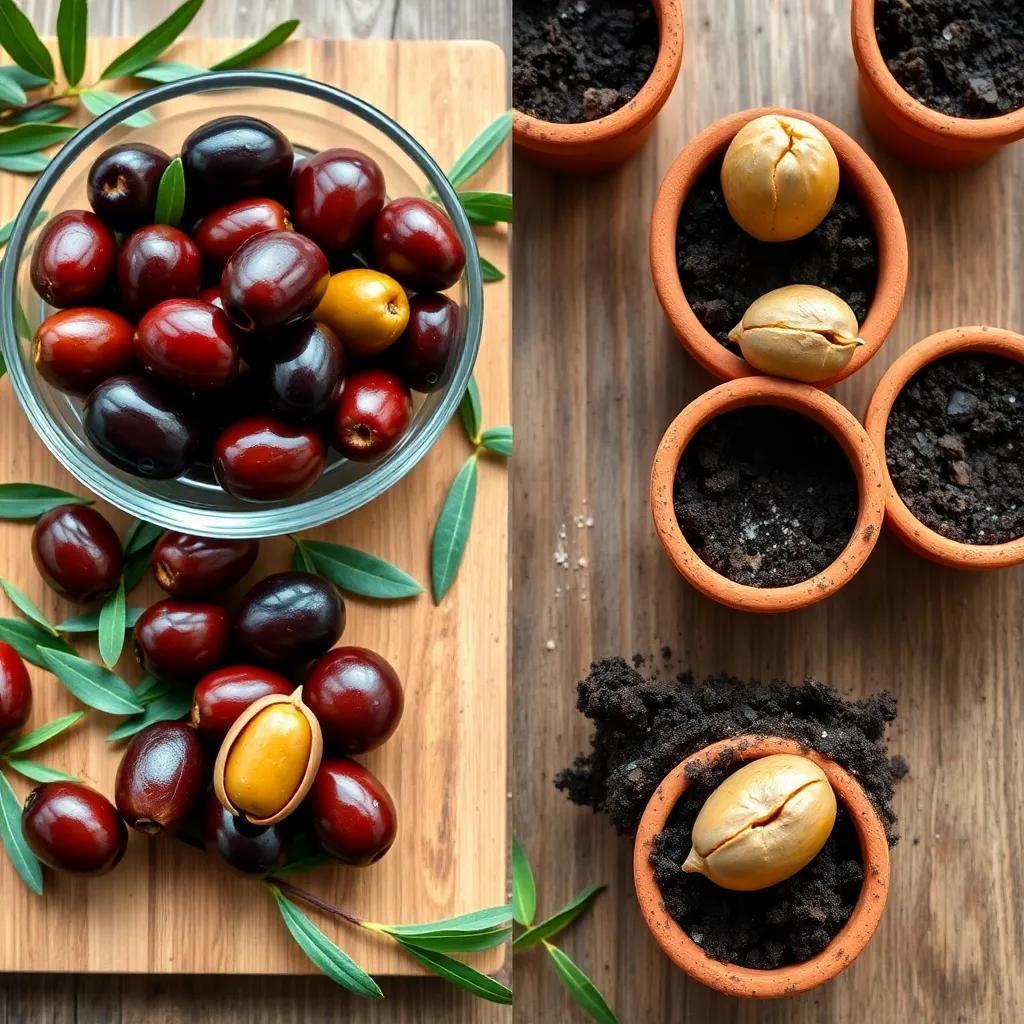
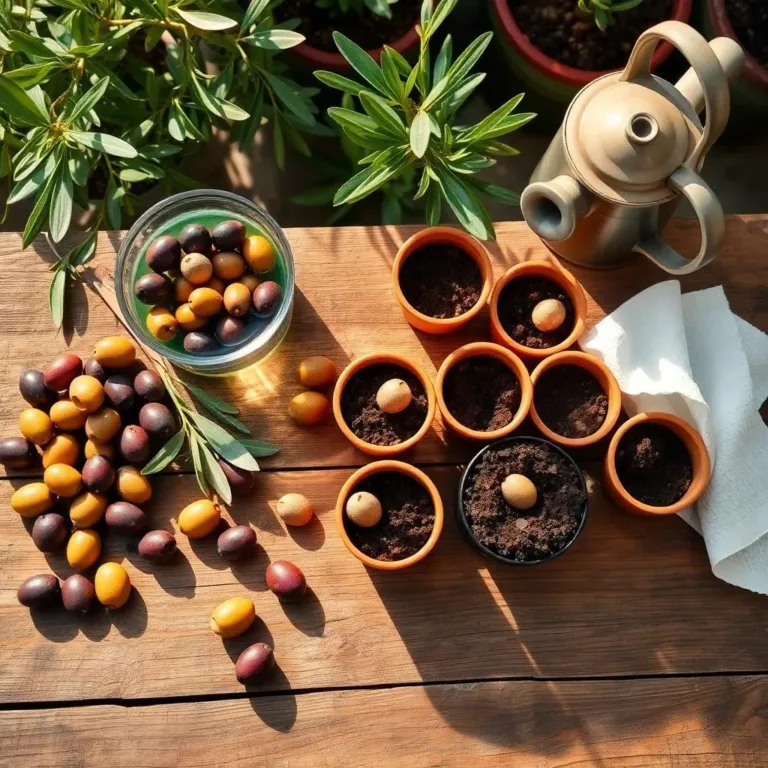
Have you ever thought about growing your very own olive tree? It’s easier than you might think! In this guide, I’m excited to share everything you need to know about germinating olive pits and nurturing them into beautiful trees. Get ready to dive into the delightful world of gardening and discover how to turn those little pits into a fruitful adventure!
Understanding Olive Pits: Varieties and Suitability
When it comes to germinating olive pits, it’s important to know that not just any pit will do! There are different types of olives, and some are better for growing than others. Isn’t that exciting? Just like picking the perfect avocado, choosing the right olive pit can make all the difference in your gardening journey!
Varieties of Olive Pits
Here are a few varieties of olives and their suitability for germination:
- Kalamata: These dark, almond-shaped olives are not only delicious but also great for growing! They thrive in warm, sunny conditions.
- Manzanilla: Known for their small size and green color, Manzanilla olives are another excellent option. They adapt well to container gardening!
- Arbequina: These tiny and flavorful olives are perfect for small spaces. I love them because they grow well even in cooler climates!
It’s crucial to use fresh, unprocessed olives from these varieties. Processed olives have pits that undergo treatment, rendering them unsuitable for germination. If you can, source your pits from fresh olives obtained directly from a tree or a farmer’s market. Trust me, it’s worth the effort!
Selecting the Right Pits
While selecting your olive pits, consider these simple tips:
- Freshness: Always opt for pits from fresh olives. If they look shriveled or dried out, they may not sprout.
- Size: Larger pits often have a better chance of germinating. So, if you’re eyeing a particularly hefty pit—go for it!
- Health: Check for any signs of mold or damage. Healthy pits lead to thriving plants!
Remember, choosing the right variety and fresh pits helps your olive trees grow strong and healthy. Who wouldn’t want their very own olive tree, providing shade, beauty, and delicious fruit? Let’s move on to the exciting part—how to prepare those pits for germination!
Preparation Steps for Germinating Olive Pits
Now that we’ve sorted out our olive pits, it’s time to get them ready for the germination adventure! Don’t worry—I’m here to guide you through every step, so grab your pits and let’s get started!
Soaking the Pits
The first step is soaking. This might sound simple, but it’s key to starting the germination process! Here’s how we do it:
- Gather your materials: You’ll need a container, fresh water, and your olive pits.
- Fill the container: Pour enough room temperature water into the container to cover the pits completely.
- Soak: Place your olive pits in the water and let them soak for 24 to 48 hours. During this time, they’ll absorb moisture and get all energized for the next steps!
Shell Removal
After the soaking, some pits might show tiny cracks! That’s a good sign—it means they’re ready to germinate. Here’s what to do next:
- Remove the outer shell: If you’re feeling adventurous, you can carefully peel off the hard outer shell. This step isn’t mandatory, but it can help your pits germinate faster!
- Rinse and dry: Give them a quick rinse with fresh water and set them on a clean towel to dry a bit.
Preparing the Germination Medium
Now, let’s prepare the perfect home for your olive pits:
- Choose your medium: You can use well-draining potting soil, sand, or a mix of both! I recommend potting soil for its moisture-holding capabilities along with sand for drainage.
- Fill your pots: Grab some small pots or containers and fill them with your chosen medium, leaving about an inch of space at the top.
There you go! With your olive pits soaked, any shells removed, and your pots ready, you’re all set to move on to germination methods. Isn’t this fun? I can’t wait for you to see those little green shoots popping up soon!

Three Effective Germination Methods for Olive Pits
Now that we’ve prepared our olive pits, it’s time for the fun part—germination! There are several methods we can use to get those little pits sprouting. Each method has its charm, so let’s explore three effective techniques!
1. Water Soaking Method
This method is simple and effective. Here’s how it works:
- Soak: After soaking your olive pits for 24 to 48 hours, as I mentioned earlier, they’re ready to move forward.
- Container: Fill a container with fresh, room-temperature water and gently place the soaked pits in it.
- Patience: Let them sit for a few more days, changing the water every 12 hours. You’ll notice tiny cracks forming—how cool is that?
This method allows the pits to absorb moisture, which helps kickstart the germination process!
2. Paper Towel Technique
If you prefer a hands-on approach, the paper towel method is a great choice! Here’s how to do it:
- Prepare: Grab some damp paper towels—make sure they are moist but not soaking wet.
- Arrange: Lay your olive pits on the towel, spacing them out, so they don’t touch.
- Seal: Fold the towel and place it in a plastic bag to create a mini greenhouse effect.
- Check: Keep an eye on the moisture and watch for signs of germination in just a few weeks!
3. Germination in Potting Mix
This method takes a bit more commitment, but it’s worth it! Here’s what to do:
- Fill pots: Use small pots with a mix of well-draining potting soil.
- Plant: Place your soaked olive pit in the soil and cover it lightly.
- Water gently: Keep the soil moist (but not soggy) and place your pots in a warm spot with indirect sunlight.
- Wait patiently: Soon enough, you’ll see tiny sprouts popping up!
Choose the method that excites you the most, and get ready to witness the magic of nature!
Caring for Germinated Olive Pits: Light, Water, and Temperature
Now that we’ve got our olive pits germinating, it’s time to talk about care! Just like a baby plant needs love, your sprouting olive pits need attention to grow strong and healthy. Let’s explore how to nurture them properly.
Light
Finding the right lighting is essential! Olive seedlings love bright, indirect sunlight. Here’s how to provide the perfect light conditions:
- Position wisely: Place them near a sunny window, but avoid harsh direct sunlight, which can burn those delicate leaves.
- Rotate regularly: If you notice one side leaning towards the light, give your pots a gentle turn every few days to keep them growing evenly.
Water
Keeping the right moisture level is key! Here’s how to manage watering:
- Check the soil: Stick your finger into the top inch of soil. If it feels dry, it’s time to water!
- Water gently: Use a spray bottle or a watering can with a spout to moisten the soil without displacing your fragile seedlings. You want the soil to be damp, but not waterlogged.
Temperature
Olive seedlings thrive in moderate temperatures. Here’s how to create a cozy environment:
- Ideal range: Aim for temperatures between 65°F (18°C) and 75°F (24°C). Too much cold or heat can stress your plants, so keep them cozy!
- Avoid drafts: Make sure to keep them away from cold windows or heating vents. A stable environment is vital for healthy growth.
With these simple care tips, your olive sprouts will flourish! Watching them grow is such a rewarding experience! I can’t wait to see your little olive trees thriving!
Transplanting Your Germinated Olive Seedlings Successfully
After nurturing your olive seedlings, it’s time for their big move—transplanting! This is where your hard work pays off, and I’m here to walk you through the process so it’s smooth and easy.
Choosing the Right Location
First things first, find a good spot for your olive trees. Look for an area that gets full sunlight and has well-draining soil. Olive trees love the sun and don’t appreciate soggy feet!
Preparing the Planting Hole
Now, let’s get that planting hole ready:
- Dig the hole: Make it wide and deep enough to accommodate the root ball of your olive seedling.
- Loosen the soil: Make sure the bottom of the hole is loose so the roots can spread easily.
Transplanting the Seedling
Once your hole is ready, it’s time to transplant:
- Gently remove your seedling from its pot, being careful not to damage the roots.
- Place the seedling in the center of the hole. Make sure the top of the root ball is level with or slightly above the surrounding soil.
- Backfill the hole with soil, gently firming it around the root ball to remove air pockets.
Water and Mulch
After transplanting, give your new olive tree a good drink!
- Water thoroughly: This helps settle the soil around the roots.
- Add mulch: A layer of organic mulch, like wood chips or straw, around the base will help retain moisture and keep weeds at bay.
Watch and Care
Now comes the fun part: watching your olive tree grow! Keep an eye on it, water it regularly, and enjoy the beauty of your very own olive tree flourishing in your garden. It might take a few years, but the wait will be worth it when you finally get to enjoy the delicious olives! Happy gardening!

