Have you ever gazed at a sunflower and wondered how those delicious seeds make their way from the vibrant flowers to your table? If so, you’re in for a treat! Join me as we explore the amazing journey of sunflower seeds, from understanding their anatomy to the fun steps of harvesting them yourself. It’s easier than you might think, and who knows—you might just become a sunflower seed expert!
Understanding the Anatomy of Sunflowers
Let’s kick things off by getting to know our sunny friends a little better! Sunflowers, or Helianthus annuus if you want to impress your friends with some science, are not just pretty faces. They have some really cool parts that all work together to create those tasty seeds we love.
Here’s a rundown of the main parts of a sunflower:
- Roots: These guys are the anchors of the sunflower! They dig deep into the soil to soak up water and nutrients. Plus, they keep the plant steady, especially when it starts reaching for the sun!
- Stem: Think of the stem as the sunflower’s backbone. It’s strong and sturdy, allowing the flower to stand tall and soak up all that wonderful sunlight. It’s also the highway for transporting water and nutrients.
- Leaves: Sunflower leaves are broad and bright green. They swing into action during photosynthesis, turning sunlight into energy. Talk about multitasking!
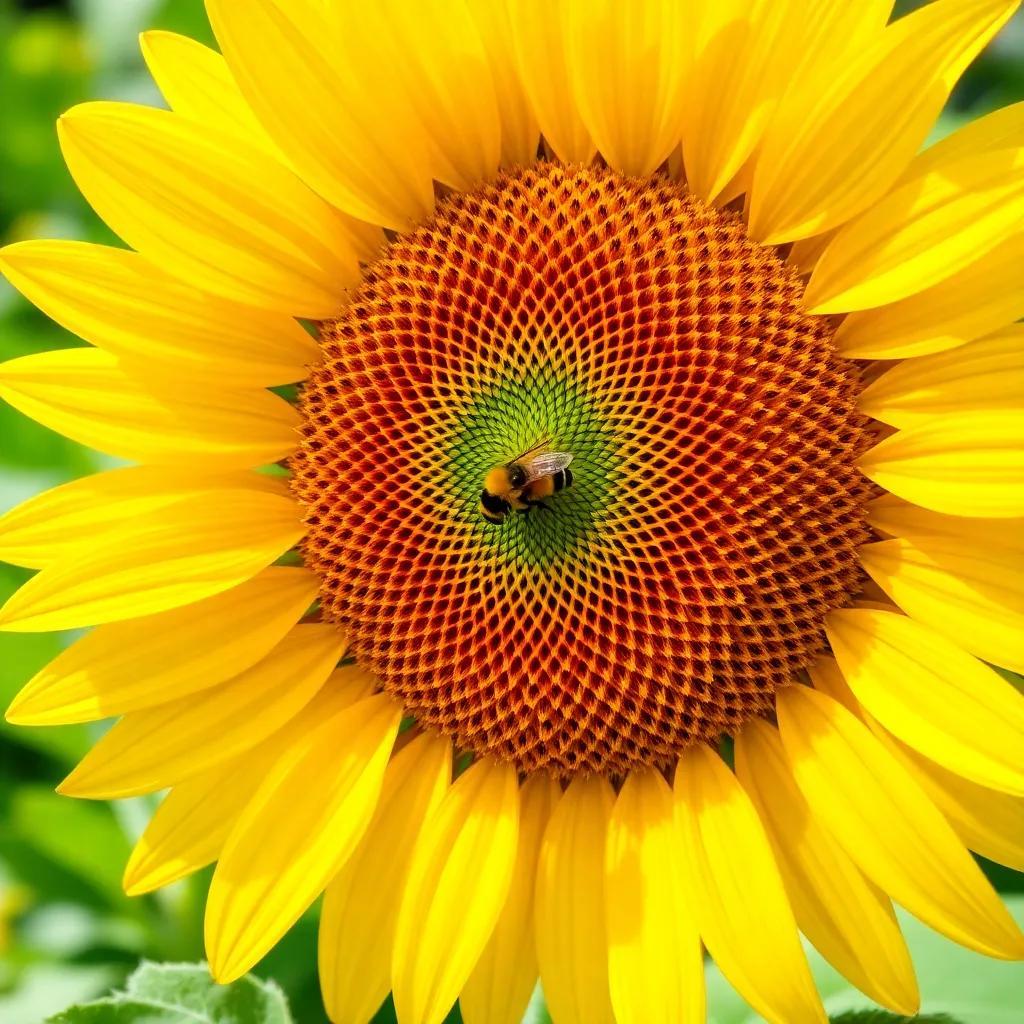
- Flower Head: This is the star of the show! Inside this big, round head are many small flowers. The ray florets (the colorful outer petals) attract pollinators, while the disc florets (the tiny inner flowers) are where the magic happens!
- Petals: Those pretty outer petals are more than just a decoration. They’re like a neon sign for bees and butterflies, saying, “Come here for some sweet pollen!”
- Stamens and Pistils: These parts are the reproductive organs. The stamens produce pollen, while the pistils receive it. This is where the process of making seeds starts!
Knowing the anatomy of these gorgeous flowers helps us appreciate the journey from bud to seed. Now that we’ve got this flower 101 down, let’s move on to what happens next—the pollination process!
The Pollination Process of Sunflowers
Alright, now that we’re familiar with the anatomy of sunflowers, let’s talk about how they bring those delicious seeds into the world! Pollination is like a floral dance party, and the bees and butterflies are the VIP guests!
Here’s what goes down at this party:
- Pollen Transfer: The stamens, which are the male parts, release pollen. When a pollinator, such as a bee, visits a sunflower, they brush against the stamens and pick up a load of pollen. Can you imagine those little pollen balls just waiting to hitch a ride?
- Visiting Another Flower: Next, our buzzing friends flutter around to another sunflower. As they bounce from flower to flower, they transfer some of that pollen to the pistil, which is the female part of the flower. This is the moment when magic happens!
- Fertilization: Once the pollen reaches the stigma (the sticky part of the pistil), it travels down the style (the tube leading to the ovary). Fertilization occurs, and voilà! The seeds start to develop!
- Timing is Everything: Did you know that sunflower florets don’t all bloom at once? The outer ray florets open first to attract pollinators, while the inner ones mature later. It’s like a carefully planned show!
- Planting in Clusters: If you want to increase the chances of pollination, try planting sunflowers in groups. This way, pollinators can easily hop from one flower to the next, doing their important job!
And there you have it! The pollination process is vital for seed development. Understanding this helps us appreciate the hard work that goes into every single sunflower seed. Next up, we’ll explore how those seeds develop into the tasty treats we all adore!

Development Stages of Sunflower Seeds
Once our sunflowers have danced their way through the pollination process, it’s time for the seeds to develop! This is where the magic happens. The sunflower’s ovary starts transforming into seeds, and I can’t help but feel excited watching this part of their journey!
Here’s how it all unfolds:
- Fertilization Sparks Change: After pollination, the fertilized pistil begins to grow. The ovary, located at the base of the pistil, starts swelling. It’s almost like it’s preparing for a big birthday party—lots of growth and anticipation!
- Seed Formation: As the ovary develops, it transforms into a fruit that we know as sunflower seeds. The outer layer of the ovary wall thickens, creating a protective shell around each seed. Isn’t nature amazing?
- Nutrient-rich Endosperm: Inside each seed, there’s a little embryo surrounded by nutrient-rich endosperm. This endosperm is essential because it provides the seeds with the energy they need when they finally decide to sprout!
- Color Changes: Just like a flower blooms, seeds also change as they mature. They might start off soft and green, but as they develop, they’ll turn into darker shades—gray or brown. This color change signals that they’re ready for harvesting.
- Monitoring Maturity: It usually takes around 30 to 45 days from pollination to seed maturity. You’ll know they’re ready when the sunflower head starts to droop due to the weight of the seeds. Patience pays off!
This stage is so rewarding! Watching the seeds grow reminds me of all the effort put into caring for the sunflower. Next, let’s talk about the steps I take to harvest those delightful seeds!
Steps for Harvesting Sunflower Seeds
Harvesting sunflower seeds is one of the most satisfying tasks for any gardener, including me! It’s like collecting little treasures that you’ve nurtured from the ground up. When the time comes, you’ll want to be prepared and follow these easy steps:
- Check for Maturity: Look for signs that the sunflower seeds are ready to be harvested. The back of the flower head should have turned from green to a yellowish or brown color. The seeds should feel plump and firm to the touch.
- Gather Your Tools: Before you start, make sure you have:
– Sharp pruning shears or a knife
– Clean containers or bags to collect the seeds
– A clean, dry workspace
- Cut the Stem: With your sharp shears, carefully cut the sunflower head from the stem. Leave a few inches of stem so it’s easy to handle.
- Release the Seeds: Here comes the fun part! Hold the sunflower head over your collection container. Gently rub or tap the back of the head to let the seeds fall out. It’s like shaking a piñata full of goodies!
- Inspect and Clean: Once you’ve collected the bulk of the seeds, some may still cling to the flower head. That’s okay—those can be removed later. Go through the seeds and discard any damaged or moldy ones. We want only the best!
Following these steps makes harvesting a breeze! After this, we’ll explore how to remove those seeds from the flower head like a pro!
Removing Seeds from the Flower Head
Alright, my sunflower-loving friend! Now that we’ve harvested our prized seeds, it’s time for the last step: removing those seeds from the flower head. With a little patience, this process can be quick and enjoyable! Let’s dive in:
- Prepare Your Workspace: Start by finding a clean, well-ventilated area. Lay down a cloth or some paper towels to catch any debris or stray seeds that might escape. This way, your cleanup will be a lot easier!
- Hold the Flower Head: Grab your sunflower head by the stem, making sure the back—where all the seeds are—faces up. This is where the magic happens!
- Apply Gentle Pressure: Use your other hand to gently press the back of the flower head. Think of it as giving it a little hug to loosen the seeds. Not too hard, though—this is a delicate operation!
- Rotate and Tap: While applying pressure, slowly rotate the flower head. Give it a few gentle taps on the back to help coax those seeds out. It’s like a game of seed fetch!
- Collect the Seeds: As the seeds start to fall out, catch them in your container or on the cloth. Keep going until all the seeds are free. If some seeds are still stubbornly attached, just take your time—patience is key!
- Inspect for Quality: Once all the seeds are out, it’s a good idea to check them for any signs of damage, mold, or pests. Discard any unhealthy seeds so you can enjoy the best harvest.
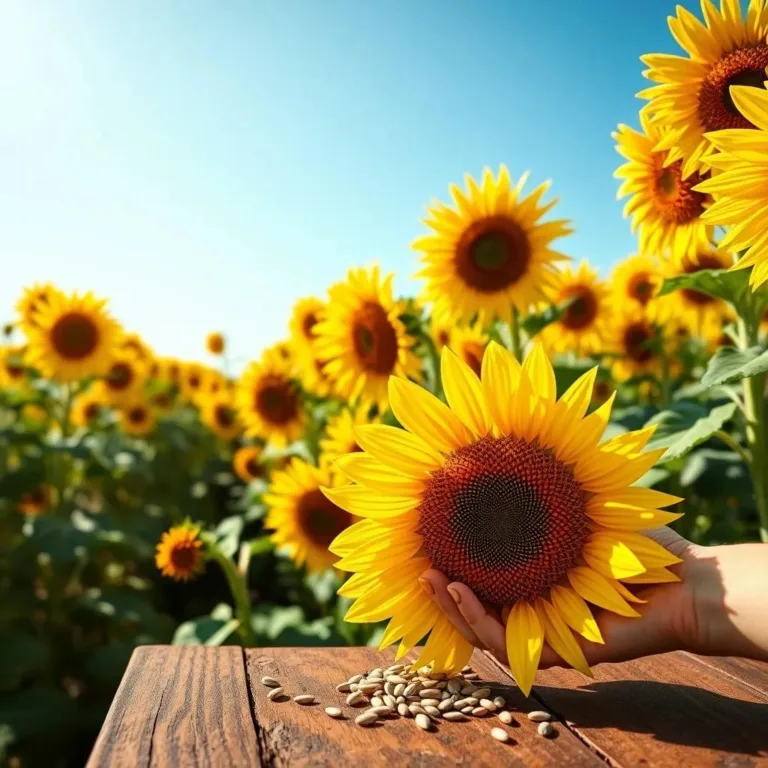
And there you have it! With a few simple steps, you’ve successfully removed the seeds from the flower head. Now you can store them in airtight containers for snacking or planting later! Gardening is truly rewarding, isn’t it?

