Have you ever dreamed of growing your very own lemon tree? It’s not just a fun project; it’s like having a little piece of sunshine right at home! Join me as I share my step-by-step guide on how to grow a lemon tree from a seed, and soon you’ll be on your way to enjoying fresh, zesty lemons straight from your garden! Let’s get started!
Gathering Supplies for Your Lemon Tree Journey
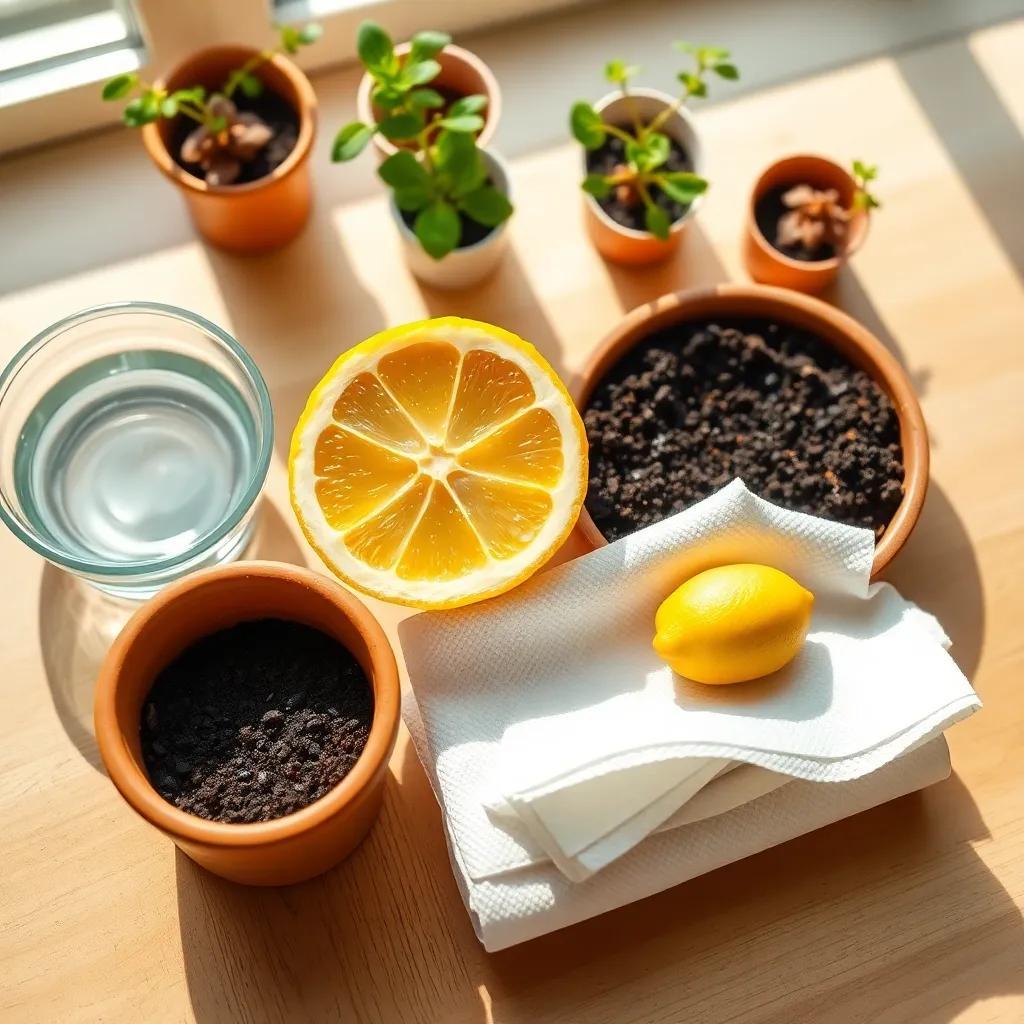
Getting started on my lemon tree adventure is super exciting! The first step is gathering all the supplies I’ll need. Trust me, having everything ready makes the process much easier and more enjoyable. So, what do I need? Let’s break it down!
- Fresh Lemon: I always look for a ripe lemon from my local grocery store or even a friend’s lemon tree. It’s important that the lemon is fresh and free from chemicals or pesticides. This is where my lemon seed journey begins!
- Container: I need a small container for germinating the lemon seed. Choosing a pot with drainage holes is key. I want to make sure that water can flow freely; no one likes soggy soil!
- Potting Soil: The right soil is essential! I opt for a well-draining potting soil, specifically designed for indoor plants. This helps my lemon tree seedling get the nutrients it needs without any pests or diseases lurking around.
- Water: Clean, filtered water is my go-to for keeping my lemon tree happy. It’s like giving my plant a refreshing drink!
- Plastic Bag or Plastic Wrap: I use this to create a humid environment for the seed to germinate. It’s like giving my seed a cozy blanket!
- Sunny Spot: Lemon trees love the sun! I make sure to find a bright location in my home or garden that gets at least 6-8 hours of direct sunlight every day.
With all my supplies gathered, I feel ready to take on the next step! Isn’t it exciting to think about the delicious lemons I might get someday?
Preparing the Lemon Seed for Germination
Now that I have everything I need, it’s time to prepare my lemon seed for germination! This is one of the most fun parts of the process. It’s all about getting that little seed ready to sprout! Here’s how I do it:
- Cut Open the Lemon: I carefully slice the lemon in half using a sharp knife. I want to make sure it’s ripe, so I get the best seeds possible.
- Extract the Seed: Now, I look for the big, plump seeds inside! I gently remove one or two seeds from the pulp. I’m looking for seeds that look healthy and ready to grow.
- Clean the Seed: This step is super important! I rinse the seed under cool water to remove any leftover pulp. No soap, please! I don’t want to ruin my precious seed.
- Soak the Seed: I fill a small bowl with water and place the lemon seed in it. Letting it soak for about 24 hours softens the seed coat. It’s like a little spa day for my seed!
Once the seed is nice and ready, I’ll be set to move on to germinating it! I can already imagine the lovely lemon tree it could become. It’s all about taking these important steps to ensure my little seed has the best start possible!

Steps to Germinate Your Lemon Seed
Now that I’ve prepped my lemon seed, it’s time to kick off the germination process! This is where the magic begins, and I can’t wait to see my seed transform into a little sprout. Here’s how I make it happen:
- Get a Damp Paper Towel: I take a clean, damp paper towel and spread it out on a flat surface. This will be my seed’s cozy home for a while.
- Place the Seed: I gently place my soaked lemon seed right in the center of the towel. It’s like giving it a comfy bed!
- Fold the Towel: Next, I fold the paper towel over the seed, completely covering it. The towel keeps the seed moist and warm—just what it needs!
- Seal It Up: I carefully tuck the folded towel into a sealable plastic bag or wrap it with plastic wrap. This creates a mini greenhouse effect, which is perfect for germination.
- Warm It Up: I find a warm spot in my home, where the temperature stays between 70-80°F (21-27°C). A top of the refrigerator or near a heater works like a charm.
- Monitor for Sprouts: Now, I wait! I check the seed regularly for signs of germination. It can take anywhere from 2 to 6 weeks, so I keep things exciting with a little daily anticipation.
During this time, I make sure the paper towel stays damp. A light misting of water helps if it starts to dry out. With a little patience, I’ll soon be able to move on to planting my germinated seed. It’s all part of the adventure!
Planting and Caring for Your Lemon Seedling
Once my lemon seed has sprouted, it’s time to get it into its very own home! Planting my lemon seedling is one of the most satisfying steps in this journey. Here’s how I do this:
- Choose a Container: I grab a small pot that has drainage holes. This helps keep the soil from getting soggy. I want my little tree to thrive!
- Fill with Potting Soil: I fill the pot with my well-draining potting soil. I leave about an inch of space at the top. This will give my seedling room to grow.
- Make a Hole: Using my finger or a small spoon, I create a hole in the soil that’s just big enough for my seedling. It’s like making a cozy nest for it!
- Plant the Seedling: I gently place my sprouted seedling into the hole, making sure the roots are spread out and covered with soil. I always handle it carefully, just like a delicate treasure!
- Press the Soil: I lightly press the soil around the seedling to give it some support. It’s important to keep it steady while it gets used to its new home.
- Water It Well: After planting, I give my seedling a thorough watering. I want to make sure the soil is evenly moist but not waterlogged. It’s like giving my little plant a refreshing drink!
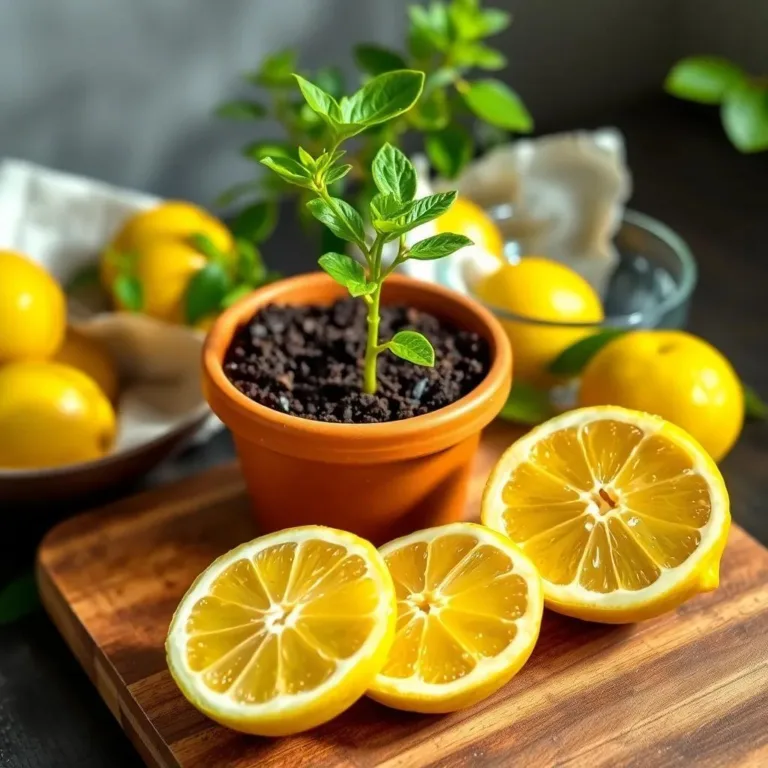
Now comes the fun part! I find a sunny spot for my newly planted seedling. Lemon trees love sunshine, so I make sure it gets 6-8 hours of direct sunlight each day. I’ll continue to water it regularly and watch as it grows into a strong, beautiful lemon tree!
Transferring and Maintaining Your Growing Lemon Tree
As time passes and my lemon tree matures, there will come a moment when it outgrows its little pot. Don’t worry, this is a good thing! Transferring it to a larger pot is key to helping my tree flourish. Here’s how I handle this process:
- Select a Bigger Pot: I choose a pot that’s 2-4 inches larger in diameter than the current one. It’s essential that this new pot also has drainage holes to keep my tree happy.
- Prepare the New Pot: I fill my new pot with fresh potting soil, leaving a little space at the top to fit in my seedling.
- Water Before Transplanting: To make the transition smoother, I water my lemon tree a few hours before moving it. This helps reduce stress on the plant.
- Remove the Seedling: I carefully loosen the soil around the roots of my lemon tree in its current pot. With gentle hands, I lift the seedling out, supporting the roots. It’s like a little plant hug as I move it!
- Add Soil Around the Roots: I place my seedling in the center of the new pot, filling in gaps with fresh potting soil. I make sure to lightly pack the soil around the roots, giving it a cozy new home.
- Water After Transplanting: Once my tree is in its new pot, I give it another good drink of water. This helps settle the soil and hydrate the roots after their big move.
I also keep an eye on my growing lemon tree, making sure it gets plenty of sunlight, regular watering, and the occasional dose of fertilizer. It’s all about giving it the care it needs to thrive. Watching my lemon tree grow brings so much joy, and I can’t wait to see what comes next!

