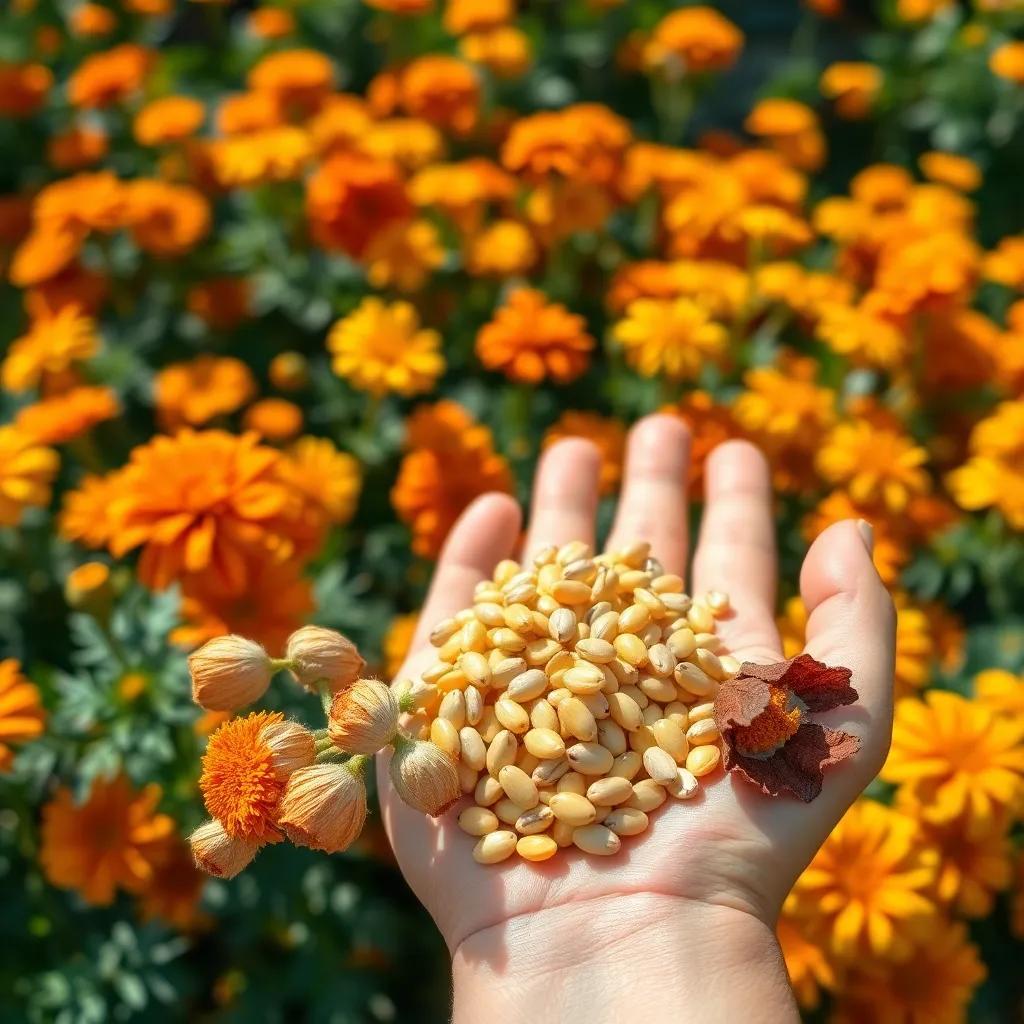
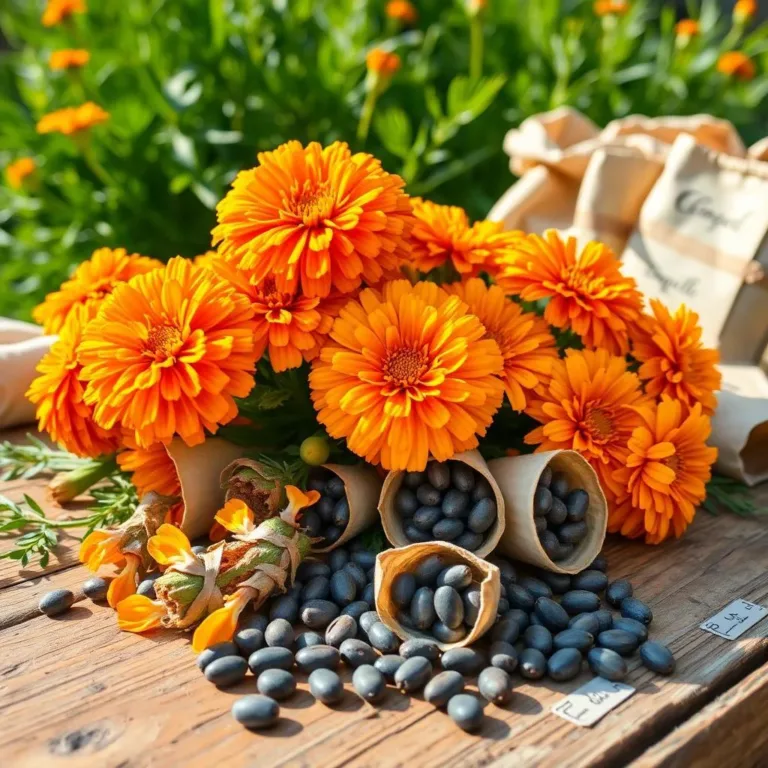
Are you ready to discover the wonderful world of marigold seeds? Harvesting these vibrant beauties is not only rewarding, but it also lets you create a garden filled with color year after year! In this guide, I’ll share my tips and tricks for harvesting, cleaning, and storing marigold seeds so you can enjoy a thriving garden and impress your friends with your gardening skills!
Benefits of Harvesting Marigold Seeds
When I think about harvesting marigold seeds, I can’t help but get excited! There are so many benefits to collecting these little gems. First of all, saving seeds can save you a ton of money. Instead of buying new plants each year, you can simply grow them from seeds you’ve collected! Imagine all the marigolds blooming all over your garden without spending a dime!
Another fantastic perk is the quality control. When I harvest my seeds, I can choose the best flowers—those that are vibrant, healthy, and just plain stunning. By selecting seeds from plants that exhibit my favorite traits, I can keep growing marigolds that reflect my garden style. Who doesn’t love a garden that’s uniquely theirs?
Propagation is a breeze too! I can quickly grow a whole bunch of new marigolds just by planting the seeds I’ve saved. That’s especially handy if I want to fill up different areas of my garden or share with a friend. Speaking of sharing, once I have my collection of seeds, I can gift them to fellow gardeners! It’s a wonderful way to connect and spread the joy of gardening!
Plus, let’s not forget about self-sufficiency. When I harvest my own seeds, I become less reliant on garden centers. It makes me feel empowered, like I’m truly in control of my gardening journey. So, whether you want to save money, maintain quality, propagate plants, or share with friends, the benefits of harvesting marigold seeds are totally worth it!
When to Harvest Marigold Seeds
Timing is everything when it comes to harvesting marigold seeds. Trust me, I’ve learned this the hard way! If you want those seeds to be ready for planting, you need to keep an eye on the blooms. So, when should you get to work? Here are some easy-to-follow signs:
- Blooming and Fading: The perfect time to start looking for seeds is when the marigold flowers have bloomed and started to fade. That’s when they start forming seed heads. It’s like nature’s way of saying, “Hey, I’m ready!”
- Drying Out: Once the petals start to wither and turn brown, it’s another sign that the seeds are ripe! Don’t rush though, early harvesting can lead to immature seeds that won’t germinate well.
- Visible Seed Pods: When the flowers completely fade and dry, the seed heads will stand out more. If those pods feel firm with plump seeds inside when you squeeze, it’s time!
- Color Change: Keep an eye on the seeds as they mature. They’ll change color, usually getting darker or black, depending on the variety. If you notice that change, grab your scissors!
Timing isn’t just about your calendar—it’s about observing your plants. Watch for those signs, and when the time is right, you’ll be ready to harvest those marigold seeds like a pro! Happy harvesting!

Essential Tools for Seed Collection
Getting ready to collect marigold seeds? You’re in for a fun time! But before you start, it’s super important to have the right tools on hand. Trust me, having these essentials will make your seed collection process smooth and enjoyable.
Here’s a handy list of what you’ll need:
- Garden Scissors or Pruners: A sharp pair of scissors is a must. They help you cut the flower heads cleanly, without damaging the seeds inside. I always make sure mine are nice and sharp—nobody wants a dull blade!
- Basket or Container: Grab a lightweight basket or container to collect your flower heads. It should be easy to carry around while you move from plant to plant. I love using a small wicker basket; it feels so charming!
- Labels and Markers: Keeping track of different marigold varieties is key! Use waterproof labels and a permanent marker to jot down the variety and date of collection. It saves a lot of confusion later on!
- Paper Bags or Envelopes: After collecting the seeds, you’ll want proper storage for drying. Paper bags or envelopes allow air to circulate, helping prevent mold.
- Paper Towels or Screens: When it’s time to dry the flower heads, having a flat, airy surface is essential. Lay them out on paper towels or screens to keep them from sticking together.
With these tools gathered, you’re all set! A little preparation goes a long way in helping you enjoy the seed harvesting process!
Step-by-Step Guide to Harvesting Seeds
Ready to get your hands dirty? Let’s dive into the step-by-step process of harvesting marigold seeds! This part is where the fun really begins, and I promise you’ll feel a sense of accomplishment once you see those seeds.
Here’s how to do it:
- Select Mature Flowers: Start by picking the marigold flowers that have bloomed and begun to fade. Look for ones that are dry to the touch—these will have formed seed heads.
- Prepare Your Tools: Grab your garden scissors, and make sure they’re nice and clean. This will help you cut the flower heads without harming the seeds inside.
- Cut the Flower Heads: Carefully snip the flower heads from the stem, leaving a small section of the stem attached. Place them in your basket or container gently.
- Remove Excess Debris: Get rid of any extra leaves or stems that got mixed in. This will simplify the drying process and make it more manageable.
- Dry the Flower Heads: Lay the flower heads out on a flat surface lined with paper towels or screens. Make sure they aren’t touching to allow good airflow. Leave them to dry in a well-ventilated area for about two to three weeks.
- Check for Seed Maturity: After drying, give the flower heads a gentle squeeze. If they’re firm and filled with seeds, you’re ready to go!
- Remove Seeds: Hold the dried flower head over a clean surface and rub or shake it gently to release the seeds. Discard any non-viable seeds or debris.
- Label and Store Seeds: Place the collected seeds in your paper bags or envelopes, labeling each container, so you know what you’ve harvested.
Following these steps makes harvesting marigold seeds an enjoyable task! You’ll feel like an expert gardener in no time!
Cleaning and Storing Marigold Seeds
Now that you’ve harvested those lovely marigold seeds, it’s time to clean and store them correctly. This step is super important for keeping your seeds healthy and ready to grow when planting time comes around.
Here’s how to do it:
- Remove Debris: First things first, check your seeds for any remaining plant matter. Gently blow on them or use a fine-mesh sieve to separate the seeds from leftover petals or stems. We want only the seeds in our storage!
- Dry the Seeds Further (if needed): If you live in a humid area or your seeds feel slightly moist, it’s a good idea to dry them a bit more. Spread them out on a paper towel or screen in a well-ventilated spot for about a week. This helps to prevent mold!
- Label and Organize: Once your seeds are clean and dry, it’s time to label them. Write down the variety and date on your storage containers or envelopes. Trust me, you’ll appreciate this later when you’re ready to plant!
- Choose Storage Containers: Opt for airtight containers—like glass jars or seed envelopes. These will protect your seeds from moisture, pests, and light.
- Store in a Cool, Dark Place: Find a safe spot in your home, like a cupboard or drawer, that’s cool and away from sunlight. This will help keep the seeds viable for longer.
- Regularly Check for Moisture: Every now and then, peek into your storage containers. If you see any signs of moisture, take the seeds out, let them air dry, and then put them back.
- Monitor Seed Viability: As time goes on, it’s good to check how well your seeds germinate. Try planting a few to see if they’re still good!
By following these cleaning and storing tips, you can keep your marigold seeds in tip-top shape! You’ll be all set for planting when the time comes, and I can’t wait for you to see the beautiful blooms that result from your hard work!

