Are you tired of mowing the lawn and dealing with pesky weeds? Well, I have just the solution for you! Let’s dive into the exciting world of synthetic grass installation, where lush, green landscapes are just a few steps away. With my easy guide, we’ll transform your outdoor space into a maintenance-free paradise that you can enjoy all year round!
Preparing the Area for Synthetic Grass Installation
Alright, friends! Before we roll out that beautiful synthetic grass, we need to prepare the area like it’s the star of the show. Think of it as getting ready for the big party—you want everything to look perfect! Here’s what to do:
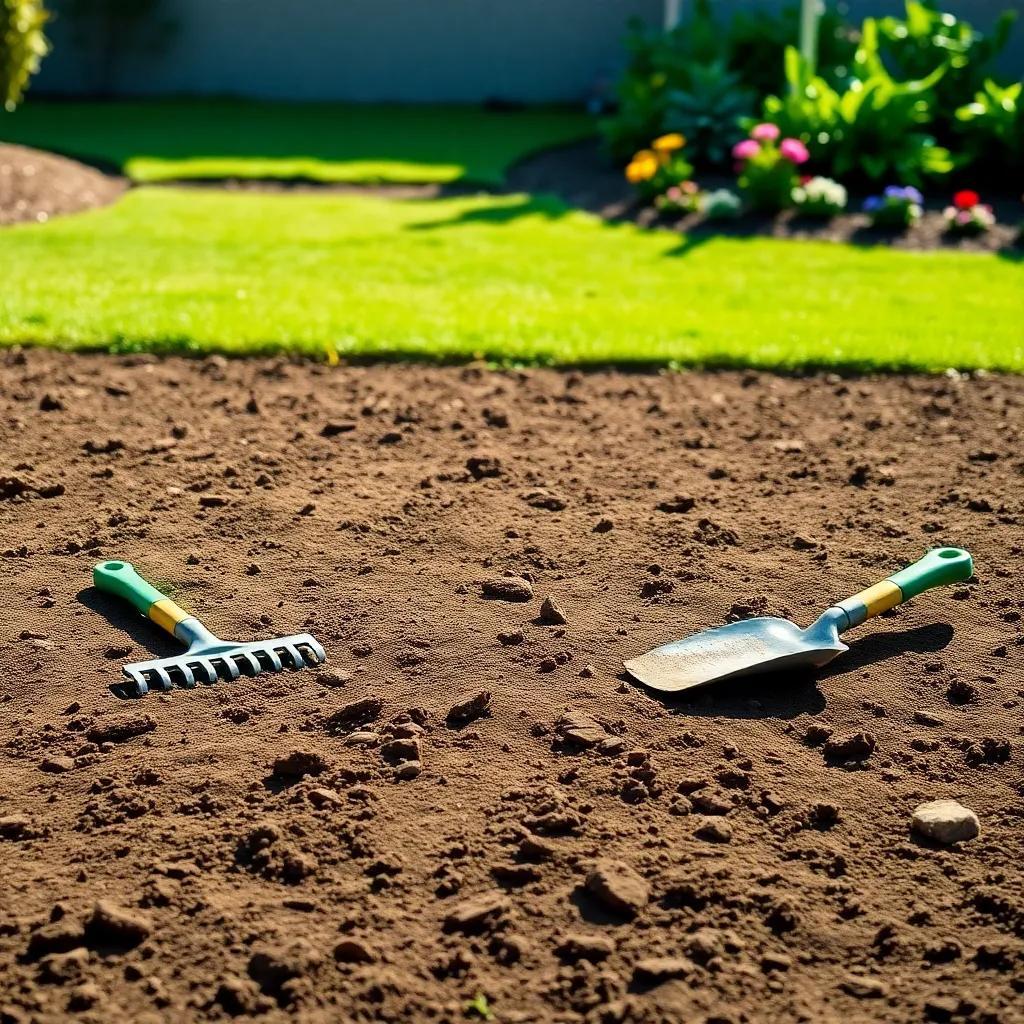
- Remove Existing Grass and Debris: Start by tearing out any old grass, plants, or weeds. Don’t be shy! Use a shovel, a rake, or even your trusty hands. Just make sure the area is nice and clean. We want a fresh canvas!
- Clear the Area: Next, clear away any rocks, sticks, or debris that could ruin your masterpiece. Imagine you’re creating art—you wouldn’t want any clutter in your space!
- Inspect the Ground: Now, take a good look at the ground. Is it all even, or do you see some ups and downs? Low spots can be filled, while high spots might need a bit of scraping. It’s like leveling a tabletop; we want it smooth for the next steps!
- Check Drainage: Water has a sneaky way of pooling where we least expect it. Grab a hose and run some water over the area—see where it flows! If you notice any puddles forming, you might need to adjust the slope.
Getting the area ready is like prepping for a big dinner; it’s all about getting that foundation right! Once everything is clean and level, we can move on to making it super smooth. Let’s make that installation a breeze!
Leveling the Surface for a Smooth Base
Now that we’ve got a clean slate, it’s time to level the surface. This step is like giving your lawn a good haircut—everything should be even and tidy! Here’s how to achieve that perfect flatness:
- Grab Your Tools: You’ll need a rake, a shovel, and maybe even a tamper or plate compactor, if you have one. These tools will help you get the job done right!
- Identify Low and High Spots: Look closely at the surface. Do you see any areas that are lower than the rest? Or perhaps some bumps that stick out? Mark these spots so you can tackle them!
- Distribute Soil or Backfill: For those low spots, use your rake or shovel to add soil or backfill material. For bumps, get in there and scrape away until everything is nice and even. It’s like spreading frosting on a cake—smooth it out!
- Compact the Surface: Once you’ve leveled it all out, it’s time to compact! Use your tamper or plate compactor to press down on the surface. Think of it as giving your ground a little hug to make sure it’s firm and stable.
- Final Check: After compacting, take a step back and check your handiwork. Is it smooth? Does it look good? If you’re happy with it, you’re ready to move on to the next exciting phase!
Getting that surface level is key to a flawless synthetic grass installation! I can almost see that lush green yard coming to life! Now, we’re all set to build a fantastic base. Let’s keep this momentum going!

Installing the Base Material for Stability
Now that we have a perfectly leveled area, it’s time to get serious about installing the base material! This step is like laying the foundation for a cake—it’s what holds everything together. Let’s make sure our synthetic grass has the best support!
- Choose Your Base Material: You have a few options here! Common choices include crushed stone, decomposed granite, or a mix of both. Think about your soil type and drainage needs when choosing. I personally love crushed stone; it’s super stable and great for drainage!
- Excavate the Area: Grab your shovel and get ready to dig! Remove any excess soil to create about 2-4 inches of depth for your base. Don’t worry if it feels like a workout; you’re building a solid foundation!
- Compact the Soil: After excavating, use a tamper or plate compactor to firm up the soil below. This step is essential because it makes the base strong and stable. Remember, no one likes a wobbly lawn!
- Spread the Base Material: Once the soil is compacted, spread your base material evenly over the area. Use a rake to keep the thickness consistent—aim for about 1-2 inches.
- Compact Again: You guessed it—time to compact that base material! Press it down firmly with your compactor. This will create a solid surface for the synthetic grass to rest on.
And there you have it! A strong and stable base that will support your beautiful new lawn. I can already imagine how great it’s going to look!
Applying a Weed Barrier to Prevent Weeds
Now that we have the base set, it’s time to talk about a little superhero that keeps our synthetic grass in top shape: the weed barrier! This step is all about fighting off any pesky plants that want to ruin our grassy paradise.
- Clean the Base Again: Before laying down the weed barrier, let’s tidy up. Make sure the base is clean and free of debris. We want our barrier to fit perfectly!
- Measure and Cut the Fabric: Grab your measuring tape and figure out how much weed barrier fabric you’ll need. Cut it slightly larger than the area to allow for some overlap. It’s like giving it extra protection!
- Roll Out the Weed Barrier: Now, it’s time to lay down the fabric. Carefully roll it out over the compacted base. Smooth out any wrinkles or folds. You want a nice, flat surface for it to do its job.
- Secure the Barrier: Use landscaping stakes or fasteners to keep the weed barrier in place. Think of it as anchoring your sailboat—nothing should shift when the wind blows!
- Trim and Overlap: Cut off any excess fabric, but don’t be too hasty! If you’re using multiple pieces, overlap them by a few inches. This technique prevents any sneaky weeds from popping up in seams.
With the weed barrier in place, we’re one step closer to a weed-free lawn! It’s nice to know that we’re taking extra precautions to keep our grass looking fabulous!
Securing and Maintaining Your Synthetic Grass
Alright, my friends! We’re getting to the fun part—securing the synthetic grass—but remember, a little maintenance goes a long way in keeping it looking fresh and vibrant!
- Inspect the Base Again: Give the base a quick once-over. Make sure it’s clean and tidy, free from any loose bits that could cause issues later.
- Applying Adhesive (If Needed): Depending on the type of synthetic grass you have, you might need to apply adhesive. Follow the instructions on the label and spread it evenly along seams or edges. Think of it like frosting a cake; we want it smooth and even!
- Roll Out the Synthetic Grass: Place the synthetic grass over the base, ensuring the fibers face the right way. Adjust the position until it fits snugly. It’s like dressing your lawn in its best outfit!
- Secure the Edges: Use landscape staples or nails to secure the edges of the grass. Space them out every few inches, but don’t overdo it! We want the grass to stay put without being too tight.
- Regular Maintenance: Now that everything is in place, let’s talk upkeep! Here are some quick tips:
– Brush the grass regularly to keep those blades standing tall!
– Remove leaves and debris promptly to prevent buildup.
– Clean spills with mild detergent to avoid any stains.
By taking good care of your synthetic grass, you’ll enjoy a lush, green lawn for years to come. Trust me, it’s worth it! Now, let’s kick back and enjoy that beautiful outdoor space we just created!

