Welcome to the world of ground cover gardening! If you’re like me, you love a lush, green garden but want to keep those pesky weeds at bay. In this article, I’m excited to share some simple tips and tricks that will help you prepare your soil, plant like a pro, and maintain a beautiful, weed-free landscape. Let’s dig in and get started!
Preparing Soil for Ground Cover Installation
Before planting my ground cover, I always make sure to give my soil some well-deserved TLC! A healthy garden starts with properly prepared soil. So, let’s get our hands a little dirty and prepare that soil like a pro!
- Clear the Area: First things first, I remove any rocks, old roots, or debris from the planting area. Trust me, no one wants a pesky rock throwing off the vibe of a beautiful ground cover garden!
- Level and Smooth: Next, I take a rake to smoothen the surface. This step is super important. An even surface means the water will spread evenly, making it easier for my plants to get the moisture they need.
- Soil Testing: If time allows, I suggest performing a soil test. This can sound fancy, but it’s pretty simple. A soil test tells me about the pH and nutrients in my soil. With this info, I can make smart choices on amendments. You know, adding compost or fertilizers to make the soil just right!
- Mix in Organic Matter: Adding organic matter, like compost, helps my soil breathe and gives my plants the nutrients they crave. I just sprinkle it in and mix it around until it’s all blended in nicely.
By taking these steps to prepare my soil, I give my ground cover the best fighting chance against weeds and any other sneaky garden troubles. Ready to dig? Let’s move on to the next fun phase!
Steps for Proper Ground Cover Planting
Now that my soil is all prepped up and excited for some greenery, it’s time to plant the ground cover! This is the fun part! Here’s how I do it:
- Plan Your Layout: I usually take a moment to decide how I want my plants to look. This means spacing them out according to the recommendations. After all, they don’t want to be cramped together, right?
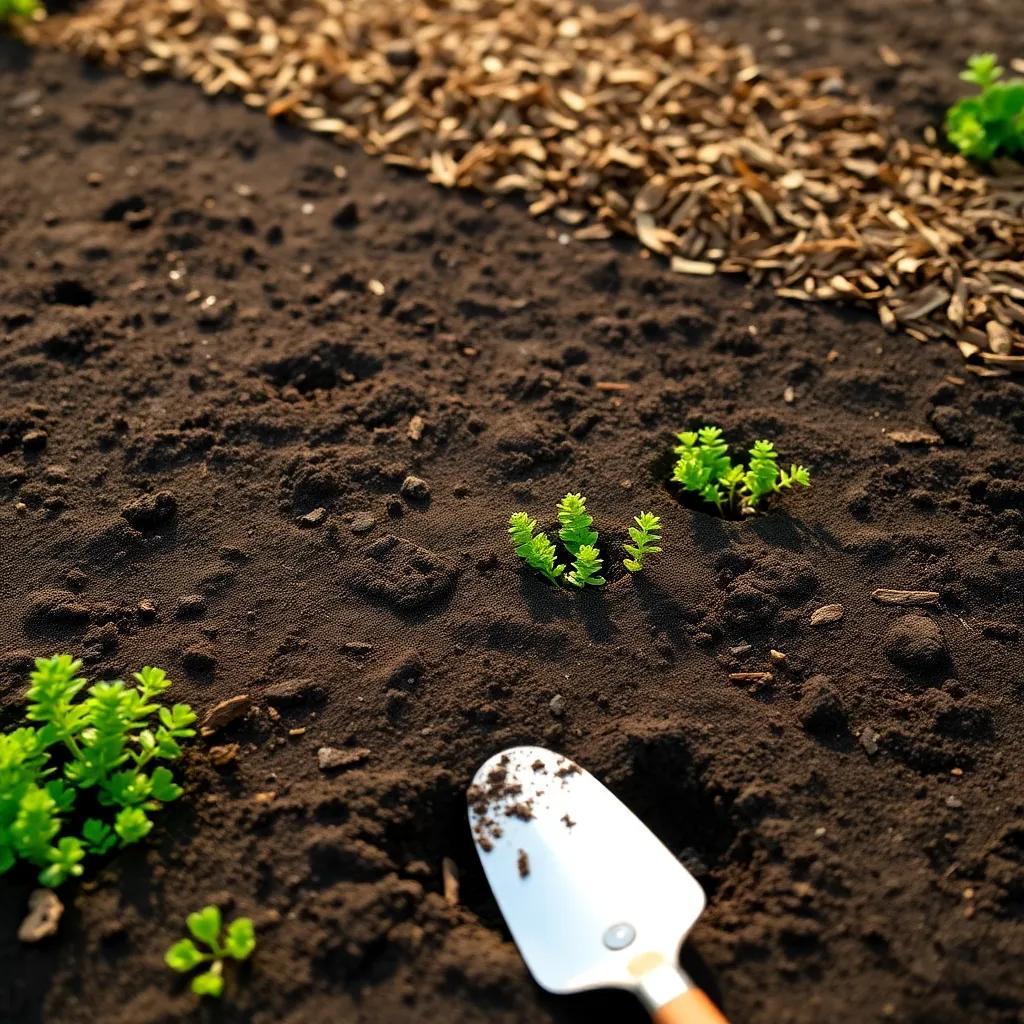
- Digging Holes: I grab my trusty hand trowel and dig individual holes. I make them a little larger than the root ball. It’s like giving my plants room to stretch their roots!
- Planting Time: I gently remove the ground cover from its pot. If the roots look tangled, I gently tease them apart. This gives them a better chance to spread out in the soil. I then place each plant in its hole, making sure it’s at the right height.
- Backfill and Water: After I’ve got the plants in place, I backfill the holes with soil and give them a good pat. A little hug from the soil is what they need! Then, it’s time for a nice drink—watering each plant thoroughly to help them settle in.
- Mulch It Up: I finish off by adding a layer of mulch around the bases of my newly planted ground covers. Not only does it look great, but it also helps retain moisture and fend off those sneaky weeds.
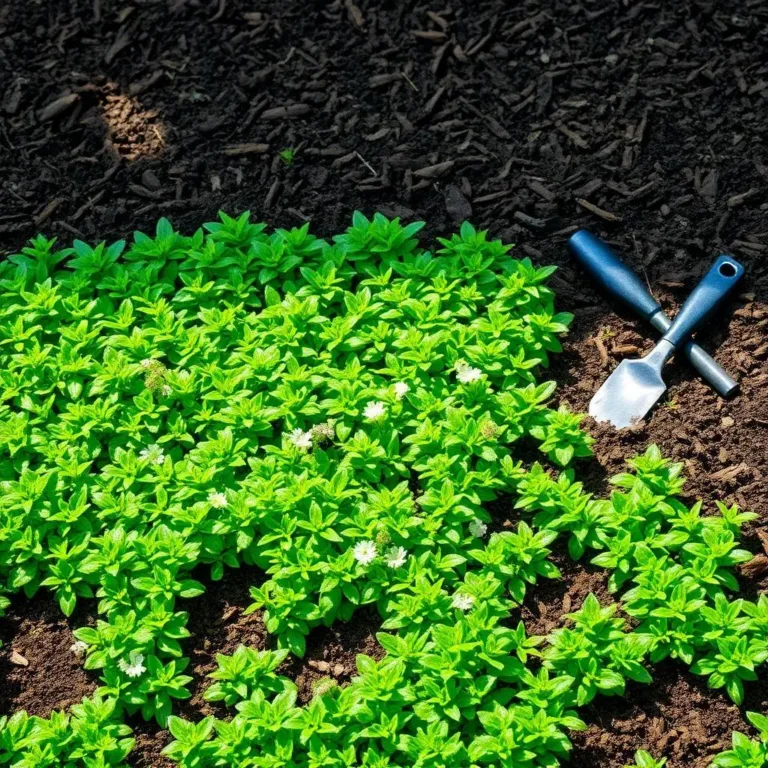
With these steps, I’m ready to watch my ground cover flourish. It’s like planting a mini garden party! Now, let’s keep the momentum going and think about how to keep those pesky weeds away!

Effective Mulching Techniques for Weed Control
Mulching is like giving my garden a cozy blanket! It not only looks great but also protects my plants and helps keep pesky weeds away. Here are some effective mulching techniques that I swear by:
- Choose the Right Mulch: There are many types of mulch to pick from. I love organic options like shredded bark, wood chips, and straw. They break down over time and add nutrients back into the soil. Plus, they look super pretty! Just make sure to choose a mulch that suits the needs of my ground cover.
- Prep the Area: Before spreading mulch, I clear the area of existing weeds. This step is like setting the stage for my performance! I don’t want any weeds crashing the party!
- Layer It Up: I spread a 2-3 inch layer of mulch around my ground cover plants. This thickness is perfect! It smothers weeds while still allowing air and moisture to reach the soil. I use my hands or a rake to spread it evenly, making sure not to pile it too high against the plant stems.
- Maintain the Mulch: Mulch doesn’t last forever. Over time, it breaks down, so I keep an eye on it. I replenish the mulch every few months to keep that barrier strong against weeds. If I notice any weed growth popping through, I simply pull them out, but mulch usually does a great job of keeping them at bay!
With these simple mulching techniques, my garden stays healthy and vibrant. It’s like giving my ground cover plants a safe and cozy space to grow!
Regular Maintenance and Inspections for Ground Cover
Now that my ground cover is in, it’s time to show it some love with regular maintenance! Taking care of my plants is important, and it doesn’t have to be a chore. Here’s how I keep my garden looking its best:
- Frequent Check-Ups: I like to stroll through my garden at least once a week. Just like a doctor’s visit, my plants need regular check-ups! I inspect for any signs of stress, such as yellow leaves or wilting. If anything looks off, I can act fast to save the day!
- Water Smartly: My ground cover plants usually have shallow roots, so I keep the soil moist but not soggy. I check the moisture levels by sticking my finger in the soil. If it feels dry an inch below the surface, it’s time for a drink! But I avoid overwatering—no one likes a soggy garden party!
- Prune and Trim: I keep my ground cover plants tidy by pruning any overgrown parts. This helps them grow better and prevents them from taking over the whole garden. Trimming encourages new growth and keeps my plants looking neat.
- Fertilize Occasionally: Every so often, I give my ground cover a boost with a balanced fertilizer. This helps them stay healthy and promotes vibrant growth. I follow the recommended guidelines on the fertilizer package to get it just right!
- Watch for Weeds and Pests: I stay vigilant for weeds trying to sneak in. If I spot any, I pull them out right away. I also keep an eye out for pests or diseases. If I see any trouble, I’ll take action before it spreads!
By regularly maintaining my ground cover, I enjoy a healthy, thriving garden that looks amazing all year long!
Natural and Eco-Friendly Weed Control Methods
I love finding natural ways to keep weeds out of my garden! They’re gentle on the environment and help my garden flourish. Here’s what I do to stay eco-friendly while managing those pesky weeds:
- Mulching Again: Yep, I’m bringing back my trusty friend—mulch! As mentioned before, a thick layer of organic mulch not only suppresses weeds but also retains soil moisture. It’s a perfect win-win!
- Hand Weeding: This is my secret weapon! When I spot a few weeds popping up, I grab my gloves and pull them out by hand, roots and all. I do this after a good rain when the soil is moist. It makes pulling them out way easier! Plus, it gives me a little workout!
- Smothering: For those stubborn weeds, I sometimes cover bare soil with cardboard, newspaper, or landscape fabric. This blocks sunlight and smothers any weeds trying to grow. It’s like putting them in timeout!
- Corn Gluten Meal: I sprinkle corn gluten meal on my garden, which acts as a natural pre-emergent herbicide. It prevents weed seeds from germinating while being kind to my plants.
- Vinegar or Boiling Water: For a quick fix, I sometimes use household vinegar or boiling water. I carefully spray or pour it on the weeds. Just be careful—this can harm my other plants too, so I keep it targeted!
By sticking with these natural methods, I help my garden bloom beautifully and keep those weeds at bay. It’s like having a peaceful coexistence with my plants! Happy gardening!

