Are you ready to grow your very own avocado tree? It’s easier than you think, and I’m here to share the fun steps with you! From picking the perfect seed to nurturing it into a delicious fruit-bearing plant, let’s dive into this exciting gardening adventure together!
Choosing the Perfect Avocado Seed for Planting
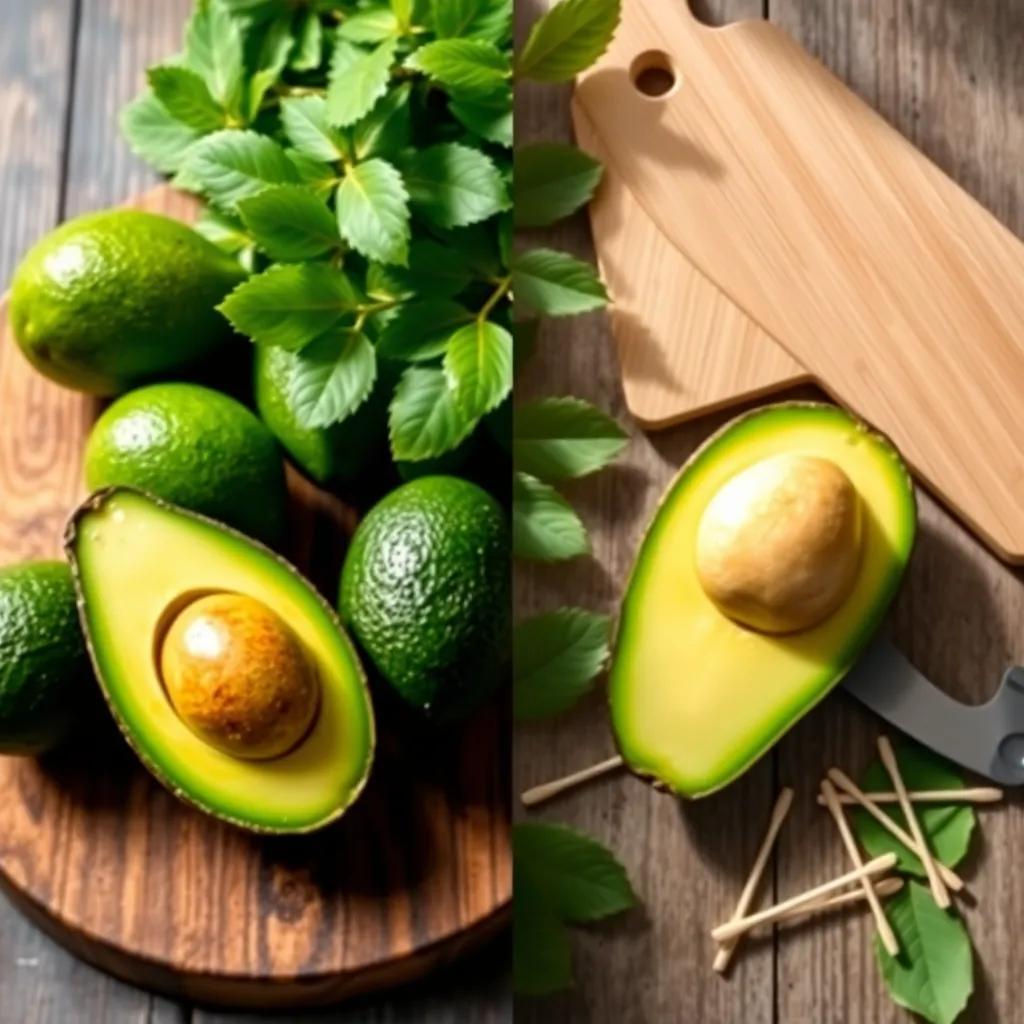
Alright, let’s start with the first step in your avocado adventure—picking the right seed! This might sound simple, but choosing a ripe, healthy avocado is key to getting a sprouting success! You wouldn’t want an avocado seed that’s had a rough life, right? So, here are my favorite tips for selecting the perfect avocado seed:
- Look for a Ripe Avocado: The first thing you need to do is find an avocado that’s fully ripe. Gently squeeze it; it should yield slightly. If it’s too hard, put it back and try again later. Remember, a ripe avocado equals a happy seed!
- Check for Viability: Give the seed a little shake! If you hear a rattling sound, it’s a good sign that the seed is viable and ready to grow. If not, it might be a seed that’s seen better days.
- Inspect for Damage: Take a close look at the seed. Check for any signs of rot or damage. A firm, healthy seed is what you want. If there are any dark spots or mushy areas, it’s best to toss that one aside.
- Consider the Variety: Did you know there are different types of avocados? Some are creamy, while others are more nutty. Think about what flavor you enjoy and pick a variety that suits your taste. This way, when your plant matures, you can enjoy delicious avocados!
Now that you have your perfect seed, you’re one step closer to growing your own avocado tree! How exciting is that? Let’s move on to the next step—getting that seed ready for germination!
Preparing Your Avocado Seed for Germination
Yay, you got your seed! Now it’s time to prepare it for the big germination show! Getting your avocado seed ready is like prepping for a fun party—you want everything just right! Here’s how to do it:
- Clean the Seed: Start by washing off any leftover avocado flesh. I like to rinse it under cool running water. This helps prevent any mold from sneaking in. No one wants a party crasher!
- Identify the Ends: Every avocado seed has a top and a bottom. The rounder side is the bottom where the roots will grow, and the pointed end is the top where the stem will emerge. Keep that in mind as you prep!
- Remove the Skin: Carefully peel off the brown skin around the seed. This step is easier when the seed is fresh and moist. Plus, it looks so much nicer without the skin!
- Protect the Dormant Bud: On the flat side, you’ll find a little bump—that’s the dormant bud. It’s super important! You can use toothpicks to create a small barrier around it, ensuring it stays safe from any pokes or prods.
- Get Ready to Plant: Your seed is now clean and ready for its next adventure! Find a warm and sunny spot for the next steps, which will lead to the exciting process of planting!
With your seed all set up, you’re truly on your way to growing a fabulous avocado tree! Who knew gardening could be this fun? Let’s keep this momentum going as we head towards planting!

Effective Methods for Planting an Avocado Seed
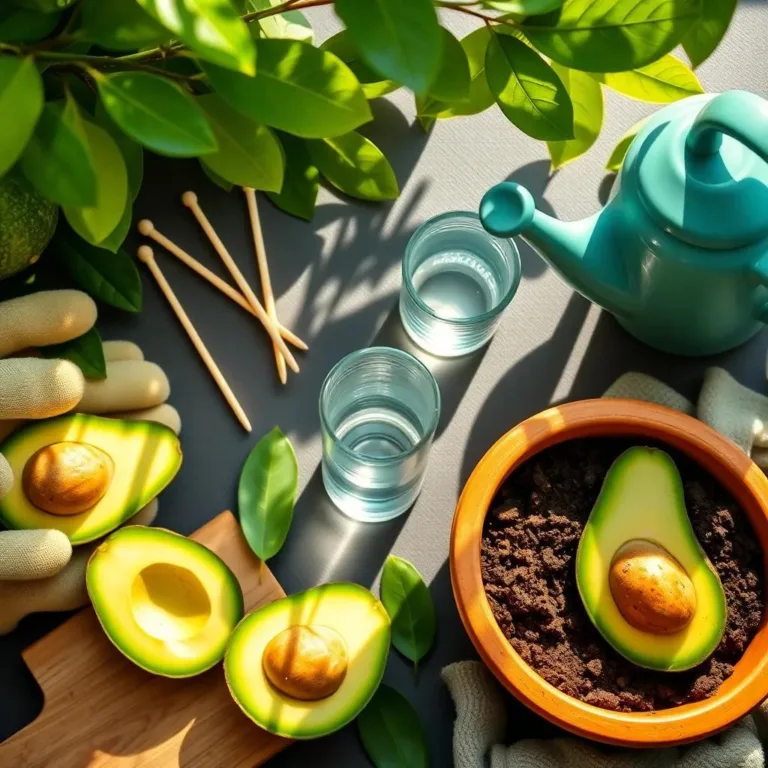
Alright, it’s time to get that avocado seed into its new home! Planting the seed is like sending it off to a cozy vacation spot where it can grow and flourish! There are two popular methods I like to use: the toothpick method and the water method. Let’s break them down:
1. Toothpick Method
- Gather Your Supplies: You’ll need toothpicks, a glass of water, and your prepared avocado seed.
- Suspend the Seed: Insert three or four toothpicks into the sides of the seed, about halfway down. This helps balance the seed over the glass. Make sure the bottom of the seed is submerged in water, while the top stays dry.
- Find a Sunny Spot: Place the glass in a warm, sunny area. Avocado seeds love light and warmth! Keep an eye on the water level, adding more as needed.
2. Water Method
- Direct Water Soaking: If you prefer a more hands-on approach, fill a glass with water and partially submerge the avocado seed. Make sure the bottom is in contact with the water.
- Sunshine Delight: Like the toothpick method, find a sunny spot for this glass too!
With both methods, watch for roots to sprout and a stem to emerge. It can take a few weeks, so get cozy and patient! Once you see roots, it’s almost time for the next big step—caring for your avocado seedling!
Caring for Your Avocado Seedling for Healthy Growth
Yay! Your avocado seed has sprouted roots and a little stem! This is such an exciting moment! Now it’s time to nurture your budding plant so it can grow into a healthy avocado tree. Here are some helpful tips to keep your seedling happy:
- Choose the Right Pot: When it’s time to move your seedling, pick a pot that’s just a bit bigger than the current one. A pot that’s 2-4 inches larger in diameter is perfect!
- Use Well-Draining Soil: Avocado plants thrive in well-draining soil. Think of a mix made for indoor plants or add some perlite for extra drainage. Nobody likes to sit in soggy soil!
- Sunshine is Key: Place your pot in a spot that gets bright, indirect sunlight. Avocado plants love to soak up the rays, but too much direct sunlight can burn their leaves!
- Water with Care: Keep the soil consistently moist, but not soggy! I usually water when the top inch of soil feels dry. It’s important to strike that perfect balance!
- Fertilize Occasionally: During the growing season, use a balanced, water-soluble fertilizer once a month. Just follow the instructions on the package for the right amount!
By giving your avocado seedling a little love and attention, you’ll be on your way to growing a beautiful plant that may one day yield delicious avocados!
Transferring Your Avocado Plant to a Larger Pot
Wow, can you believe it? Your avocado plant is growing up! As it matures, it will need more space to spread those roots and continue thriving. Transferring your plant to a larger pot is an exciting step! Here’s how to do it smoothly:
- Pick the Right Pot: Find a new pot that’s 2-4 inches larger in diameter than the current one. Make sure it has drainage holes—trust me, this is key!
- Prepare the New Pot: Fill the new pot with fresh, well-draining potting mix. Leave enough space at the top for the avocado plant’s root ball.
- Gently Remove Your Plant: Carefully loosen the soil around the edges of the current pot. Gently remove the avocado plant, trying not to disturb the roots too much. They’re delicate little things!
- Inspect the Roots: Take a moment to check the roots. If some are damaged or too long, feel free to trim them a little. Healthy roots are essential for growth!
- Plant in the New Pot: Set your avocado plant in the center of the new pot and fill in with potting mix. Lightly press the soil around the plant to secure it in place.
- Water Thoroughly: After you’ve moved your plant, give it a good watering to help settle the soil around the roots. Just make sure the pot drains well!
With a little care and attention, your avocado plant will continue to thrive and hopefully reward you with delicious avocados in the future! Happy gardening!

