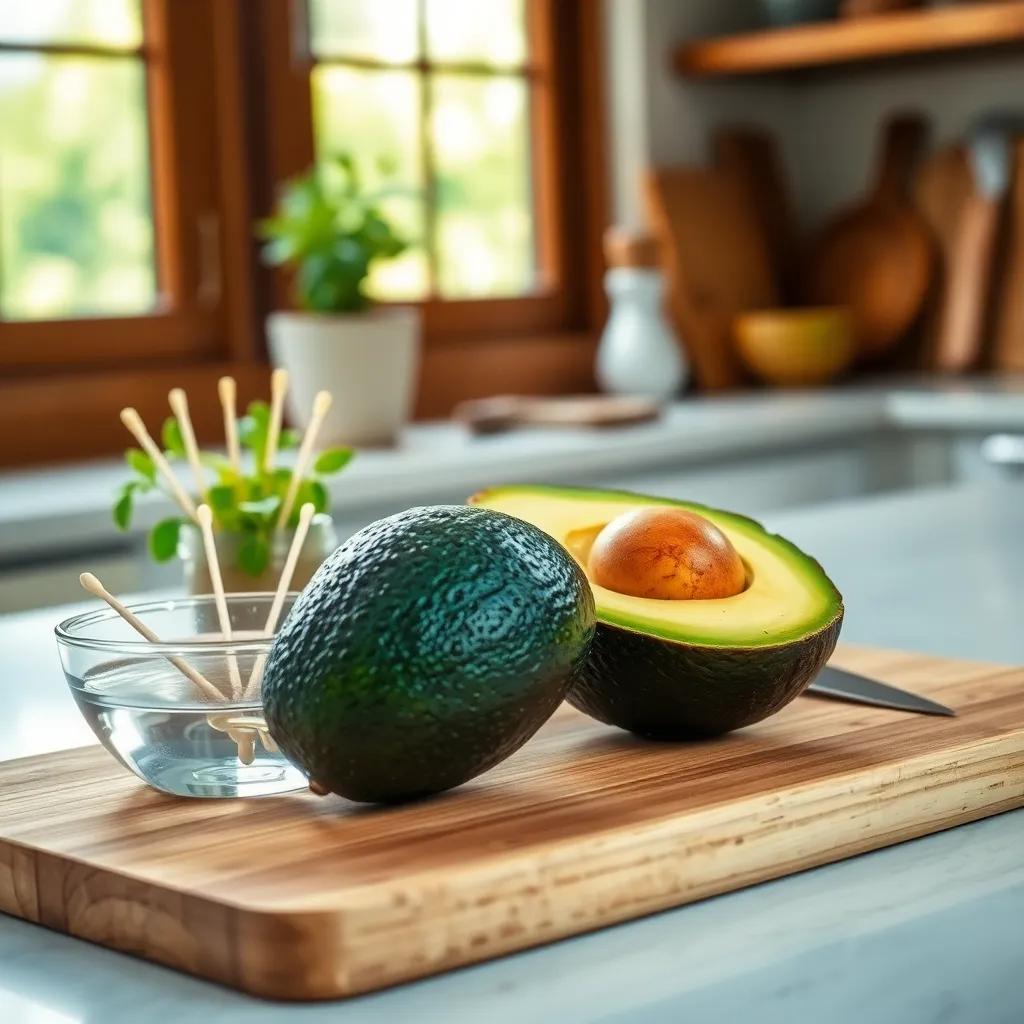
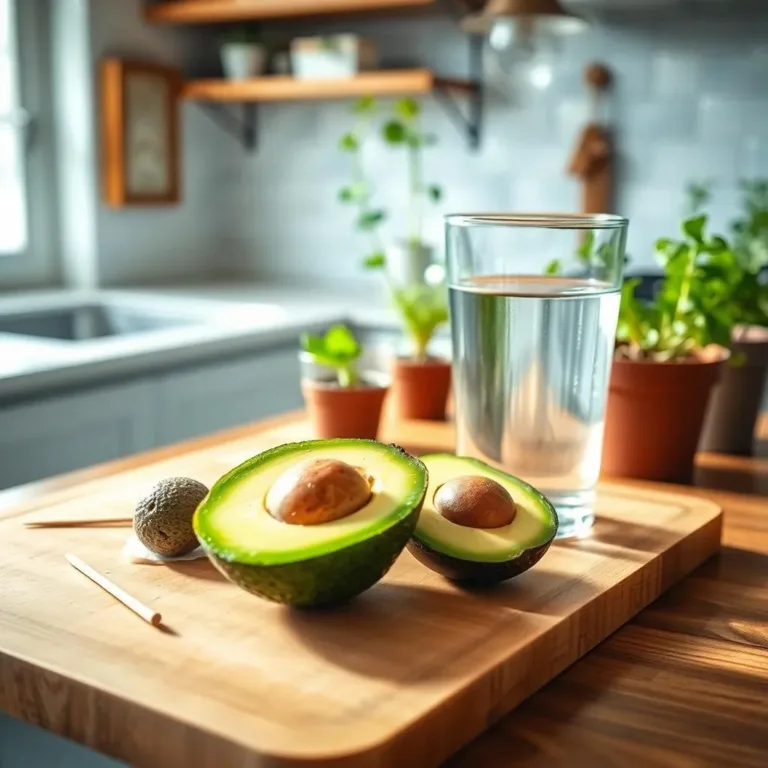
Have you ever thought about growing your own avocado tree? It’s not only a fun project, but it can also lead to delicious homegrown avocados! Join me as we explore the simple steps to plant and care for avocado seeds, transforming your kitchen scrap into a thriving green friend!
Selecting the Right Avocado for Planting
When it comes to growing your own avocado tree, the first step is selecting the right avocado! You want to start with a ripe avocado that’s ready to give you a seed that will sprout. Here are some tips to help you spot the perfect fruit:
- Color: Look for an avocado with dark green or even black skin. Avoid light green or yellowish ones; they’re probably not ripe.
- Texture: Give it a gentle squeeze. A ripe avocado should have a slight give but shouldn’t feel mushy—think of it like a friendly handshake, firm yet gentle!
- Stem Check: If the little stem at the top pops off easily and shows a green color underneath, it’s ripe! If it’s brown, your avocado might be over the hill.
- Firmness: A good avocado will yield just a bit when pressed. Too soft means it’s way past its prime.
Once you’ve picked the perfect avocado, you’ll be ready for the next phase. It’s all about the preparation! Before we get to that, think about the adventure ahead. Isn’t it exciting to think about nurturing a plant from just a little seed? You’ll be growing your own fresh avocados in no time!
Preparing the Avocado Seed for Germination
Now that I’ve got my ripe avocado, it’s time to prepare the seed! This part is like getting ready for a big day out—everything needs to be just right! Here’s how you can prep that seed:
- Cut that Avocado: Carefully slice your avocado in half lengthwise. This feels a bit like a magician splitting a hat! Use a spoon to scoop out the seed—be gentle, we don’t want to hurt it.
- Rinse Off the Pulp: Give that seed a good rinse to get rid of any leftover fruit. You’ll want it clean so it can focus on sprouting.
- Identify the Ends: Check which end is which. The pointed end is where the stem will grow, and the flatter end is where the roots will sprout!
- Peel it a Bit: For some gardeners, it helps to take a knife and gently remove a thin layer of skin from the middle of the seed. This can help with water absorption.
Now, your seed is looking good and ready to go! These simple steps make all the difference in starting your avocado journey. It’s like prepping your rock star for an epic concert! Keep that spirit high, and let’s get ready for the next step of suspending this little beauty in water!

Suspending the Seed in Water with Toothpicks
Now that I’ve prepped my avocado seed, it’s time for a little suspense—literally! This step is all about helping the seed start its journey to becoming a beautiful plant. Here’s how I do it:
- Gather Your Supplies: You’ll need your avocado seed, some toothpicks, and a glass or jar filled with water. Make sure the glass is tall enough!
- Get the Seed Ready: Hold your avocado seed with the flat end facing down and the pointed end facing up. This part is super important since it determines how the roots and stem will grow!
- Insert the Toothpicks: Carefully insert three to four toothpicks into the seed at an angle, spaced evenly around its middle. They should go in about halfway, kind of like how a cozy couch holds you up!
- Positioning: Rest the toothpicks on the rim of the glass, so the bottom half of the seed is submerged in water while the top half stays dry. The seed needs to breathe!
- Find a Sunny Spot: Place the glass somewhere warm, ideally near a window that gets indirect sunlight. This helps your seed feel all warm and fuzzy—just like a sunny beach day!
I like to check the water level regularly, making sure the seed is always partially submerged. If you notice any funky smells or colors, it might be time to change the water! After a couple of weeks, roots will start to form, and you’ll see the beginnings of a stem peeking out. This is when the fun really begins!
Transplanting the Seedling into Soil
Once my avocado seed has sprouted roots and a stem, it’s time to give it a new home! Transplanting the seedling into soil is an exciting step, and I can’t wait to see it thrive. Here’s how I do it:
- Choose the Right Pot: Pick a pot with good drainage. It should be big enough for the seedling to grow. I like to use pots that are at least 6-8 inches deep.
- Prepare the Soil: Fill the pot with well-draining soil. You want it to be rich in nutrients, so I usually mix in a bit of compost. This gives my little plant every chance to flourish!
- Make a Hole: Create a hole in the soil deep enough for the roots but shallow enough so the stem stays above the surface. It’s like making a cozy bed for the seedling!
- Remove the Toothpicks: Gently take the toothpicks out of the seed. Be careful not to disturb the roots too much. They’re fragile but oh-so-important!
- Plant the Seedling: Place your seedling in the hole you made. Cover it with soil, and press gently to secure it in place.
- Water Thoroughly: Give your newly planted seedling a good drink. I like to water until it’s moist but not soggy.
After planting, I place the pot in a spot that gets indirect sunlight. I keep an eye on it, watering whenever the top inch feels dry. It won’t be long before I see new leaves sprouting, bringing my little avocado plant to life!
Ongoing Care for Your Avocado Plant
Now that my avocado seedling is happily settled in its new home, I need to give it some TLC to help it grow strong and healthy! Caring for an avocado plant is pretty simple, and I love watching it thrive. Here’s my go-to care routine:
- Watering: Keep the soil consistently moist, but don’t drown it! I check the top inch of soil—if it’s dry, it’s time for a drink.
- Sunlight: Avocado plants love light! I make sure my plant gets about 6-8 hours of indirect sunlight each day. If it starts leaning toward the light, I just rotate the pot a bit.
- Temperature and Humidity: These plants prefer warm weather, ideally between 60-85°F (15-29°C). I like to mist mine every now and then to give it a humidity boost.
- Fertilizing: During the growing season (spring to summer), I feed my plant with a balanced fertilizer. I follow the instructions for how often to apply it, since I want my avocado to grow big and strong!
- Pruning: As my plant gets taller, I might need to prune it to keep it looking tidy. I snip off dead leaves and pinch the tips of branches—this helps it become bushier!
- Pest Control: I keep an eye out for pesky pests like aphids or spider mites. If I see any, I use organic methods to get rid of them quickly.
With a little love and care, my avocado plant will continue to grow and flourish! I look forward to the day when I can enjoy fresh avocados right from my own backyard! How cool is that?

