
Are you ready to turn your garden into a plum paradise? Growing your own plum trees from seeds is not only fun, but it gives you the chance to enjoy fresh, juicy plums right from your backyard! Join me on this exciting journey as we explore how to gather seeds, care for your seedlings, and watch them flourish into fruitful trees!
Gathering and Preparing Plum Seeds
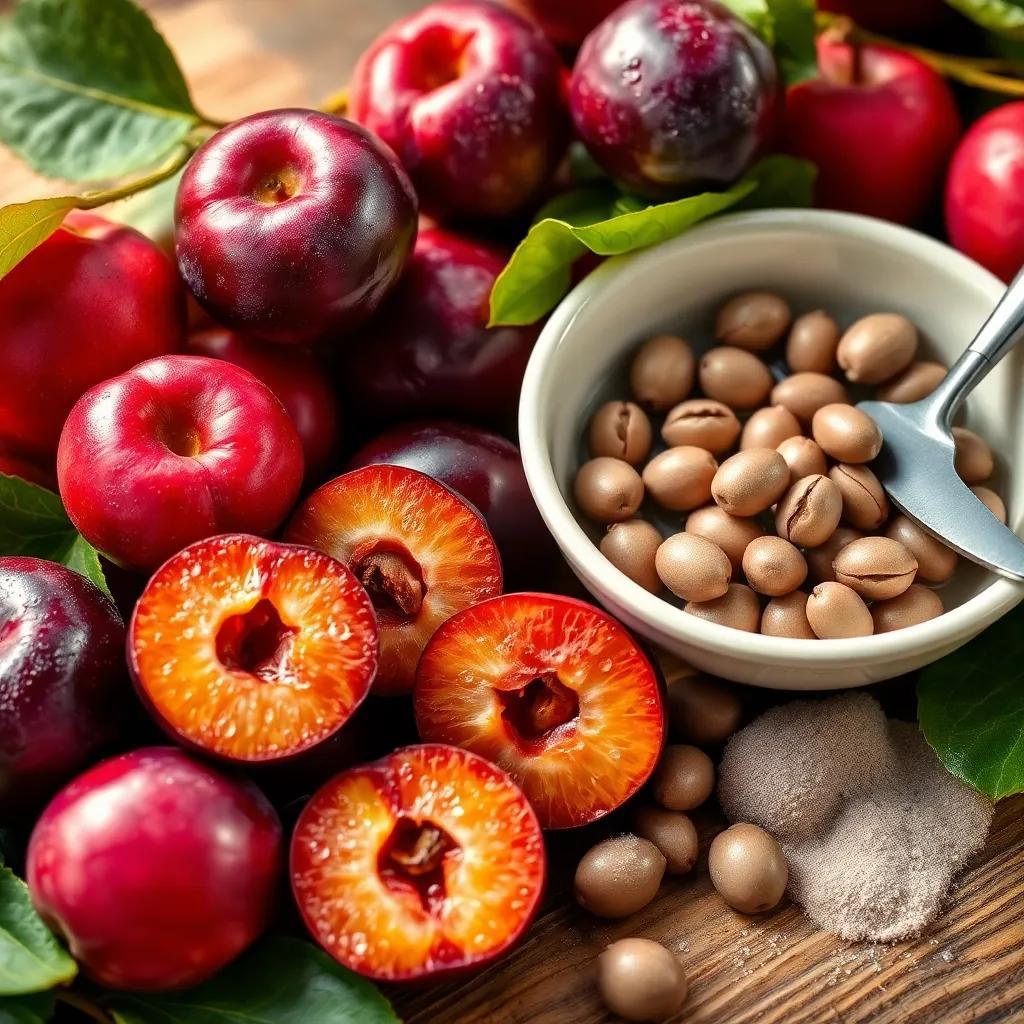
Gathering plum seeds is the first step on our journey to growing delicious plums! It’s like a little adventure in the garden! So, let’s get started! Here’s how I go about it:
- Choose the Right Plums: I always look for ripe plums that are fully colored and a bit soft. They should be sweet and juicy! Trust me, no one wants seeds from a sour plum. So, skip the overripe or damaged ones!
- Extracting the Seeds: Once I’ve picked my plums, I twist or gently tug them from the tree. If you’re using a knife, be careful not to cut into the seed. We want those seeds undamaged!
- Clean and Dry: After harvesting, I rinse the plums under running water to get rid of any dirt or stickiness. Then, I dry them using a clean towel. Letting them air dry helps keep mold away!
- Cutting Open the Plums: When the plums are dry, it’s time to get to the good stuff! I cut them open and carefully remove the seeds from the center.
- Success Rate: Keep in mind that not every seed will sprout! So, I like to collect a bunch of seeds. The more, the merrier!
After gathering, it’s time to prepare our seeds! This helps them get ready for germination.
Preparing the Seeds
Now that I’ve got my seeds, it’s time for some special prep work! This is like giving our seeds a little spa treatment to help them grow strong. Here’s how I prepare the seeds for planting:
- Cleaning: I rinse my seeds under running water to get rid of any leftover fruit bits. I never use harsh soaps or chemicals. Our seeds deserve the best!
- Scarification: This might sound fancy, but it’s simple! I gently rub the seeds with sandpaper or nick them lightly with a knife. This helps water and air get in, making it easier for them to sprout.
- Soaking: After scarification, I pop the seeds in a bowl of room temperature water and let them soak overnight. This softens the seed coat even more, improving their chances of germinating.
- Drying: Don’t forget to pat them dry afterward! We don’t want any soggy seeds. Moisture is good, but too much can lead to mold.
Now, my seeds are all set for the next exciting step: stratification! Stay tuned; we’re one step closer to planting our plums!
Choosing the Right Planting Location
Choosing the perfect planting location for your plum seeds is like picking the right spot for a picnic—it makes all the difference! I always think about several key factors to give my plum trees the best chance to thrive. Here’s what I keep in mind:
- Sunlight: Plum trees love the sun! I aim for a spot that gets at least 6-8 hours of direct sunlight each day. This helps them grow strong and healthy.
- Soil Drainage: Nobody likes soggy socks, right? Well, neither do plum trees! I check that the soil is well-draining because waterlogged roots can lead to issues. If your soil is heavy or clay-like, think about adding some organic matter or planting in raised beds to improve drainage.
- Hardiness Zone: Knowing my hardiness zone is super helpful! I always pick plum varieties that grow well in my area. This way, I can rest easy knowing my trees will thrive in the local climate.
- Space: These trees aren’t shy! They can grow pretty large, so I make sure there’s enough room for them to spread out. I allow about 15 to 20 feet between each tree to avoid crowding.
- Pollination: Fruit-loving bees are my best friends! Some plum trees need a buddy to help them pollinate. I check if my chosen variety is self-pollinating or if I need to plant another kind nearby.
By considering these factors, I can create a happy home for my seedlings. A little planning goes a long way when it comes to growing plums!
Planting and Caring for Plum Seedlings
Now for the fun part—planting my plum seeds! I can almost taste the delicious fruit already! Here’s how I get my seedlings into the ground and give them the care they need:
- Prepare the Soil: I start by loosening the soil where I’ll plant, making sure it’s nice and fluffy. I clear away any weeds or debris because nobody wants those pesky intruders competing for nutrients!
- Dig the Hole: I dig a hole about twice the size of the seedling’s root ball. It’s essential to give those roots plenty of room to spread!
- Plant the Seedling: I gently place my plum seedling in the hole, making sure it sits at the same depth it was in its container. After that, I fill the hole with soil and lightly firm it around the base.
- Watering: Right after planting, I give my seedling a good drink! This helps the soil settle around the roots.
- Mulch: Mulching is like giving my seedling a cozy blanket! I add a layer of organic mulch, like wood chips or straw, around the base. This keeps the soil moist and helps prevent weeds.
Caring for my plum seedlings doesn’t end here! I keep an eye on them as they grow. With regular watering, I watch them thrive and look forward to the day I can enjoy my homegrown plums!
Transplanting Seedlings to the Garden
After patiently growing my plum seedlings, there comes a day when they’re ready for the big move—transplanting into the garden! Here’s how I go about it:
- Timing: I wait until my seedlings are at least 1-2 feet tall and have developed a strong root system. Early spring or fall is the best time for this! The weather is mild, and my trees will experience less stress.
- Prepare the New Hole: I dig a hole in the garden that’s wider and a bit deeper than the seedling’s root ball. This gives the roots plenty of room to spread out and settle in.
- Gently Remove the Seedling: I carefully take the seedling out of its pot, being cautious not to damage the roots. If it’s tightly bound, I gently loosen the root ball.
- Position the Seedling: I place the seedling in the center of the new hole, keeping the root collar level with the ground surface. No root-knotting here!
- Backfill the Hole: After that, I fill the hole with soil, lightly patting it down to eliminate any air pockets.
- Water Thoroughly: I give my newly transplanted seedling a good soak! This helps settle the soil around the roots and encourages them to grow.
- Add Mulch: Finally, I apply a layer of organic mulch around the base. This keeps the soil moist and helps regulate temperature.
Now, I keep a close watch on my transplanted plum trees as they settle into their new home. With care and love, I can’t wait to see them flourish and produce sweet plums for me to enjoy!